Today in Advanced Baking, the class recipe tested desserts for Homecoming! I was an odd ball and tested a recipe for the “boxed desserts” that we are giving out this coming Tuesday for an event on campus (if I’m being honest, I don’t really know what it is since it isn’t going on in the Culinary building. I practically live here so I never know about anything else!)
Holly and I are coming in on Monday and Tuesday to remake my finished product for the event and pass them out!
This was the idea that Chef MH had for the boxed desserts:

My job today was to try to recreate this picture with a red velvet cake and cream cheese frosting recipe.
I began with a red velvet sponge cake recipe that Chef MH had brought in for testing. I found it to be a really strange recipe, but maybe that is because I am not very experienced with sponge cakes.
I made the recipe per the instructions. Everything was as exact as it could possibly be; however, something was pretty wrong!
My cake “batter” was about the consistency of skim milk after everything was incorporated:

I went along with it though, hoping for the best! It barely filled a half sheet pan.
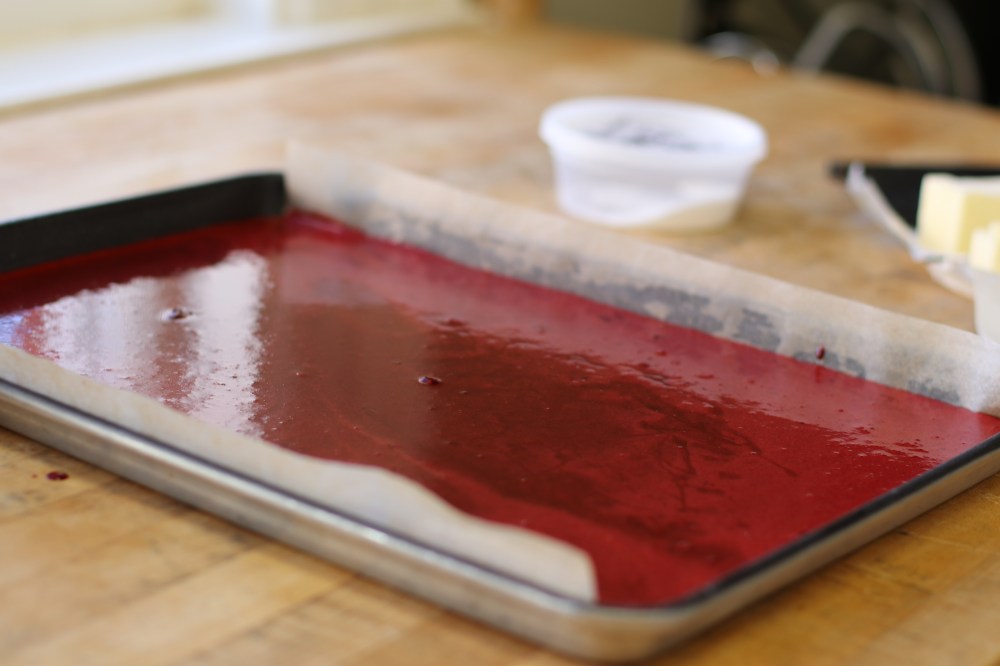
The cake only took about 15 minutes total to bake. However, when it came out it had not risen one single bit.

I cut out my bottom round for my stacked mini cake and it was disappointingly thin. Not nearly the size I needed to make the mini cake!

The cake was also VERY rubbery and eggy. It seriously tasted like eggs and felt like play food. I think it has to do with the recipe having four whole eggs and very small amounts of the other ingredients.
Gentry even tossed it around several times like a frisbee and it never even cracked. I bent it practically in half and it sprang back to its normal shape!

This recipe was CRAZY. I’m not sure what happened. The pictures looked amazing, but what I ended up with was a red, rubbery frisbee.
I trashed this recipe and moved on to a fool proof red velvet recipe that I had tried and tested before!
I got out a clean half sheet pan, sprayed it with baking spray, lined it with parchment paper and then sprayed the paper with baking spray because I wanted to be able to lift the whole cake right out of the pan once it was cooled off!

I then poured my much thicker batter into my pan and popped it into the oven!
This cake actually rose and was light and fluffy once it finished baking.
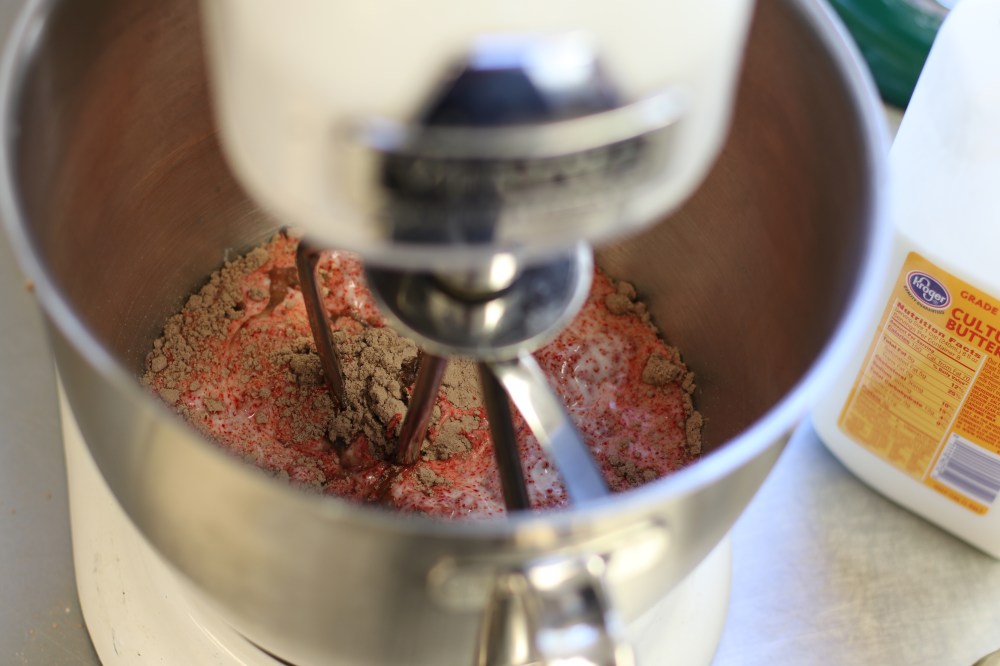
While I was waiting for the cake to cool, I whipped up some cream cheese frosting.
Cream Cheese Frosting:
Ingredients:
- 8 oz cream cheese at room temperature
- 1/2 cup butter at room temperature
- 1/2 cup shortening
- 1 tbsp vanilla extract
- 2 lbs powdered sugar, sifted
- 2 tbsp water or more for thinning
Directions:
- Beat cream cheese in stand mixer fitted with a paddle attachment.
- Add butter and beat until combined.
- Add shortening and beat until combined.
- Add vanilla and mix until incorporated.
- Add powdered sugar a little at a time until completely combined.
- Add water for thinning buttercream as necessary.
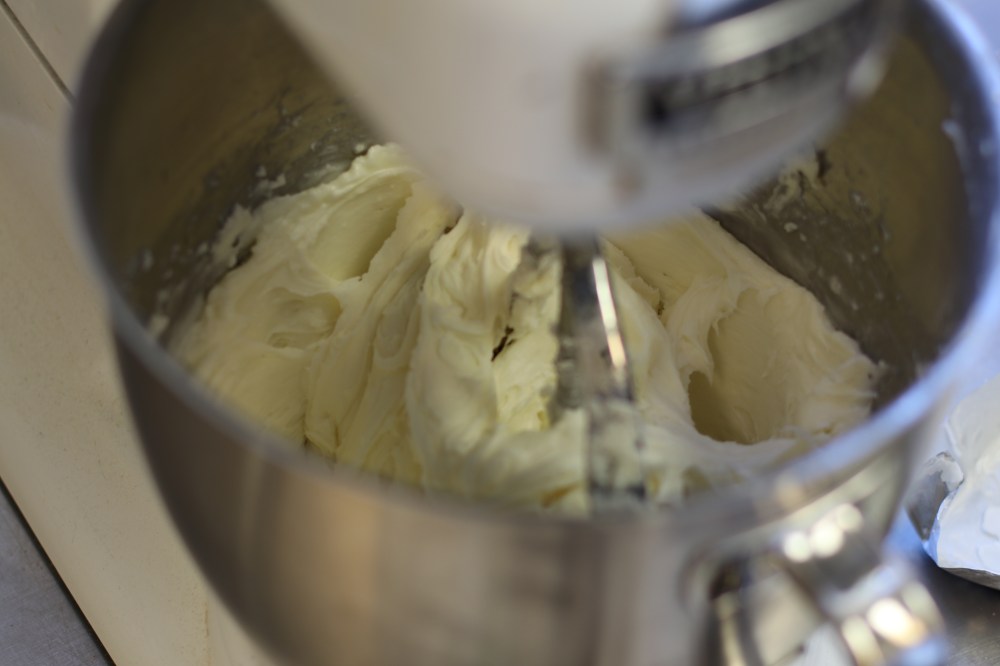
I couldn’t help but get a spoonful of this frosting once I was finished because it is SO yummy. I absolutely love cream cheese frosting.
Once my cake was completely cool, I pulled out Chef MH’s cutter contraption that looks like this:

I used the round cutter to cut my first piece of cake.
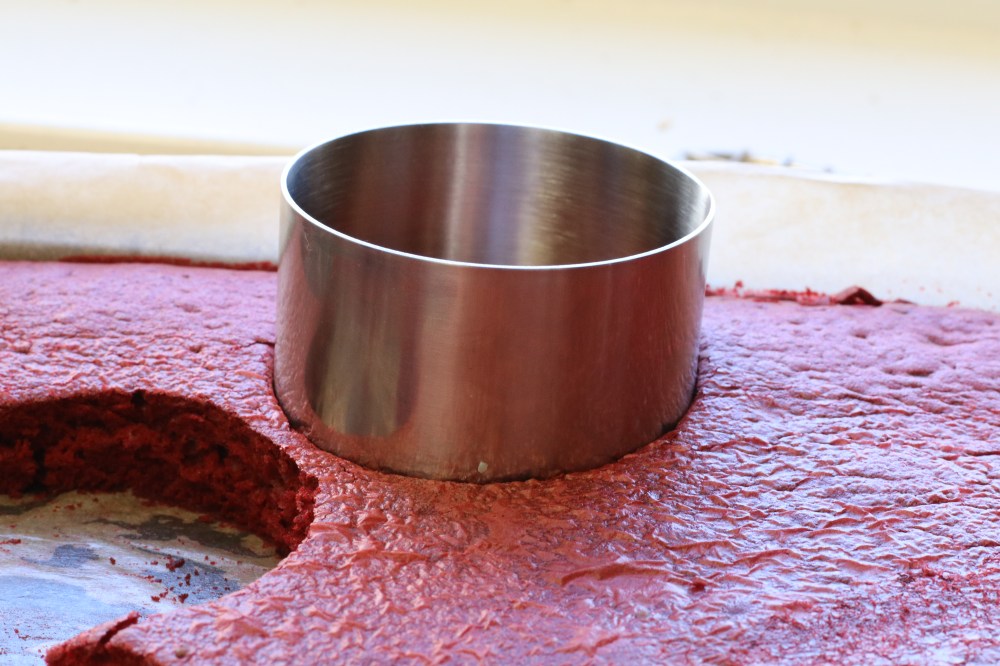
And I left it in the bottom of the cutter to make assembly easier. Excuse my mess!

I then piped a a thin layer of frosting into the round cutter using a regular piping bag with no tip (just the end cut off).


I cut a new piece of cake using the extra round cutter and placed it on top of my frosting.


I then used this the little plunger to push the two layer cake out of the round.

And the result was this cute little cake:

I then used a Wilton 1M tip to pipe a swirl of cream cheese frosting onto the top!

Chef MH, Gentry, and I attempted to use edible spray color to paint m&ms gold to use as a topper, but this did not really work out as well as we would have liked. So instead, we used a piece of square chocolate and a silver sixlet! I think this is just as cute.

We will be placing these little cakes into white boxes with doilies in the bottom! There will be a ribbon around them once we have them all boxed up and some sort of label on the front (although I’m not sure exactly what the label will be of)!
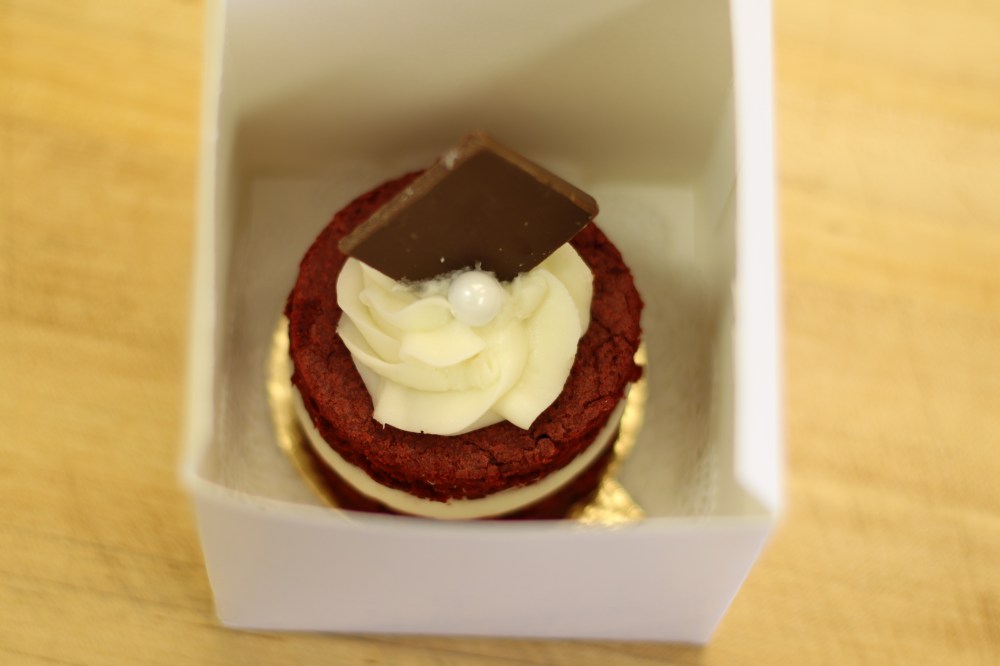
This one is a little messy because we test dropped it into the box a few times to make sure it wouldn’t fall apart! Note to self: take pictures BEFORE dropping the cake.
While I was working on all of the above, my classmates were working on their own projects for the day!
I snapped a picture of Holly working on some cakes! She’s posing of course!

Gentry cut up some fruit and made a really pretty batch of infused water (amongst other things that I didn’t get pictures of).

At the end of the class period, everyone compiled a plate full of all of the homecoming desserts that they had worked on throughout the day. We will be preparing these and serving them during the Friday night Homecoming reception.

Holly made the Tiramisu Mousse in the shot glass with the chocolate shavings.
TK and Bri made the Creme Brûlée.
Betsy made the Rose Tart.

Brooke made the lemon scones.
And some chocolate covered strawberries were made by someone!
The coffee cup actually has coffee in it as a stand in for the Pot de Creme that Holly has tested already (a few weeks ago) and we all know and love it so there was no point in retesting it!

The mini red velvet cake was cut out by Holly and piped on by me as a sort of last minute addition!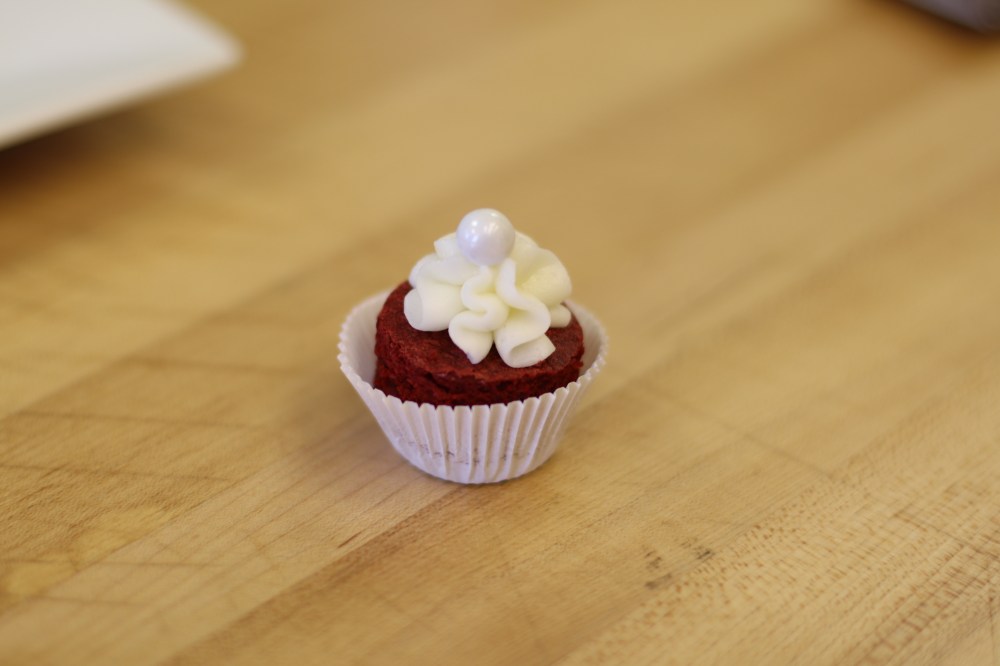
Today was a very fun and yummy day in the kitchen. I am excited for next Friday when Jared Danks, a sugar artist, is coming to teach us some tricks of the sugar art trade! I have never made real sugar art so this may get interesting!
ABC.
