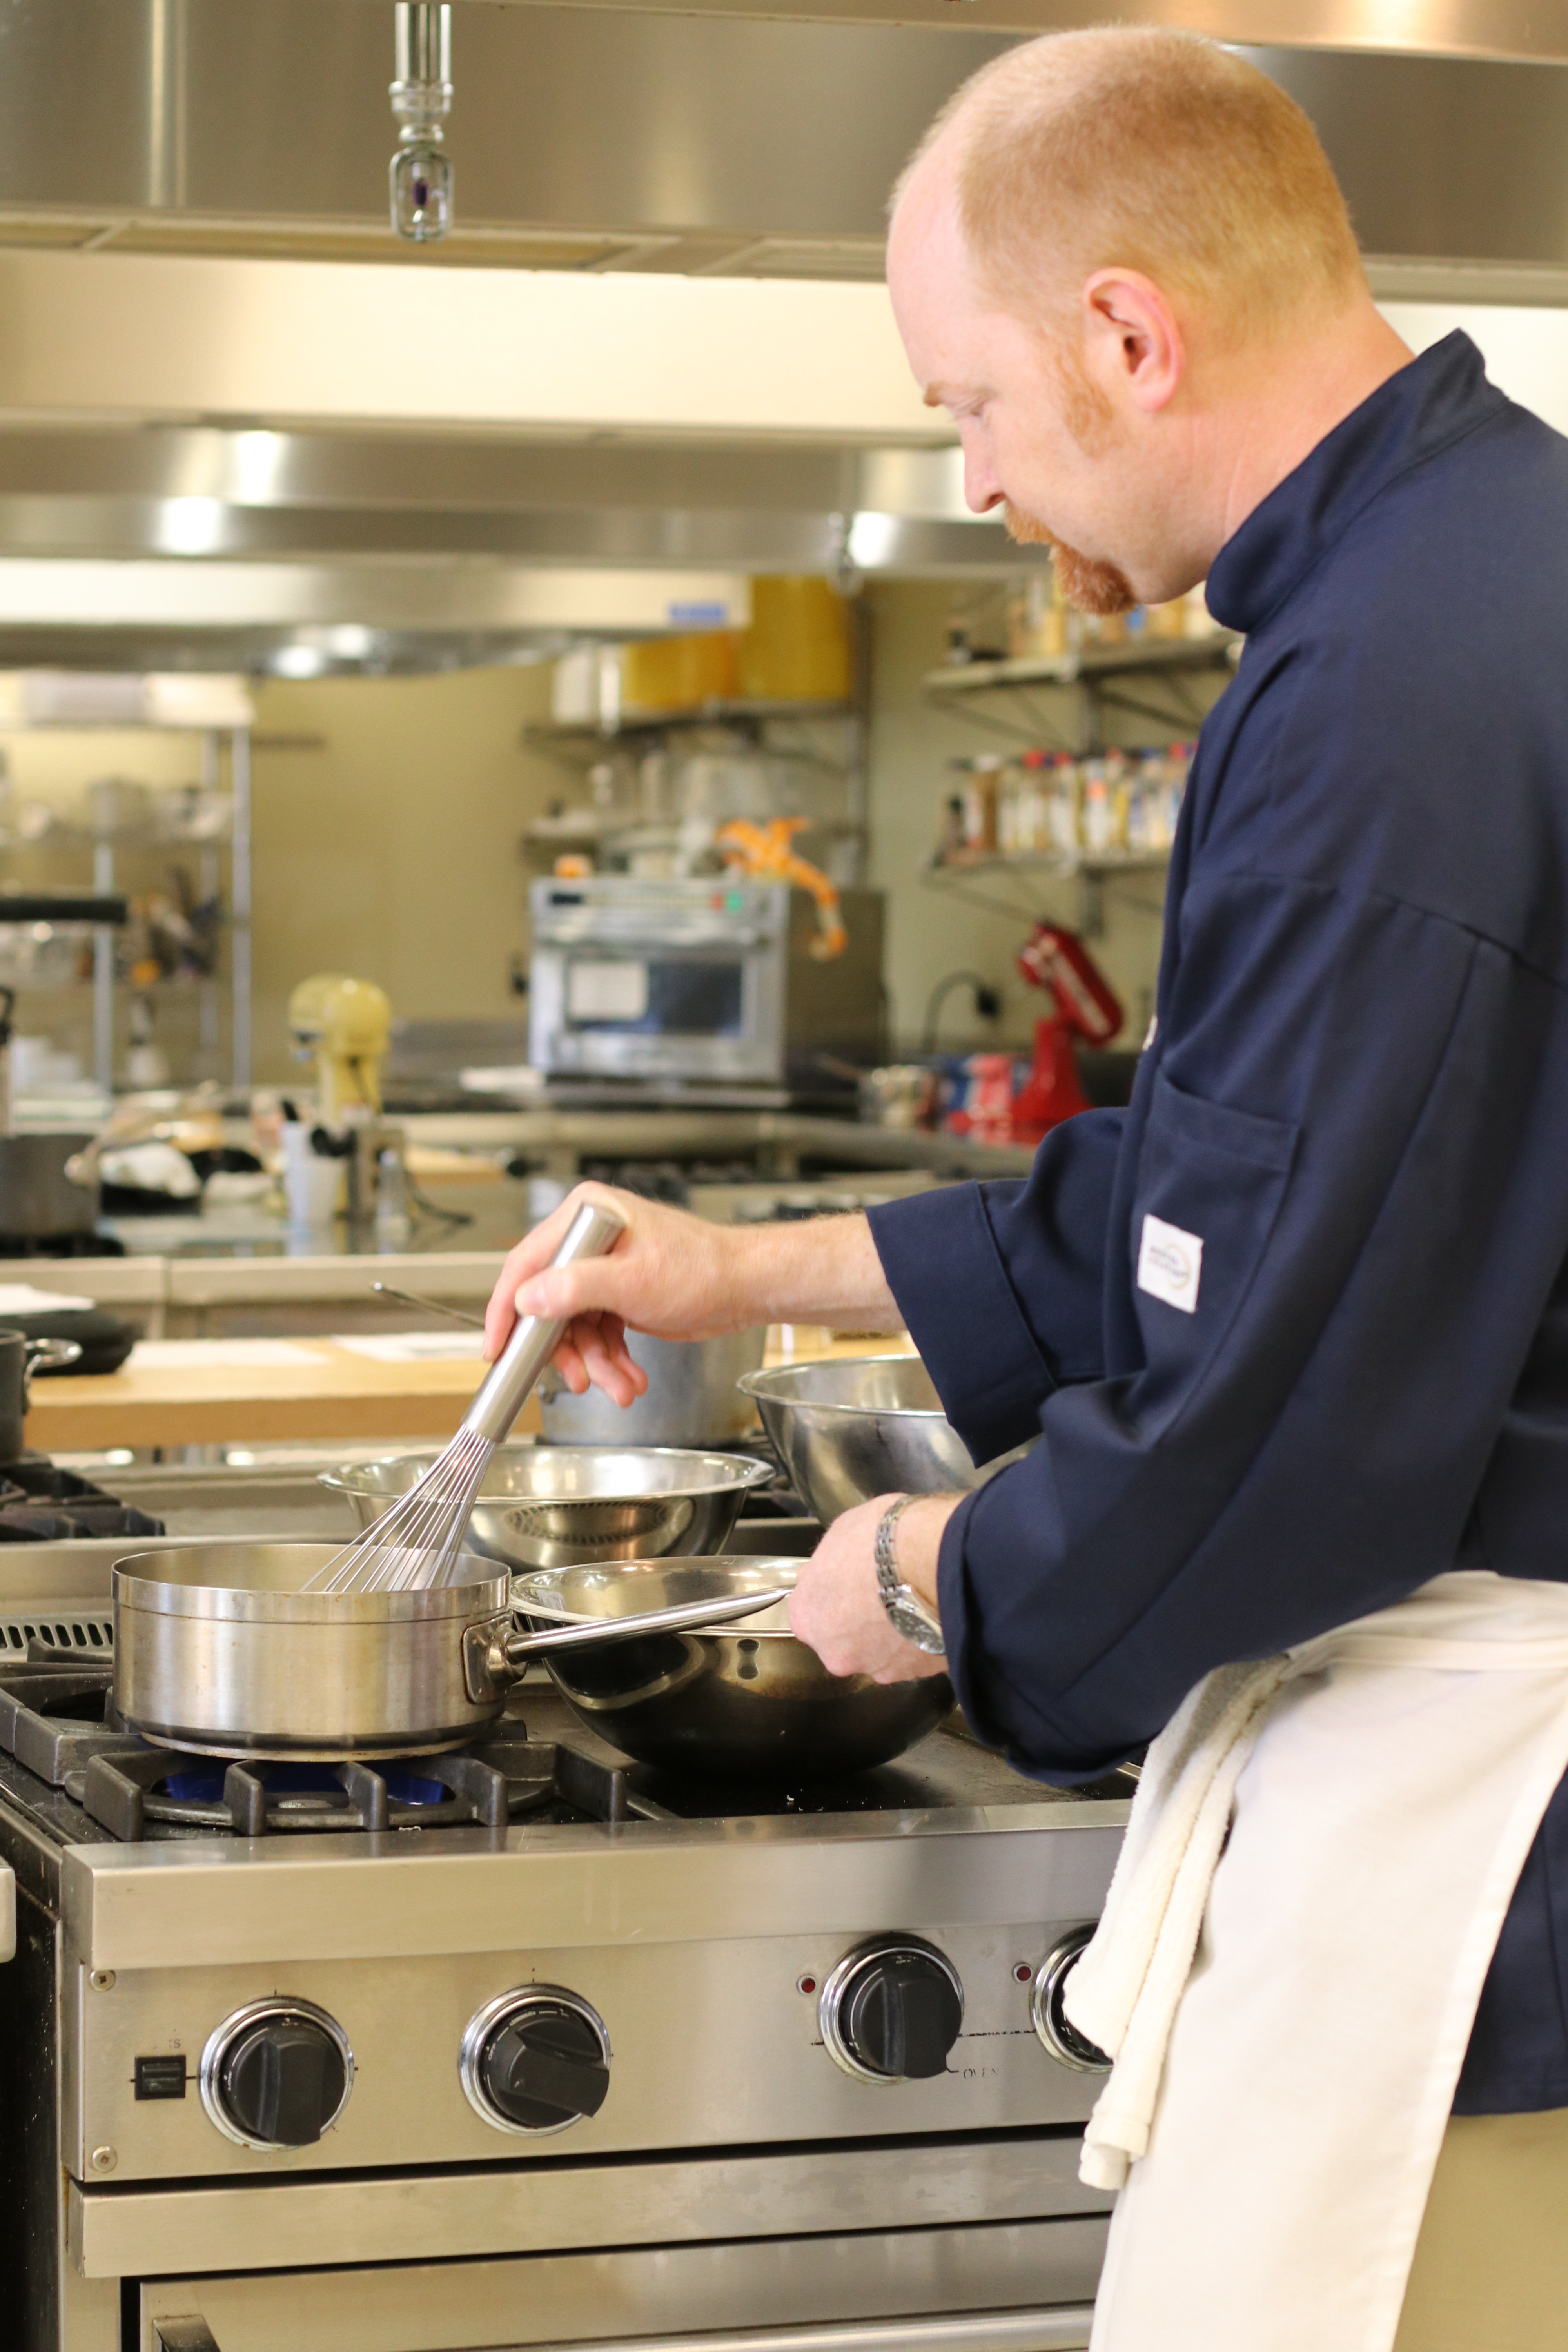
Friday in Advanced Baking, Chef Jared Danks came to class! He is the Program Director of Culinard – The Culinary Institute of Virginia College and an amazing sugar artist!

The class was instructed to arrive at 8:00 am so we could get our stations ready before Chef Jared arrived and began our lesson for the day.
Chef Mary Helen instructed us to get into pairs and gather all of our ingredients for our sugar recipe, so naturally, Holly and I paired up! Holly quickly gathered our ingredients for our sugar recipe as I collected aprons and side towels..
Here is the recipe we used!
Basic Pulled and Blown Sugar:
Ingredients:
Tartaric acid solution
- 1 oz cream of tartar
- 1 oz hot water
Sugar mass
- 2 lb 2 oz granulated sugar
- 14 oz water
- 7 oz glucose or corn syrup
- optional food coloring
Directions:
- Combine cream of tartar and hot water, stir to dissolve an set aside to cool.
- Bring sugar and water to a boil for two minutes then add glucose or corn syrup.
- Add food coloring at 230 degrees F (if using). May also use paste at the end of cooking.
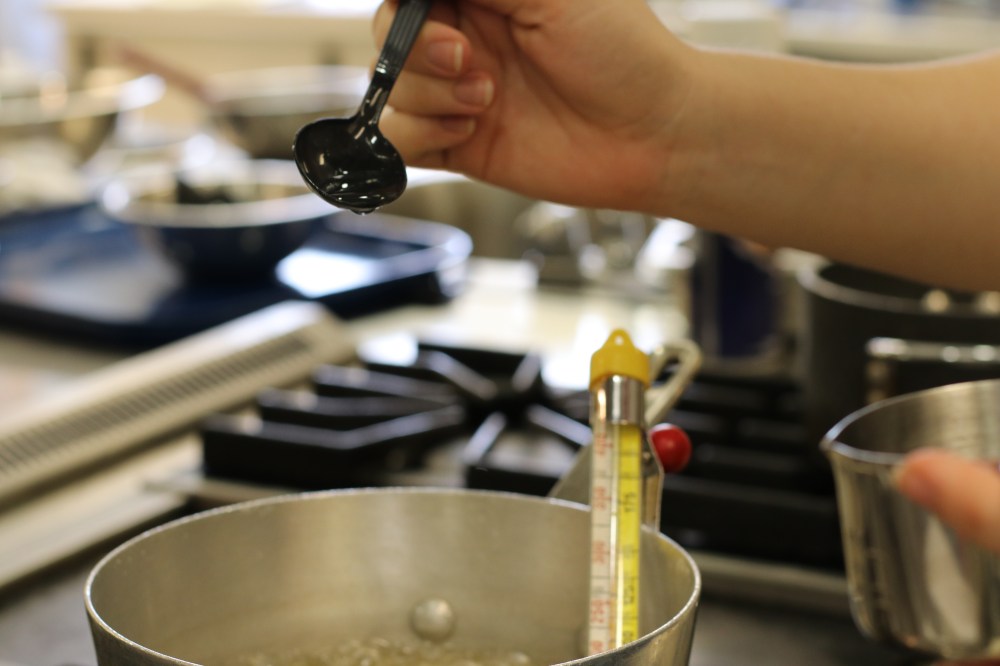
- At 285 degrees F, add 12 drops of acid solution.
- Remove the mixture when it reaches 305 – 310 degrees and immediately plug the bottom of the pan in old water to stop the cooking (wipe the bottom).
- Pour onto a silicone mat and start lifting the edges and folding over to cool evenly.
- When the spreading of the sugar mass slows down, start pulling air into the mass. Be careful not to over pull.
- Pull flat and cut into pieces to use or save for later to be reheated.
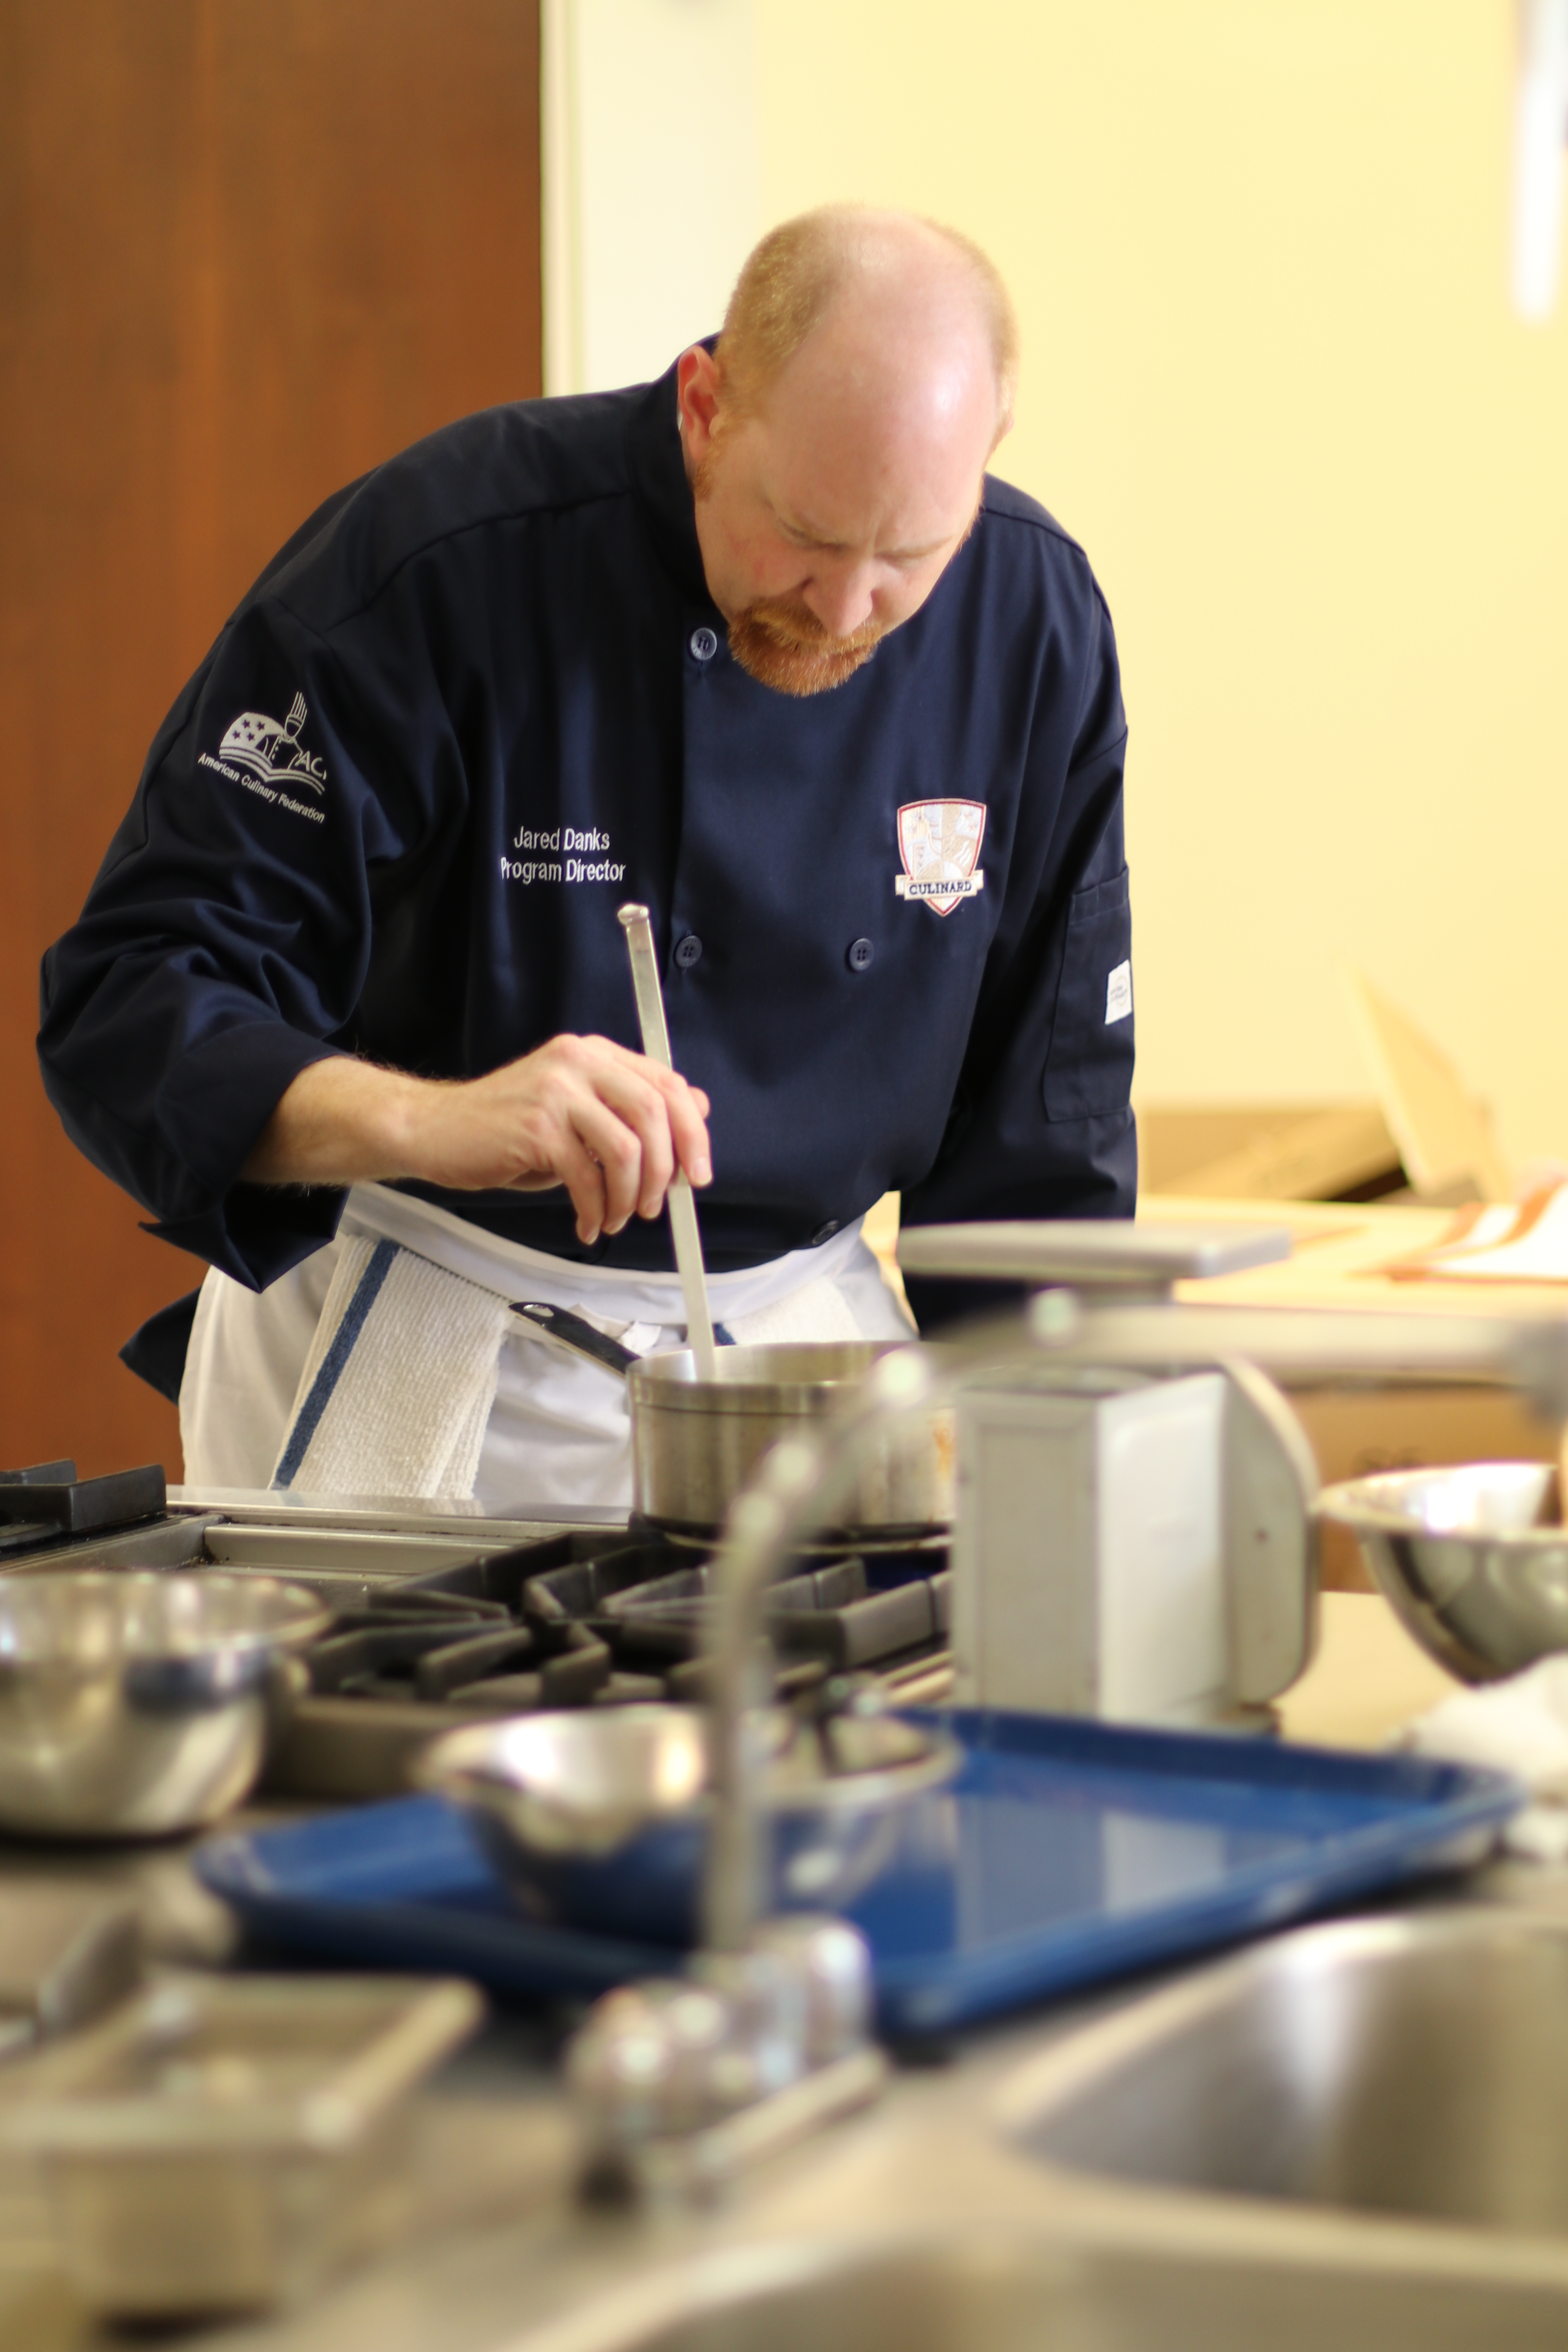
Chef Jared showed us how to get our sugar recipes started, and while his was reaching 285 degrees, he let us get our own batches together.
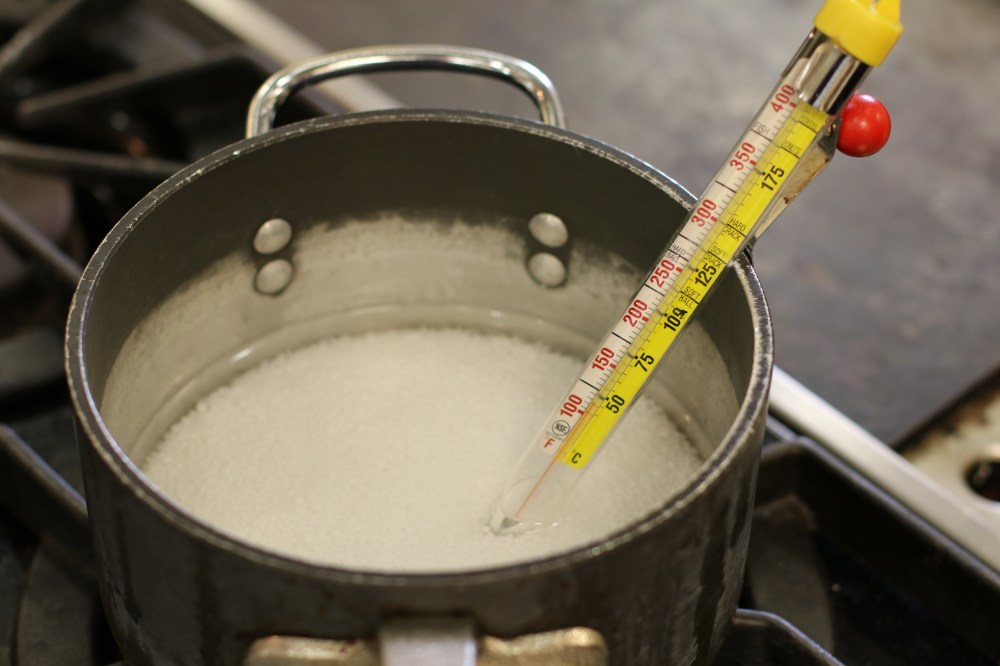
We were going to use a few drops of the tartar solution that Chef Jared had already made, so our first step was to pour our 14 oz of water in a pan.
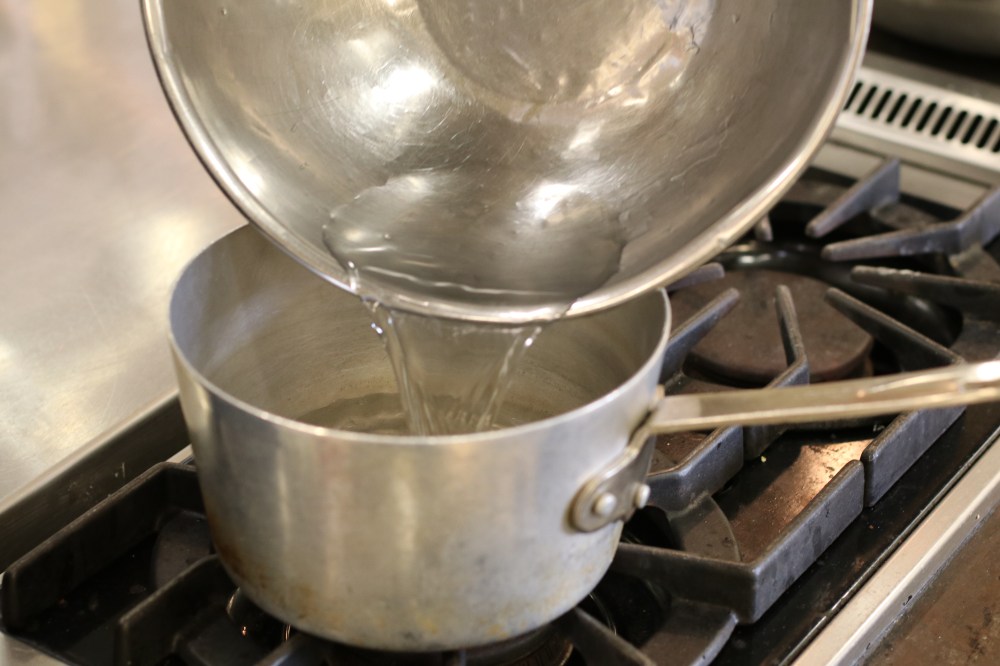
We then added in our granulated sugar and waited on it to come to a boil.
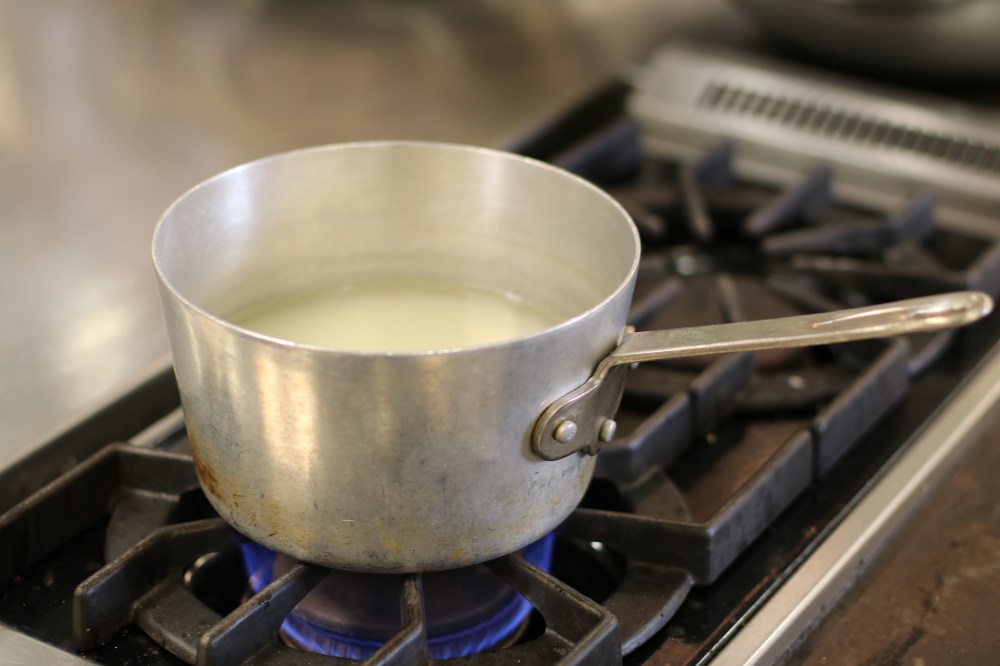
The sugar water boiled for about two minutes.
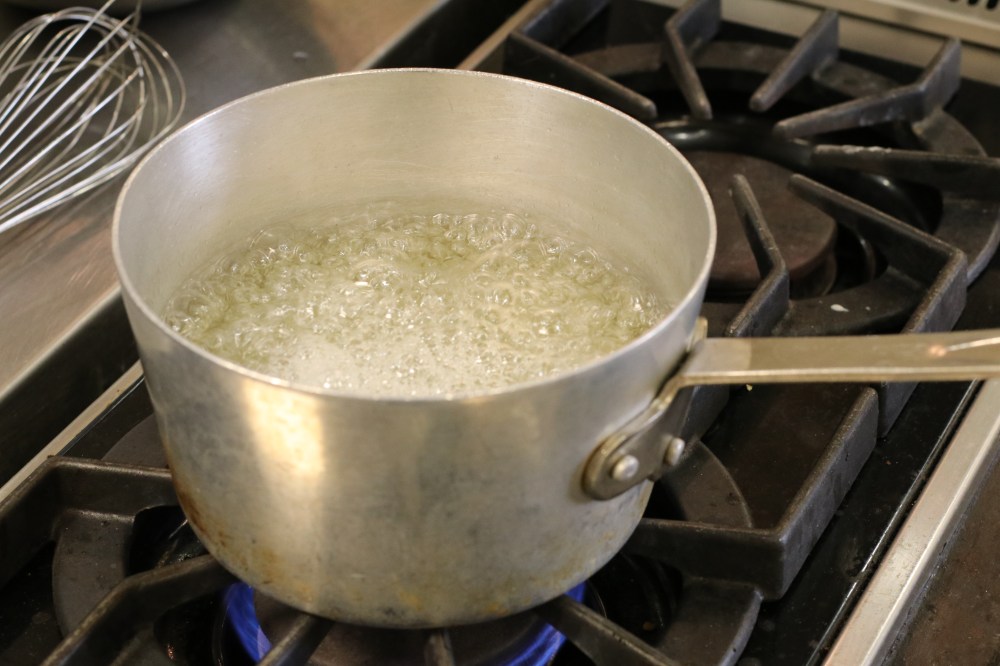
And then we added in all of our corn syrup.

While we were waiting on our mixture to reach 285 degrees, Chef Jared called us over to watch him finish up his pulled sugar recipe.
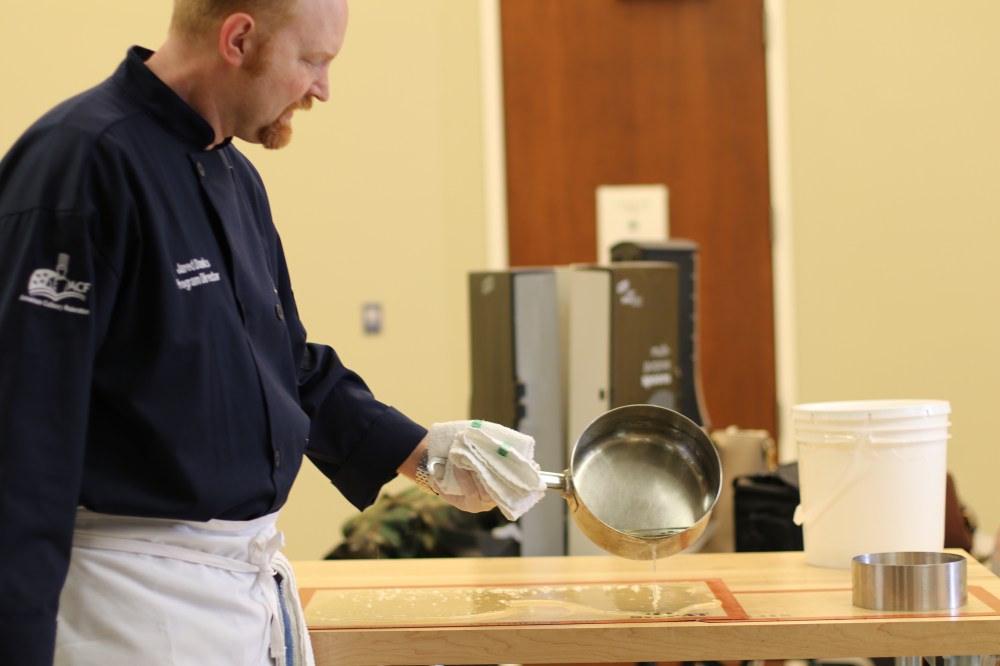
He added in his tartaric acid solution, allowed the mixture to reach 305 degrees and then plunged it into a bowl of cold water to cool it down! Next he thoroughly wiped off the bottom of the pan (this is a very important step to prevent excess water from getting into the sugar mixture)!
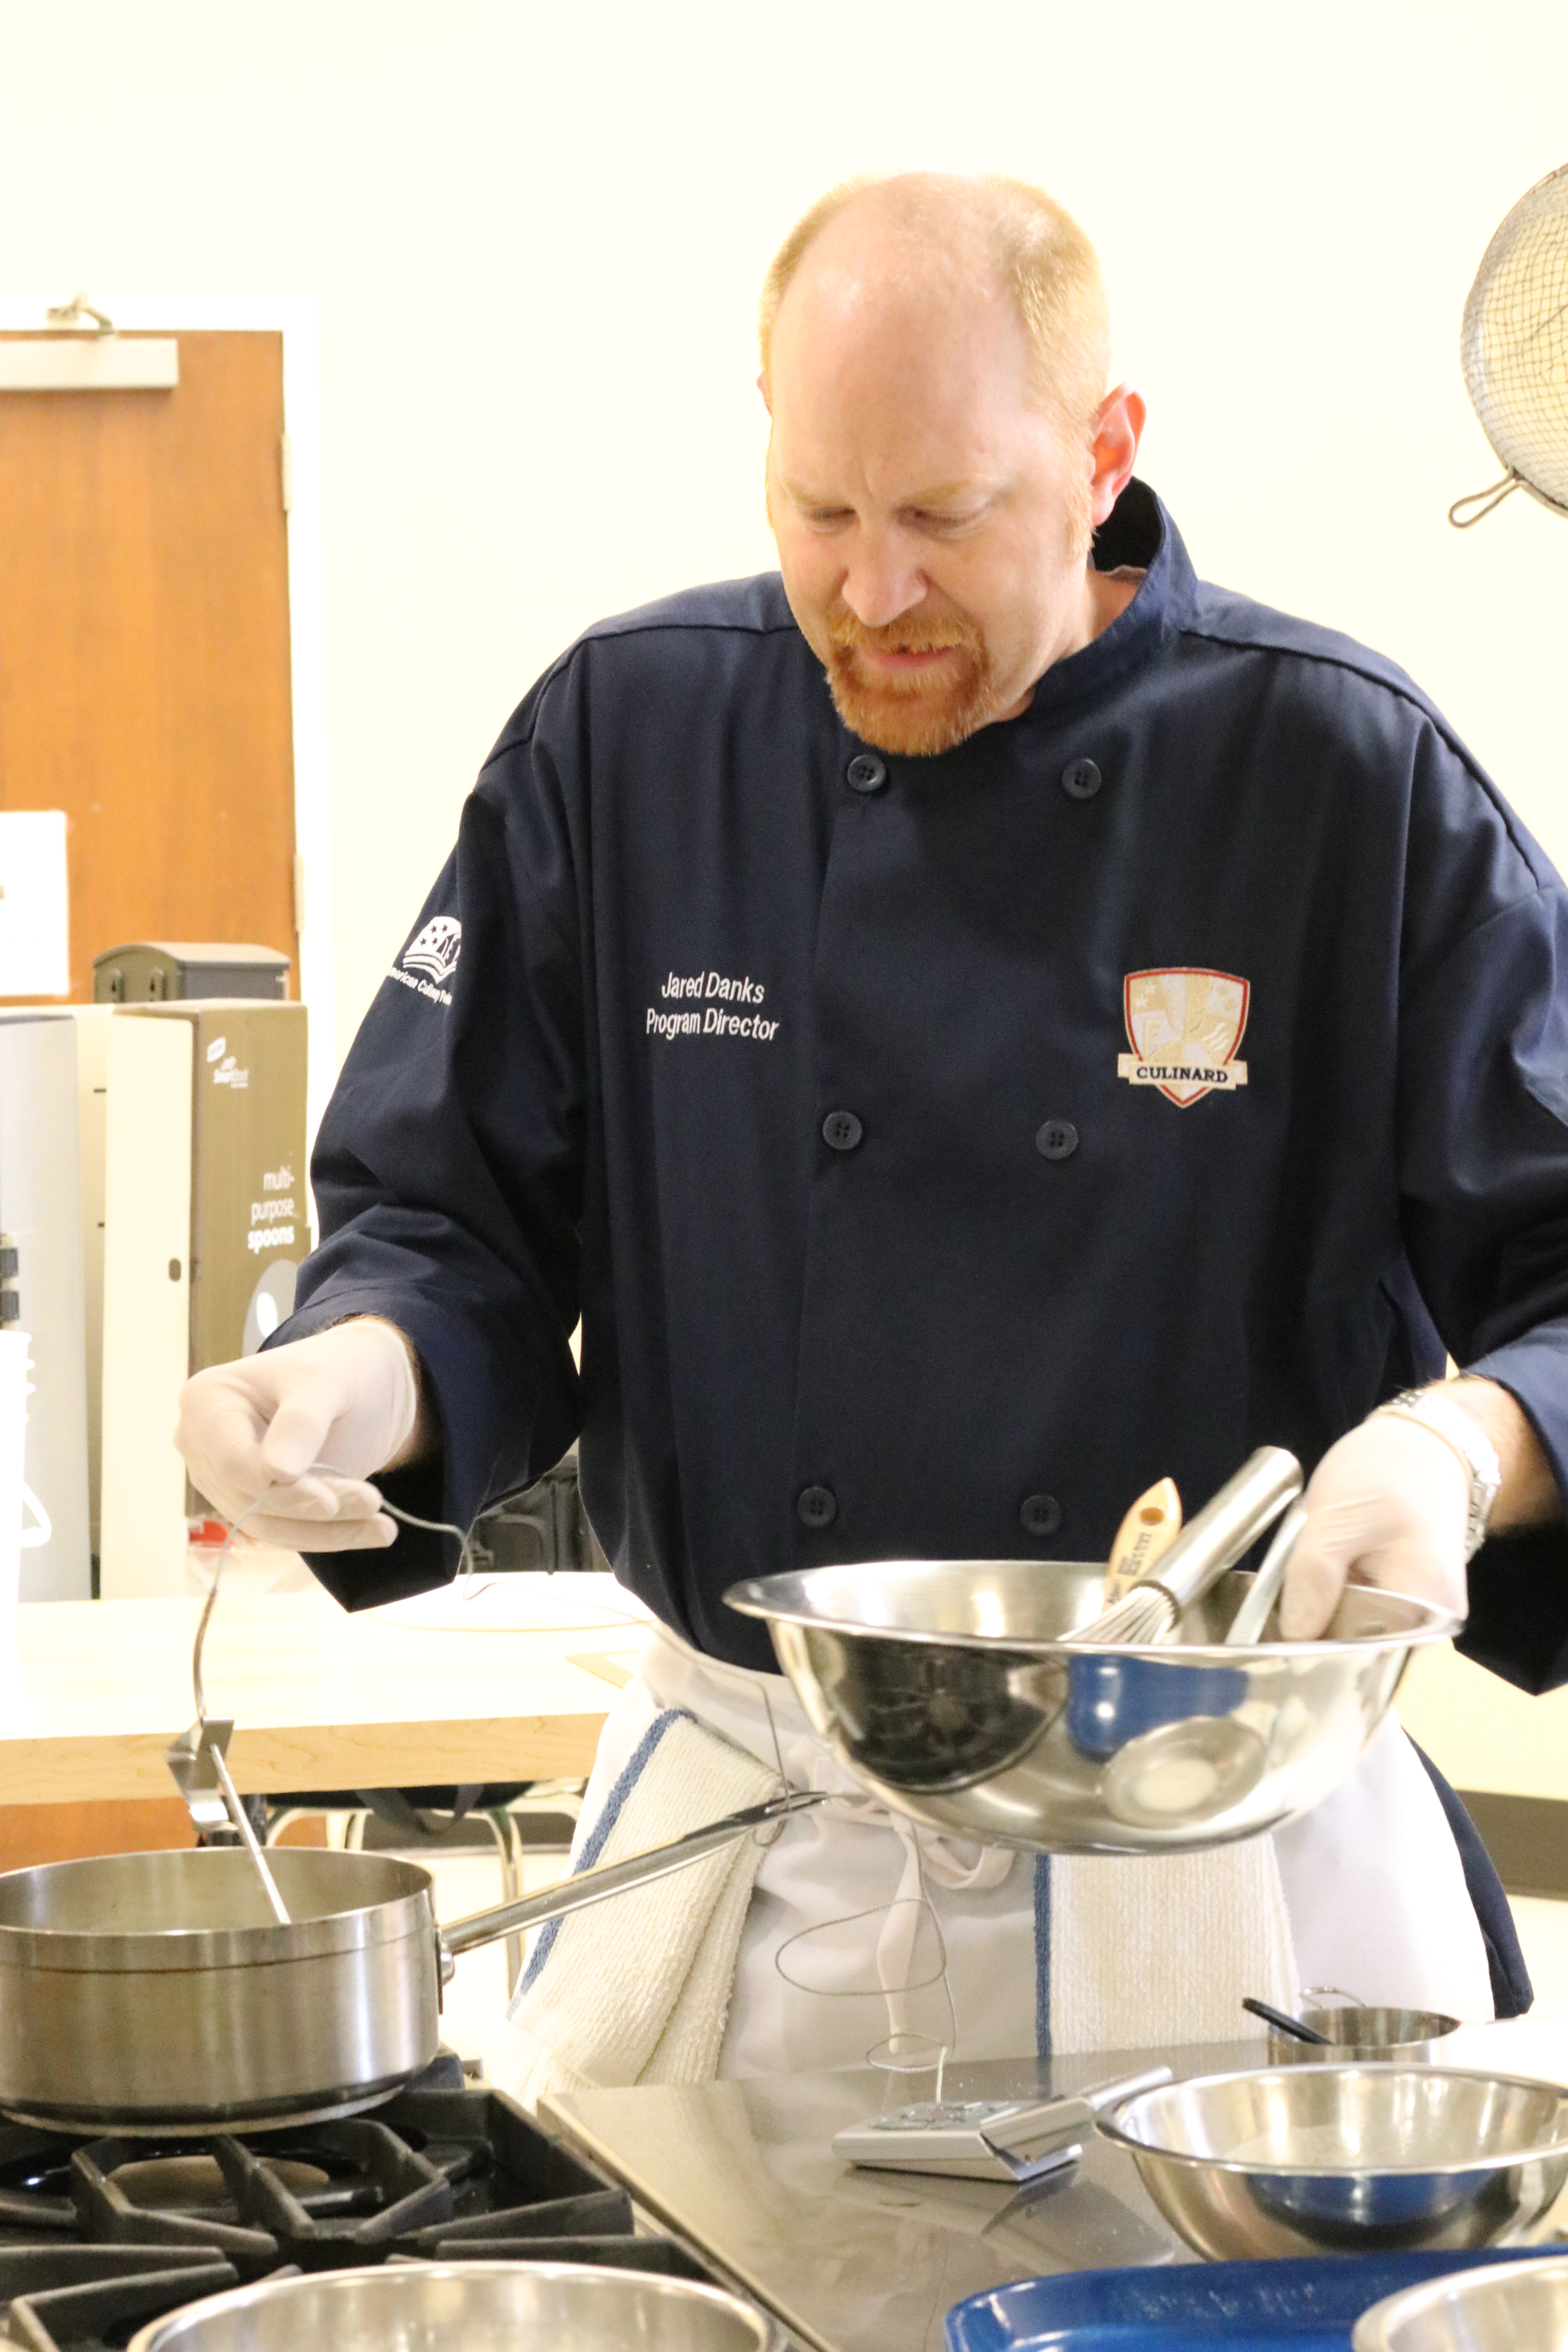
Chef Jared used a great digital probe thermometer that has an alarm on it that can be set for specific temperatures. I have never seen one of these but I really need to invest in one since I often find it hard to stand over sugar mixtures and watch them continuously!
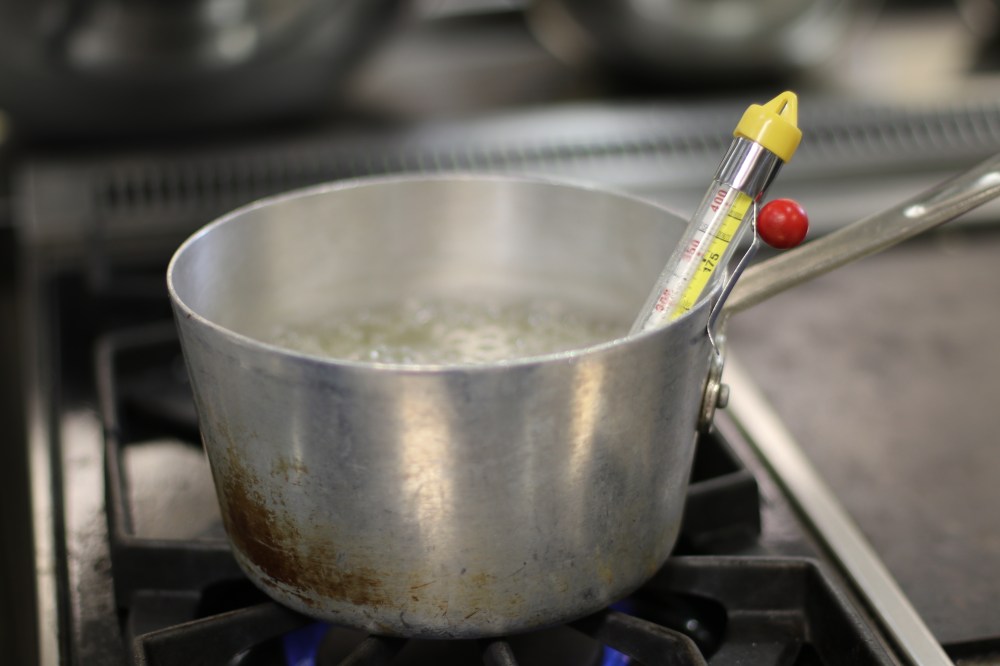
I went back over to mine and Holly’s mixture to check the temperature on my candy thermometer; however, ours still had a good bit of time left to reach 285.
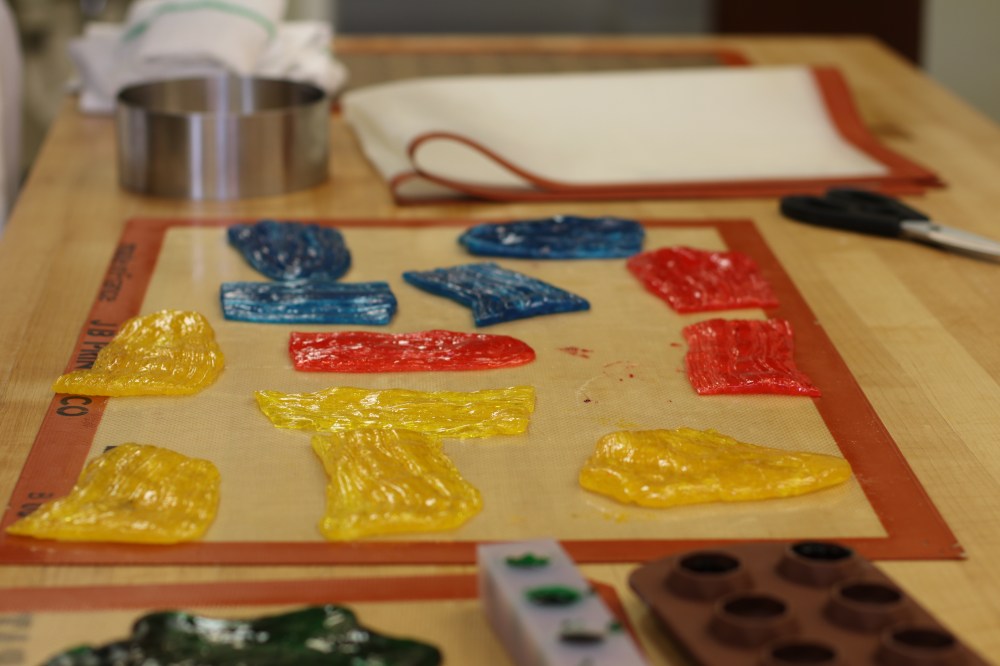
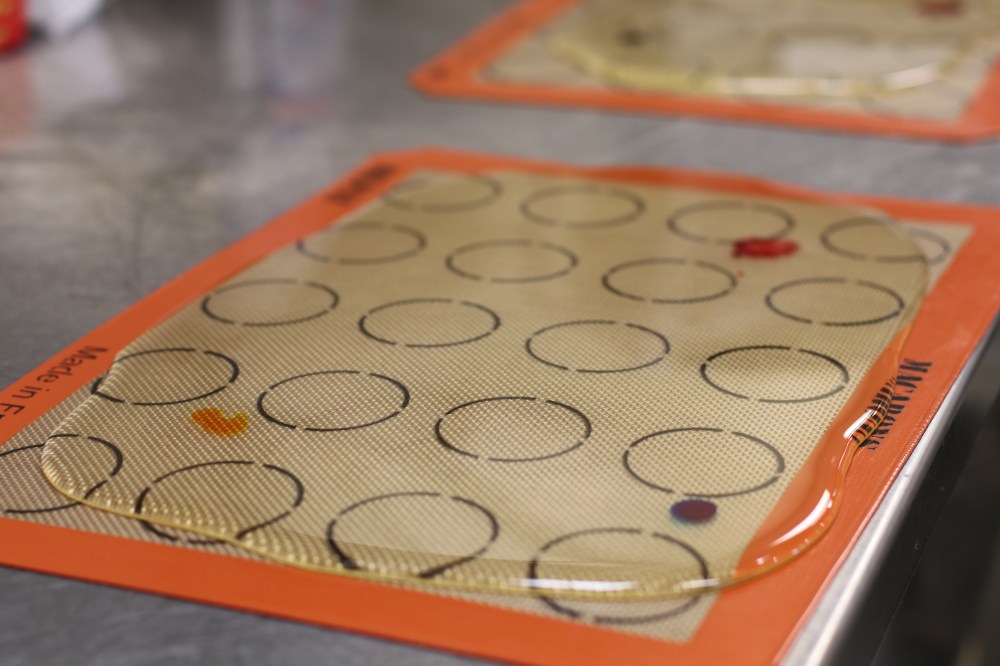
Chef Jared then demonstrated how to pour out our sugar recipe onto our silpats.
He also demonstrated how to add color at this point, and made some very vibrant colors of his own!
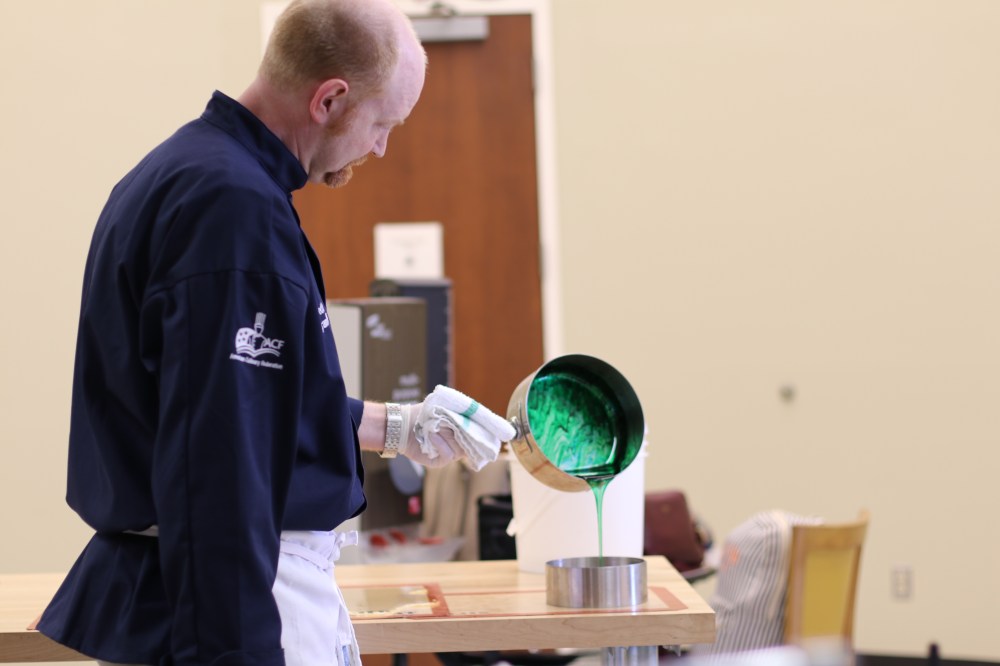
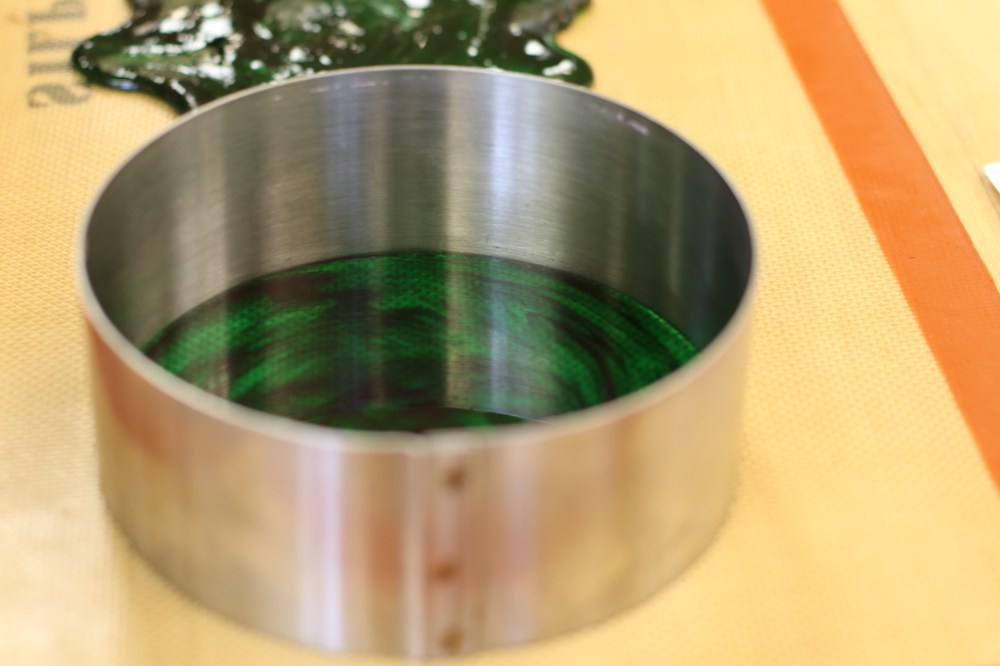
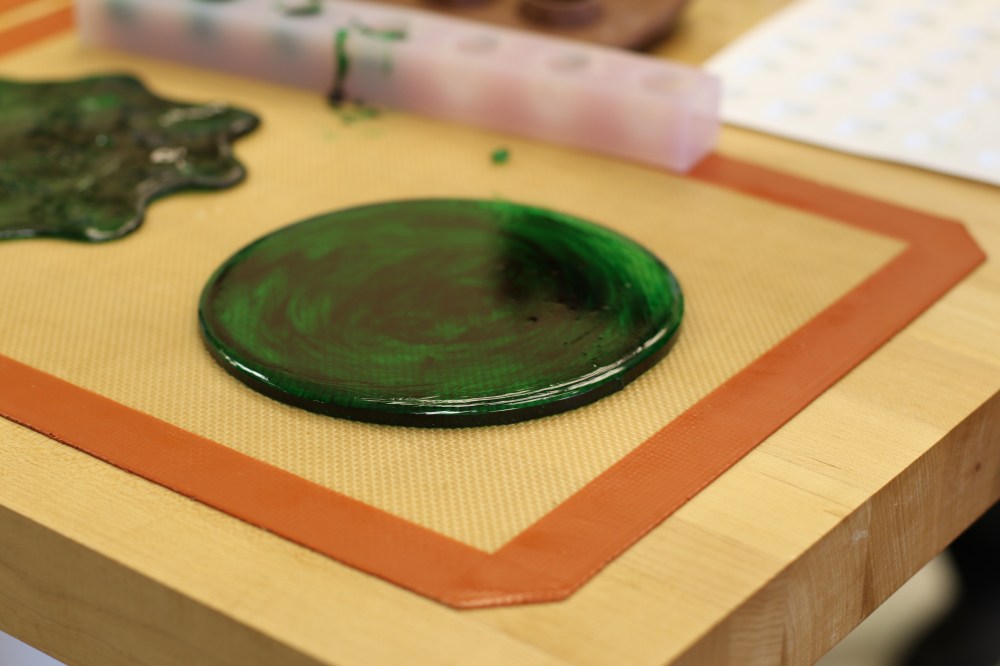
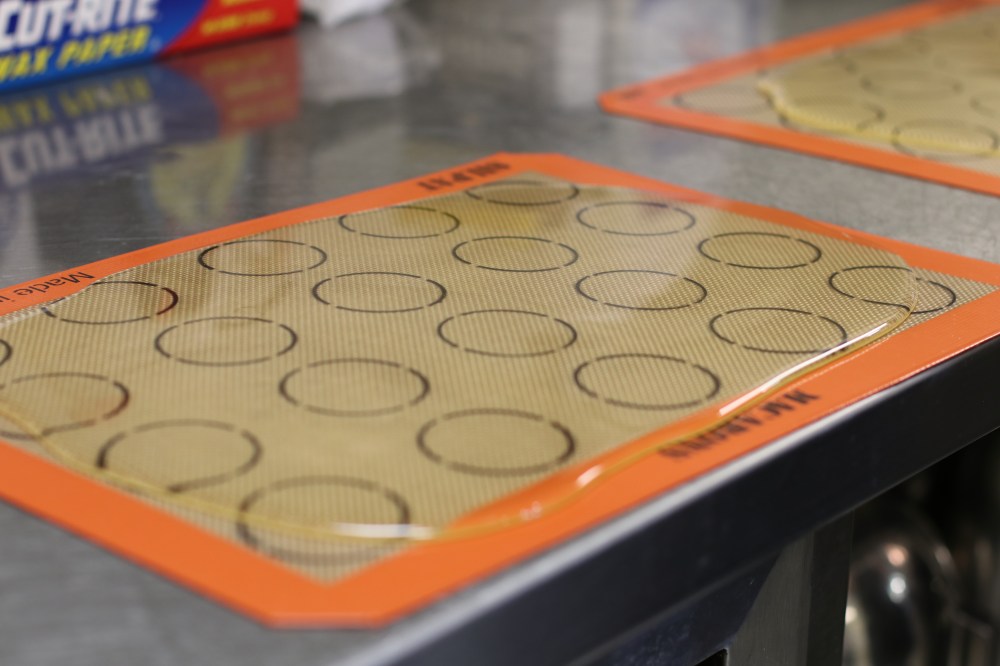
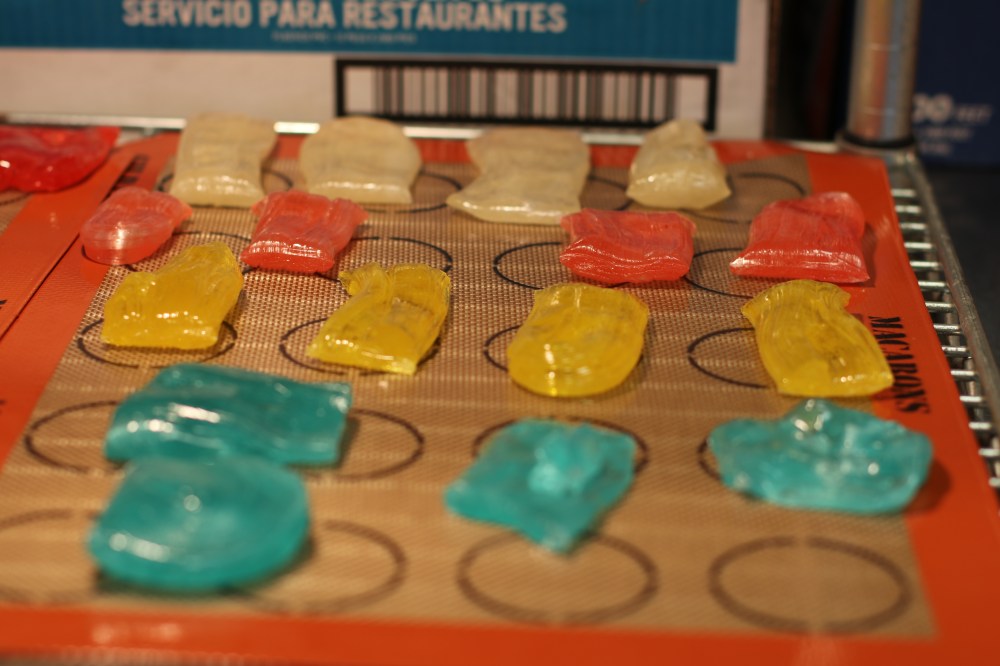
He also showed us how we can pour our sugar into molds…
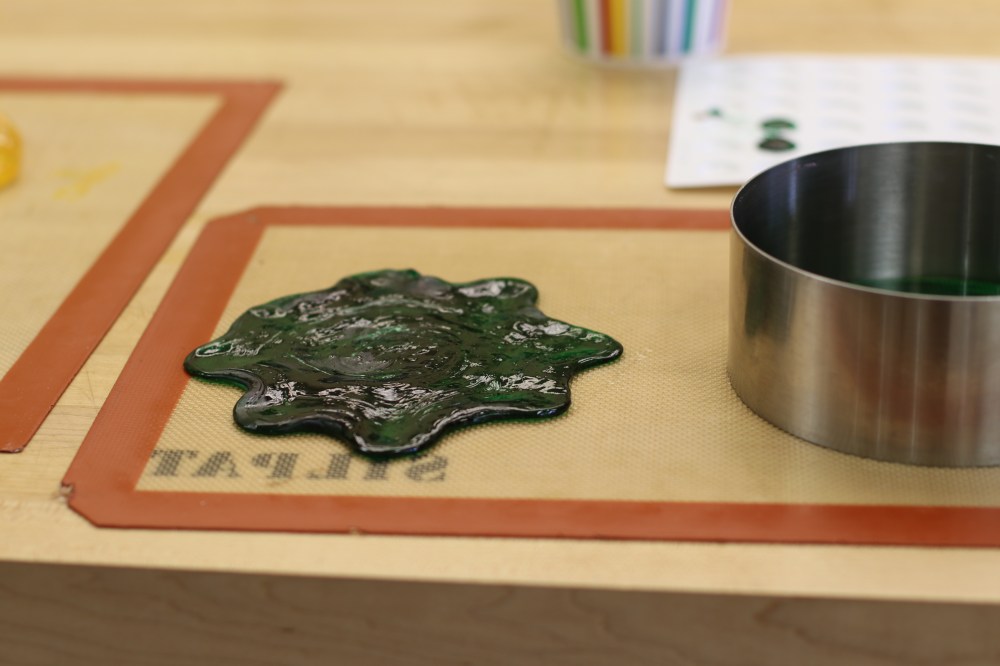
Or pour it onto a silpat and free form it…
At this point, we all returned to our own mixtures to add our acid solution.
And while we were once again waiting on the temperature to rise, we watched Chef Jared pull air into his sugar, flatten it out, and cut it into pieces.
He also released the sugar from the round mold and out came a perfect, green, sugar circle which would be a great base for some sugar art!
We returned to our mixture which had now reach 305 degrees. Holly plunged it into our cold water, wiped off the bottom, and poured it onto two silpats, one for each of us.
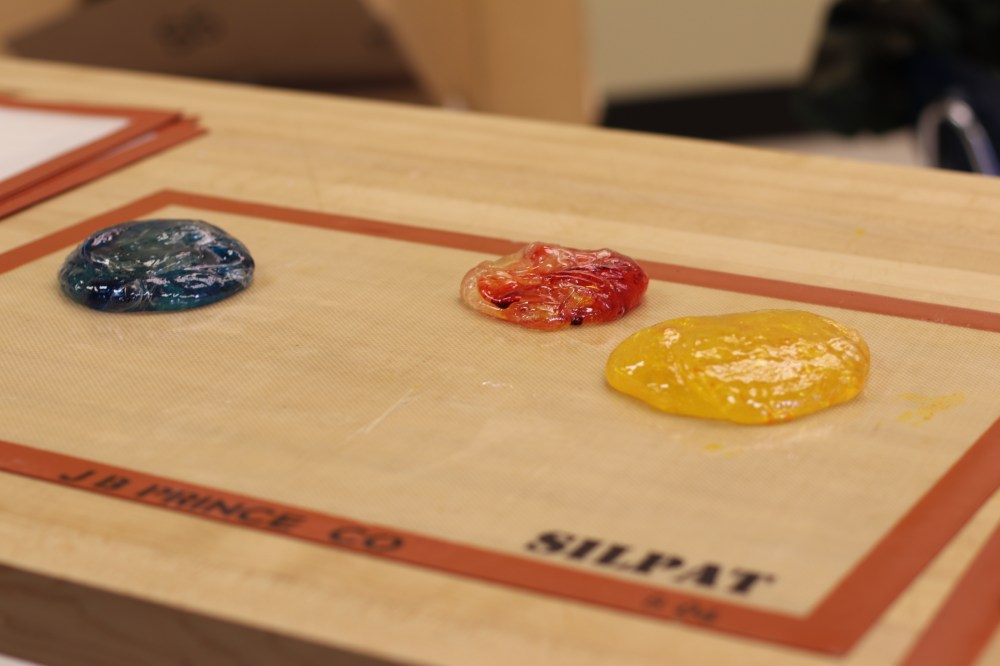
I then added one drop of blue color in one corner, one drop of red color in another corner, one drop of yellow in the third corner, and I left the fourth corner empty. I wanted a pale red/pink color, a pale yellow color, a pale blue color, and clear/white.
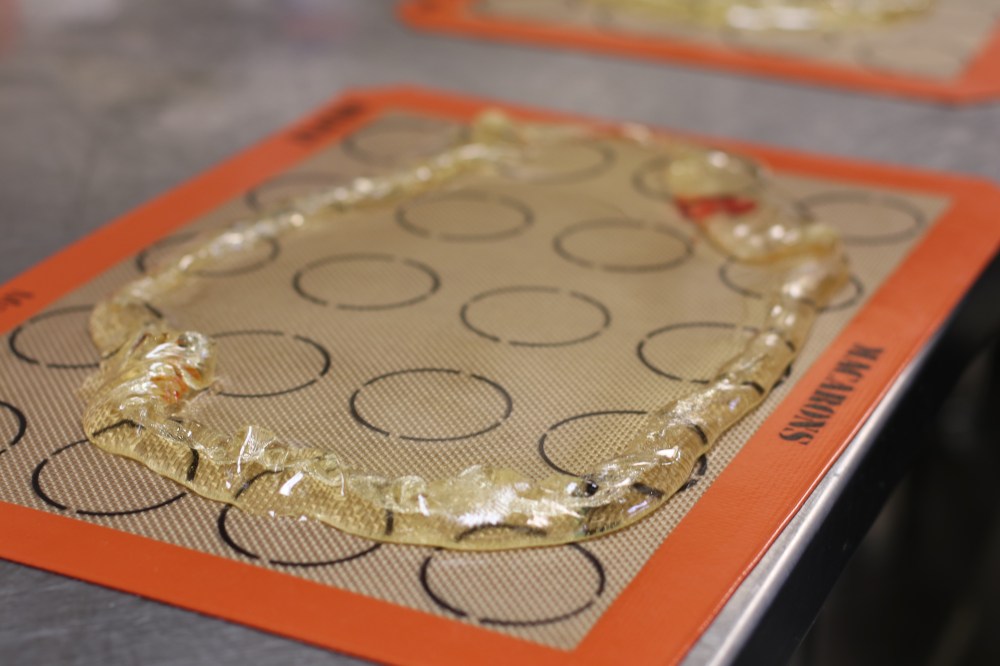
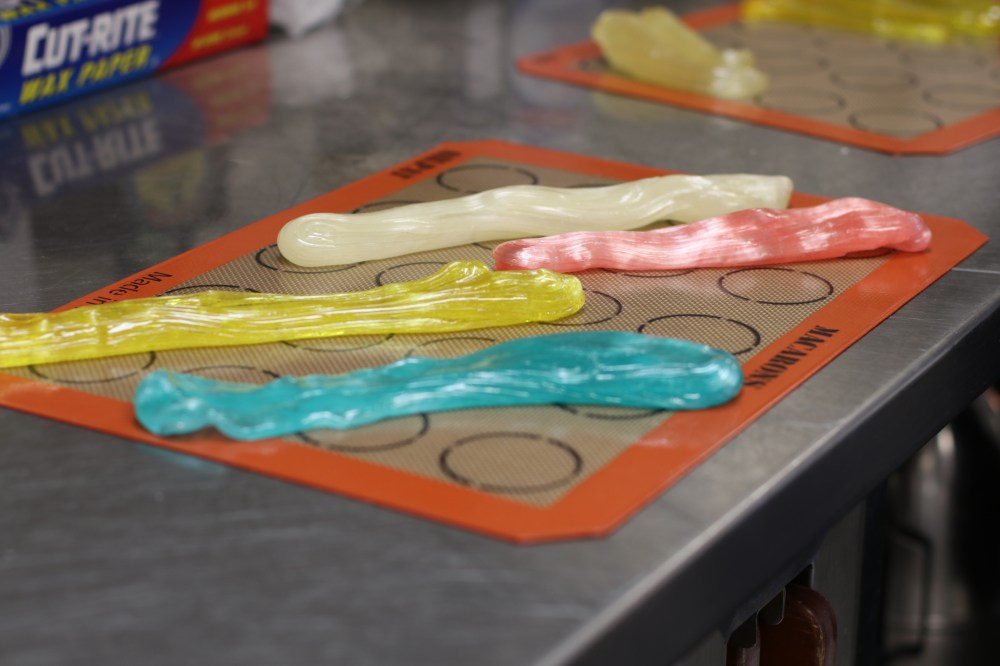
Following the instructions of Chef Jared, I began pulling in the outer edges of my sugar which were cooling faster with a gloved hand (to prevent any sweat or water on my hands from interacting with the sugar).
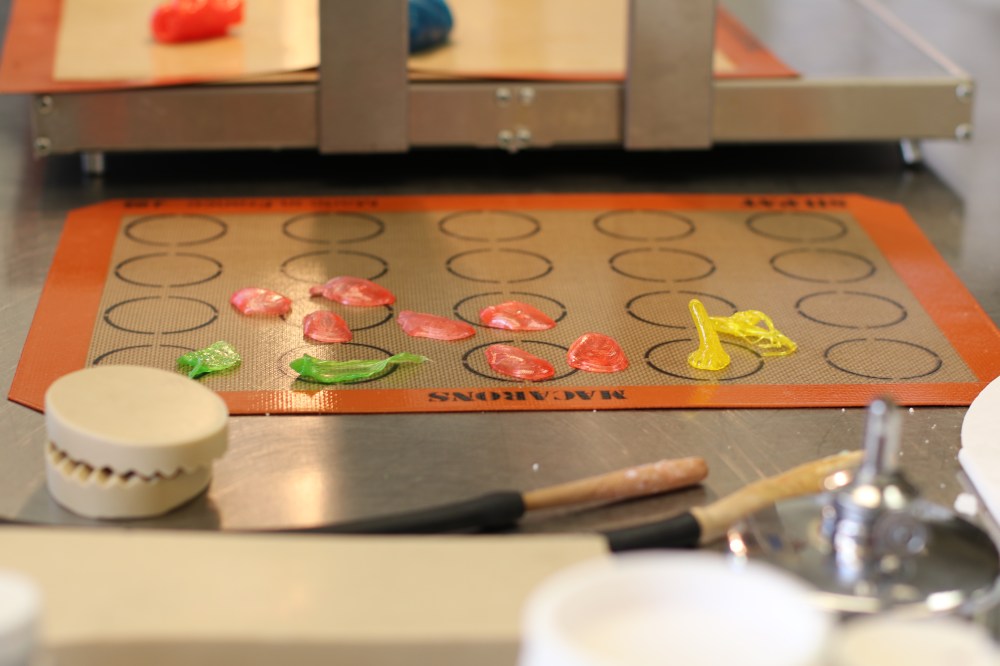
I then separated each of my colors into individual pieces.
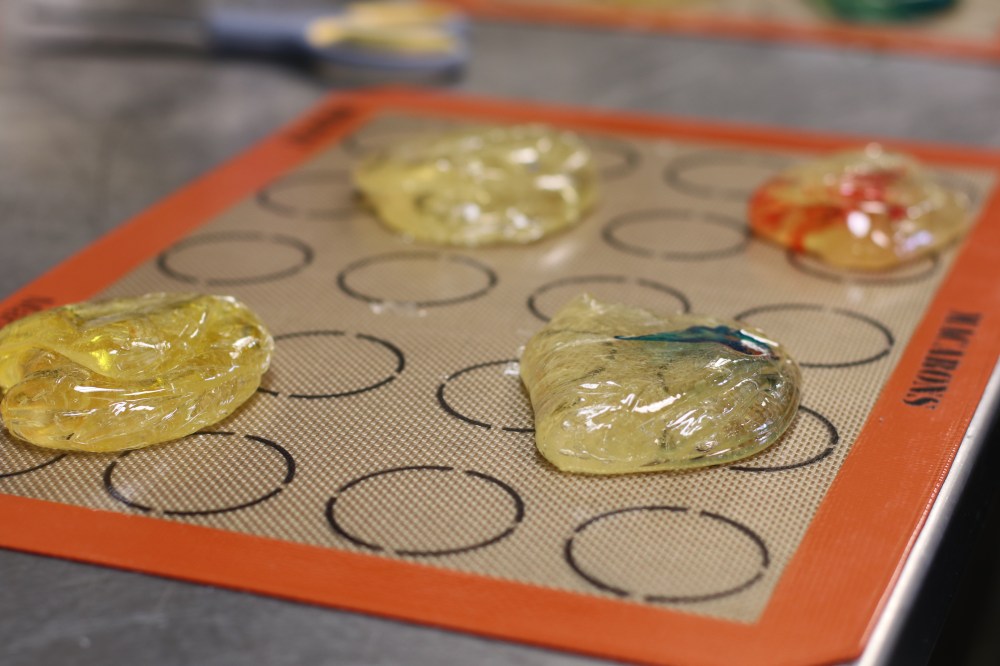
And then mixed them up until all the color was incorporated.
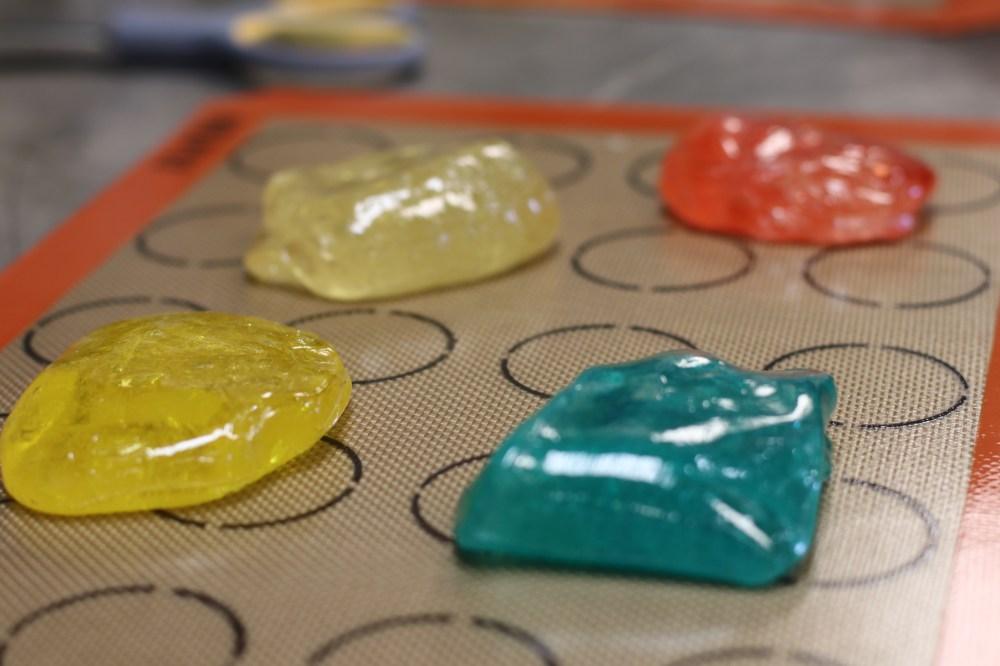
I then stretched them all out until they were thin.
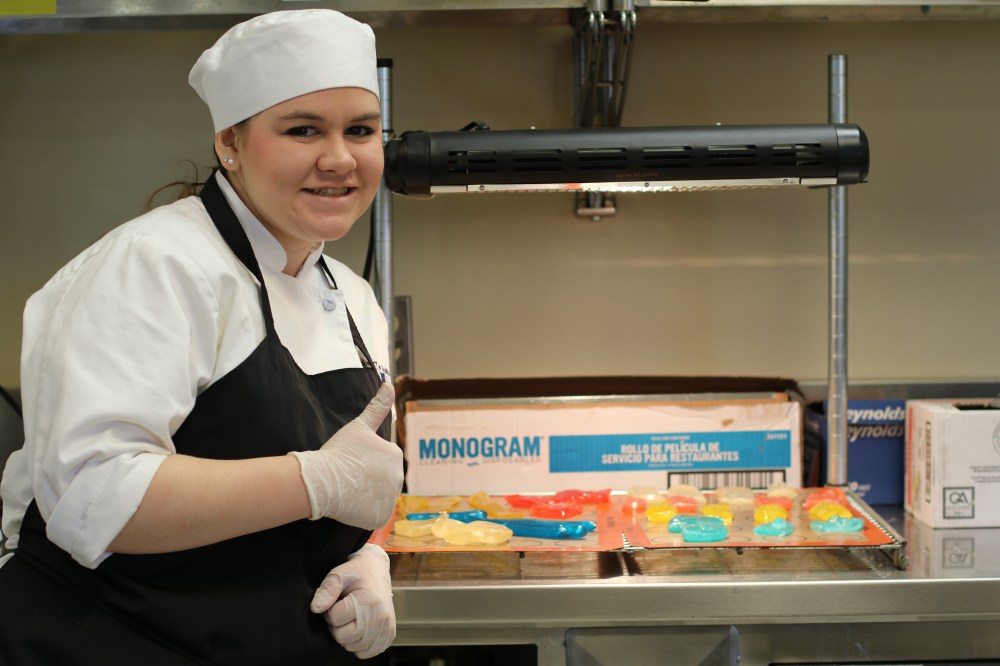
Next, I cut them into small pieces and put them under the warmer.
Isn’t Holly cute?
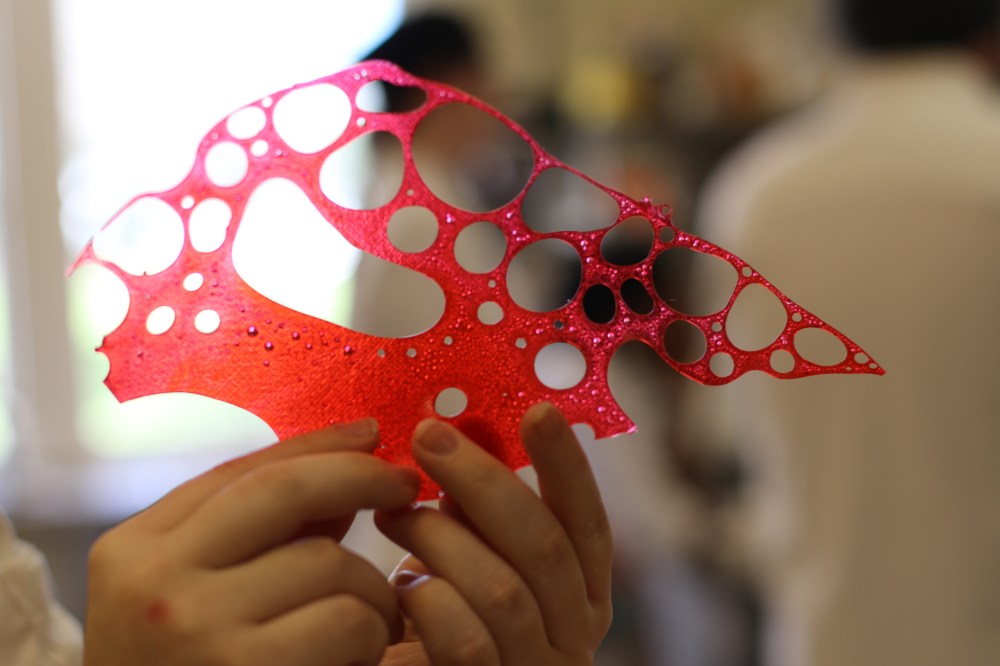
At this point, Chef Jared demonstrated how to make isomalt bubble art. He placed a silpat in a baking sheet and added a thin layer of isomalt on top. He also added some red powder color to it that was invisible to us at this stage.
He then placed another silpat on top and popped the whole thing in the oven for 15 minutes. After this time, the isomalt had developed large bubbles that were visible through the silpat.
He allowed it to cool and removed the silpat to show us the neat new art that had been created by the bubbles!
After this, Holly and I put some isomalt in a pan and covered it with water until it looked like wet sand. We put this on the stove top to allow it to reach 305 degrees F. We were attempting to create something perfectly clear for Holly to use to create sugar “diamonds” for her three tier wedding cake.
However, we soon became entranced in Chef Jared’s demonstrations and forgot all about our isomalt… and it burned… horribly…
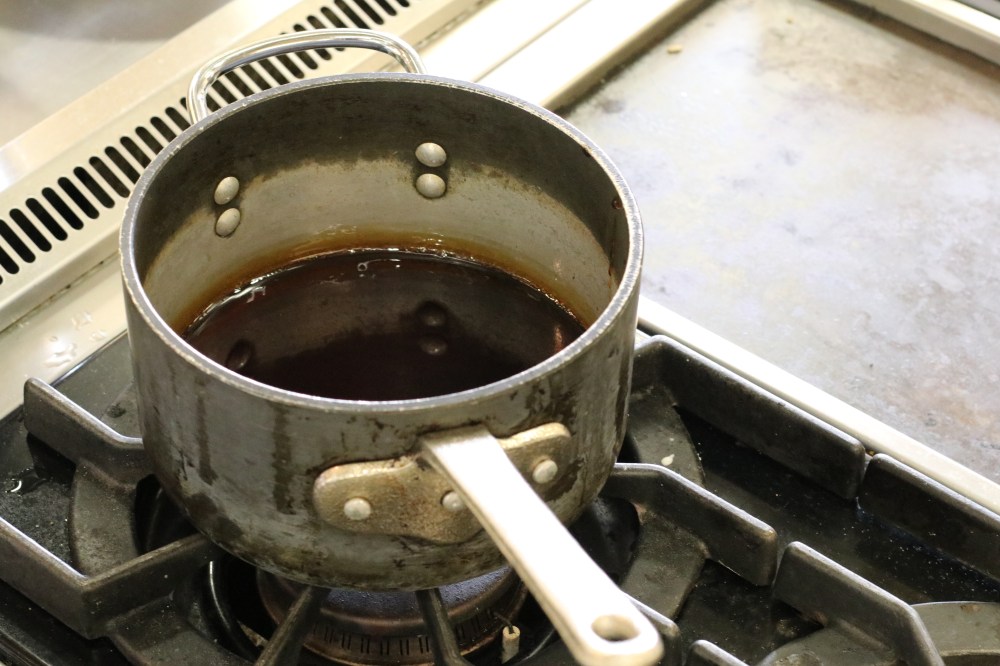
Note to self: get one of those thermometers like Chef Jared that rings when it gets to the desired temperature so I can stop burning things.
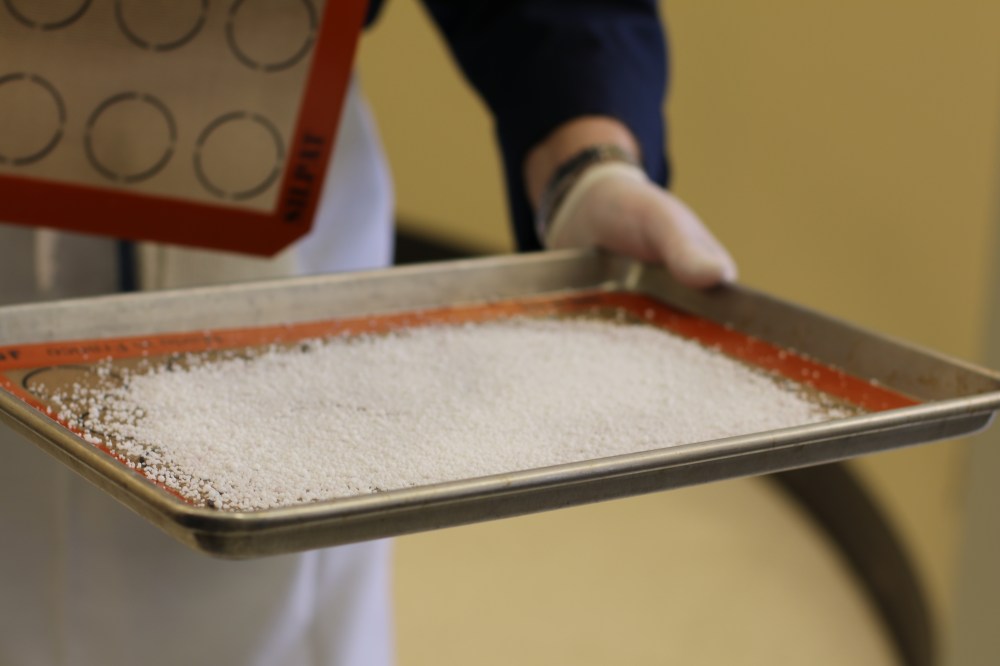
At this point, Chef Jared showed us some Rock Sugar (the coral looking sugar below).
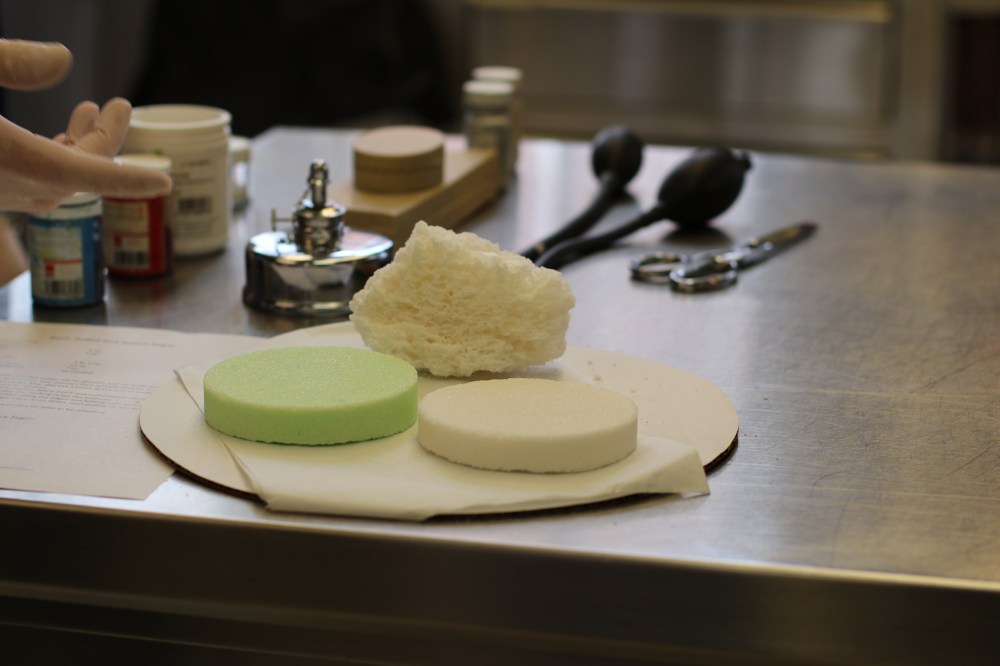
He also gave us a recipe to create our own!
Rock Sugar:
Ingredients:
- 2 lbs granulated sugar
- 1 lb water
- 2 Tbsp royal icing (firm)
Directions:
- Cook sugar and water to 290 degrees F.
- Remove from heat and whip in royal icing.
- Pour into an oiled form and let cool.
- Break into pieces.
- Coloring can be added at 230 degrees if desired. Can also be airbrushed.
Next, Chef Jared demonstrated how to make a few things using his sugar.
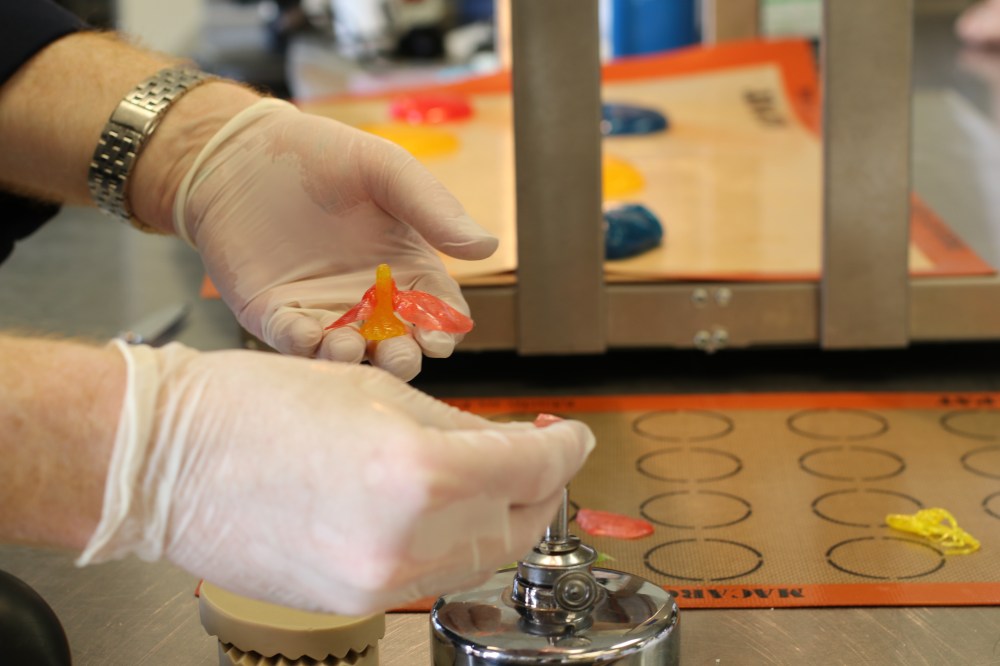
First, he showed us how to use just our hands to pull of pieces of sugar to create a stamen and individual leaves and petals for a flower.
He then created his flower by taking the petals and placing them over an alcohol torch to melt the ends enough to stick onto the stamen.
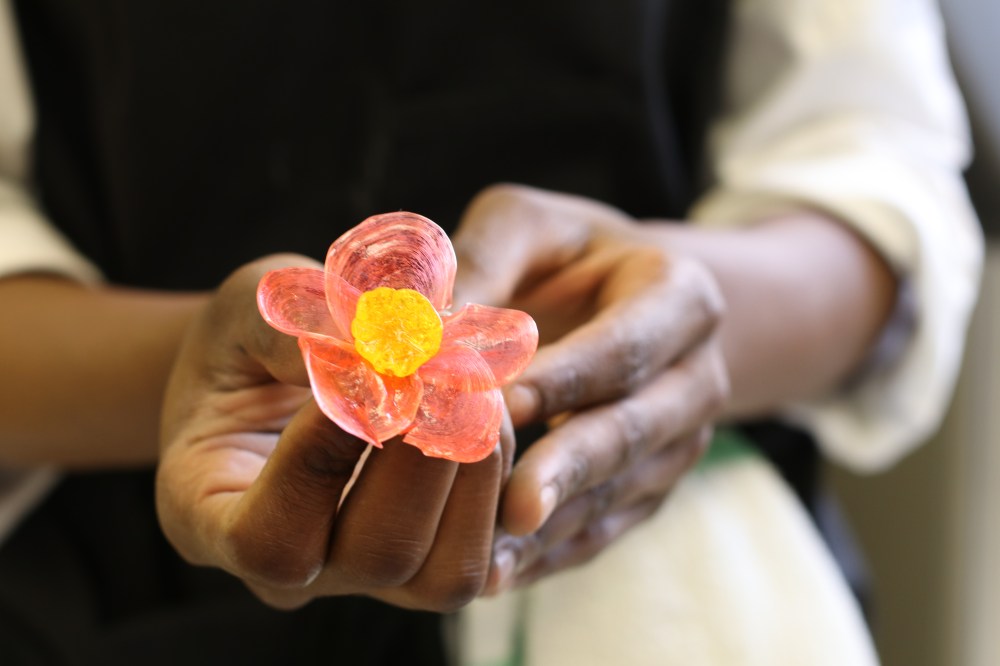
This process looked WAY easier than it really is. I can assure you. I literally crushed the flower that I tried to recreate.
I had TK, a classmate, model the flower for me.
Next, Chef Jared popped the sugar out of the molds that he had poured in earlier and showed the class how to use a torch to get rid of the air bubbles on the outside of the sugar art.
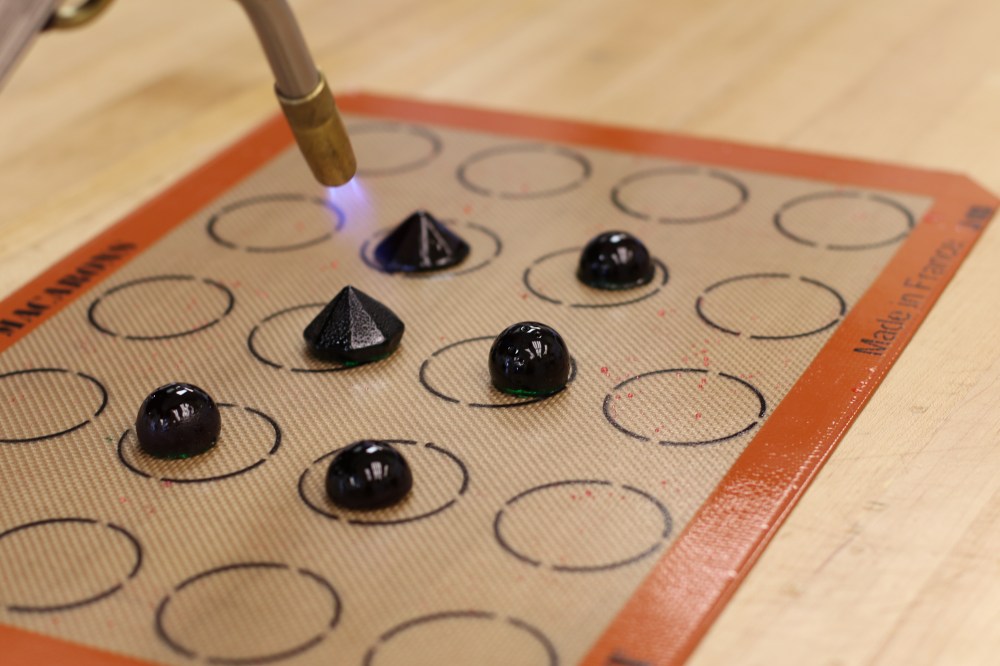
He carefully went over the sugar with the torch to melt the outside just enough to get rid of those bubbles! The shiny ones have already been torched.
Then, Chef Jared proceeded to teach us how to make sugar “ribbons.
He connected a few strips of different colored sugar. Pulled it to a thinner, skinnier piece and the doubled it over to create twice as many stripes.
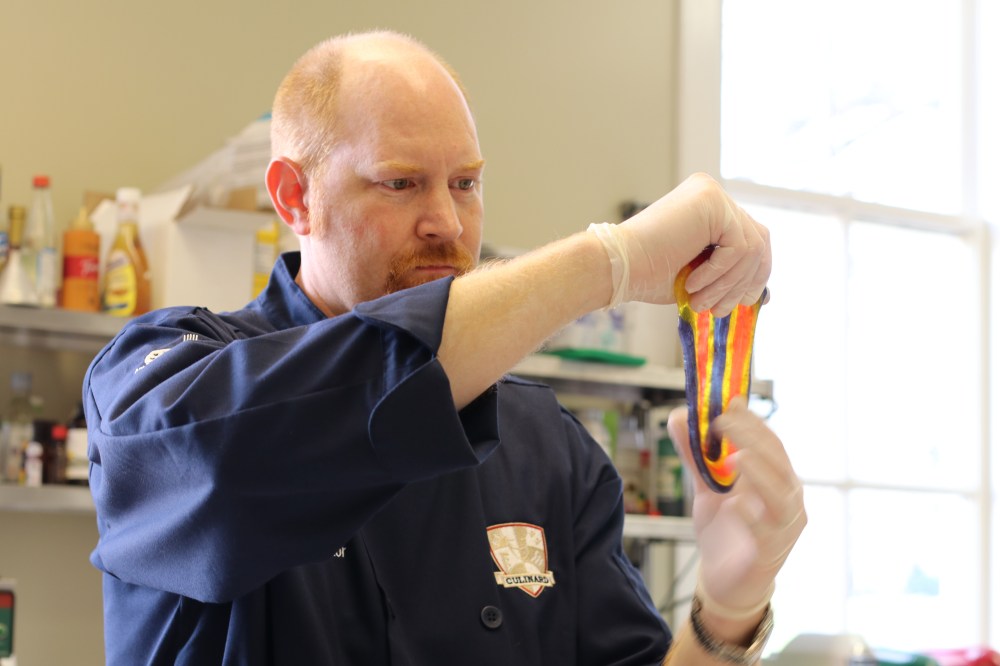
He repeated this process several times until there were many stripes in the ribbon.
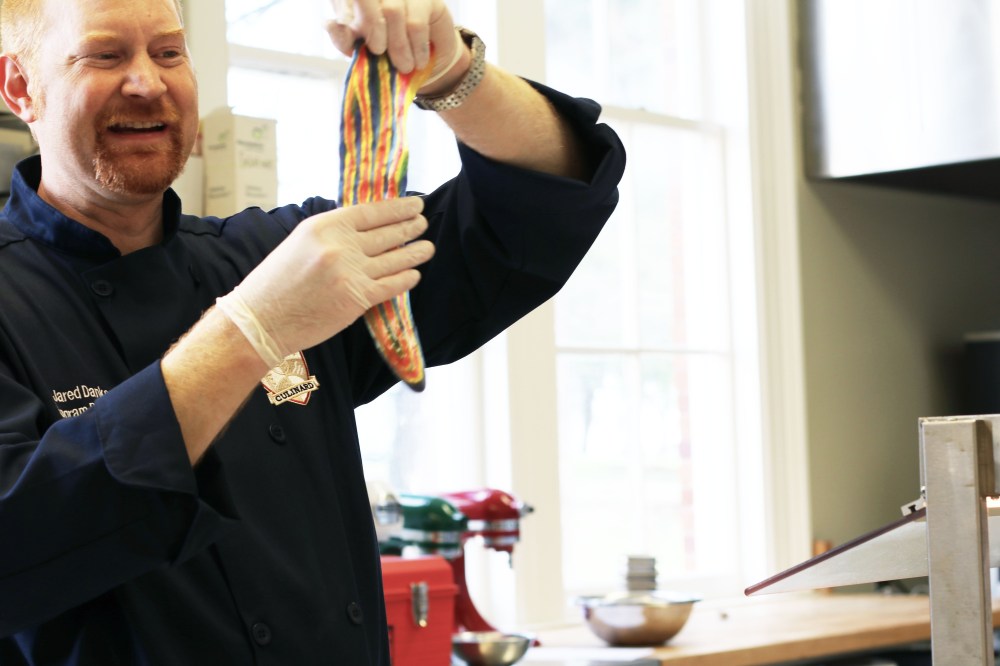
He then used his hands and a pen to shape the ribbon.

Next, Chef Jared blew some sugar art!
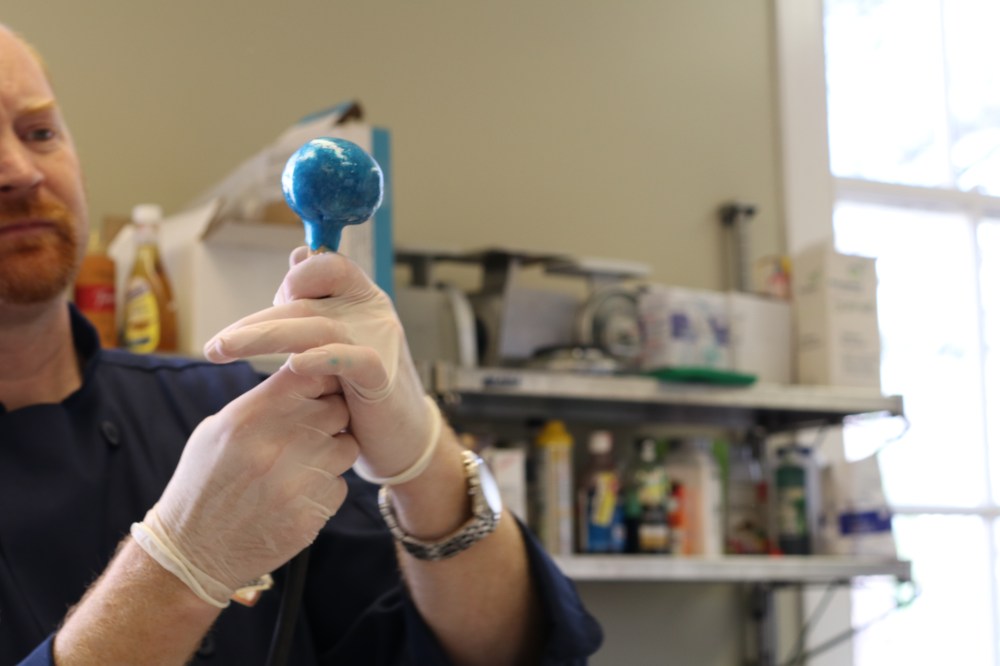
He created a smooth ball of sugar, added a dimple in one side, then placed a one way air pump into the dimple and closed the sugar around the pump.
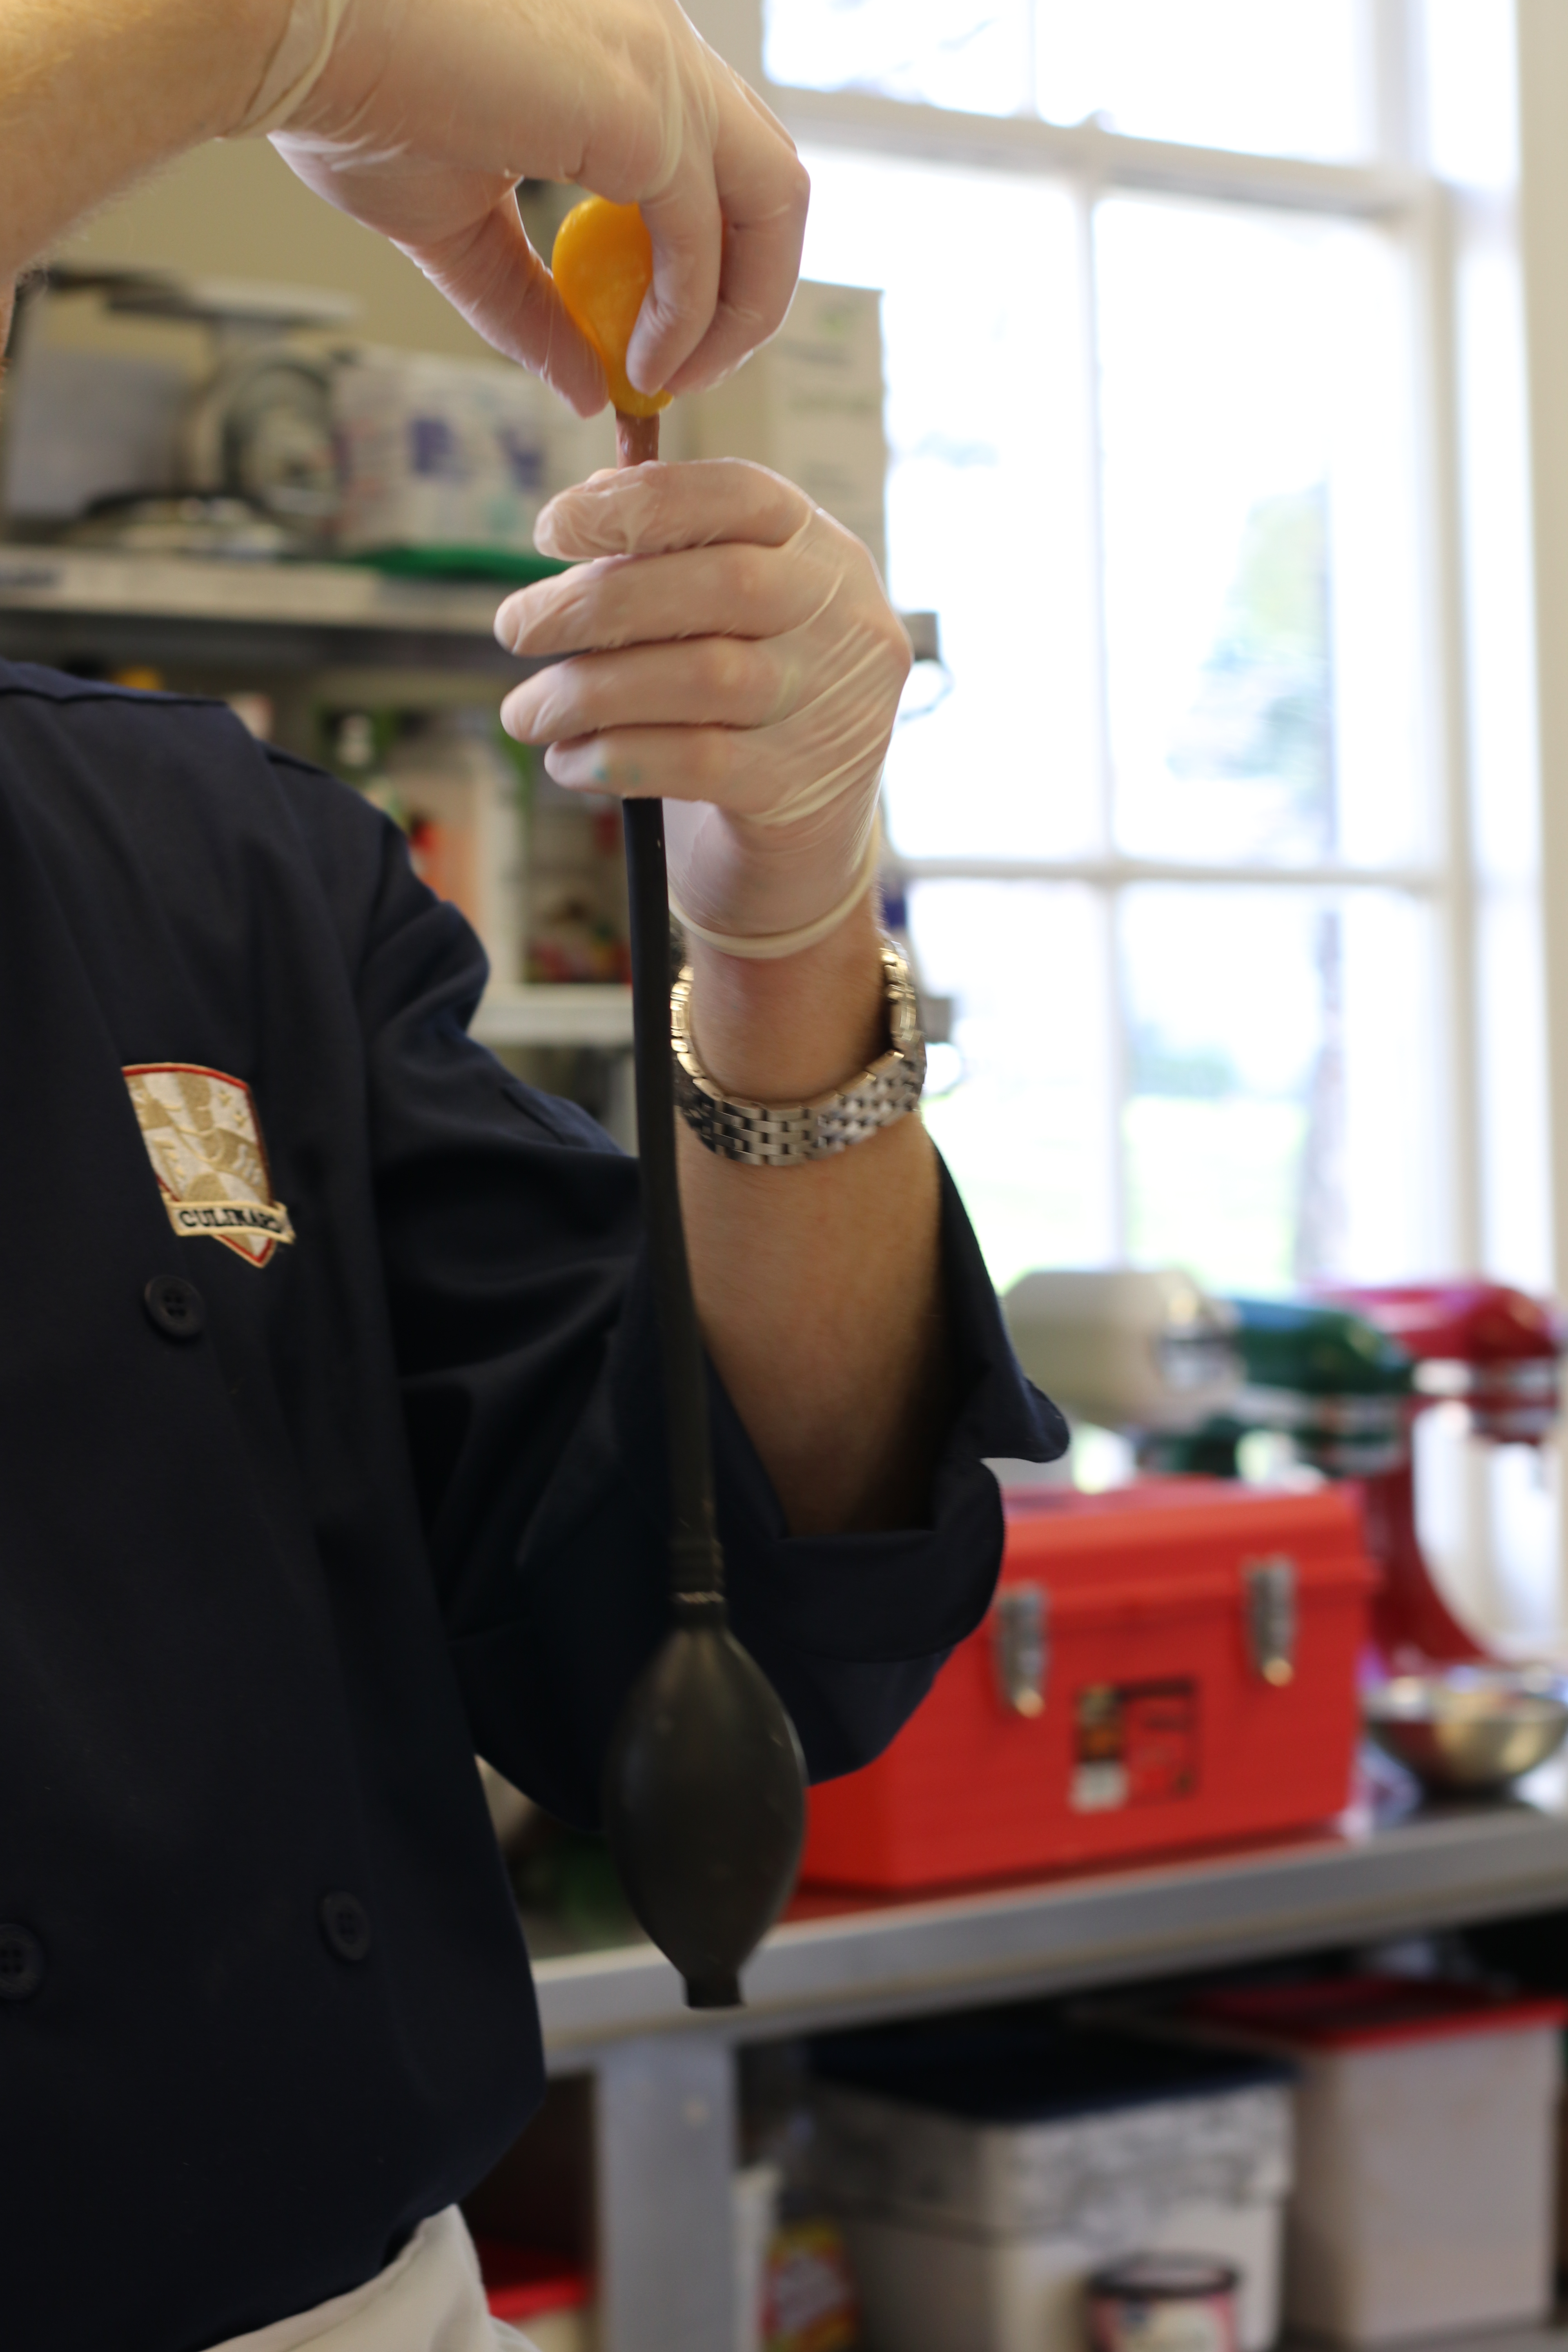
He then carefully, VERY carefully, began pumping little bits of air into the sugar.
He repeated this process with a bit of blue sugar to create a blue swan.
He then pinched off a “beak” and a “head” for the swan and created a long, skinny piece for the neck. He added more air to the rest of the sugar to create the body of the swan.
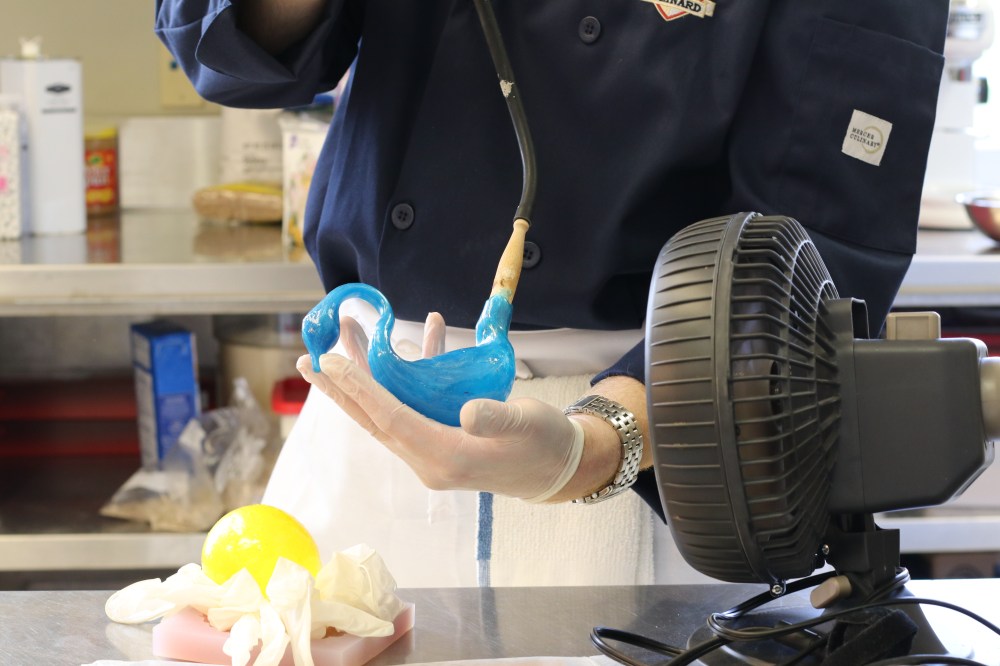
He held the swan in front of a fan to cool and harden it up faster.
Chef Jared continued to work on his swan by creating two wings – using the same pull off method as with the leaves and adding these two his swan. While he worked on this, he dismissed us to our own sugar art creations because class was coming to an end.
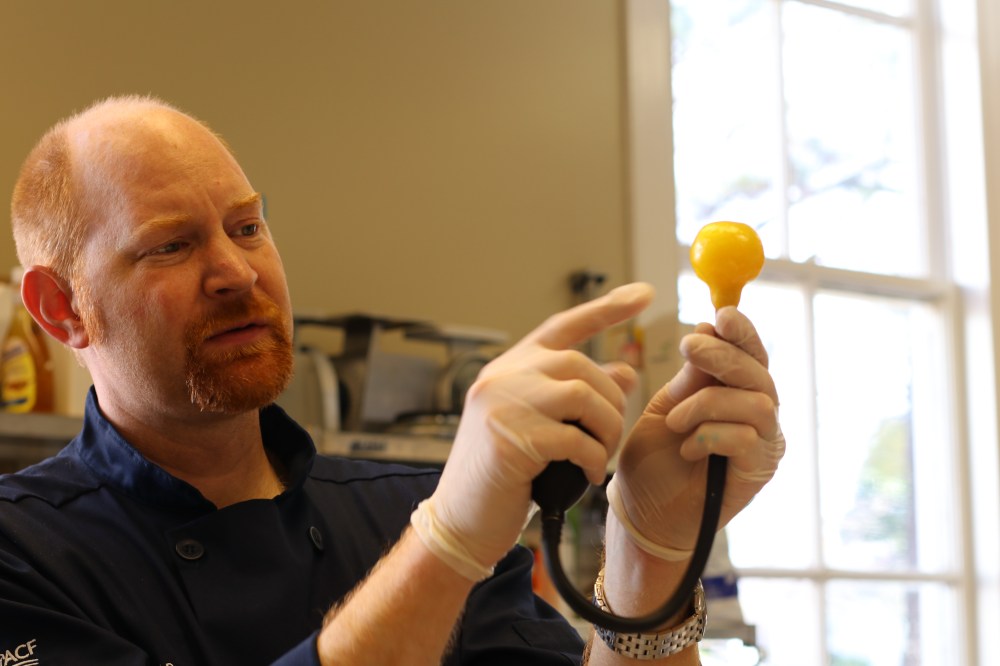
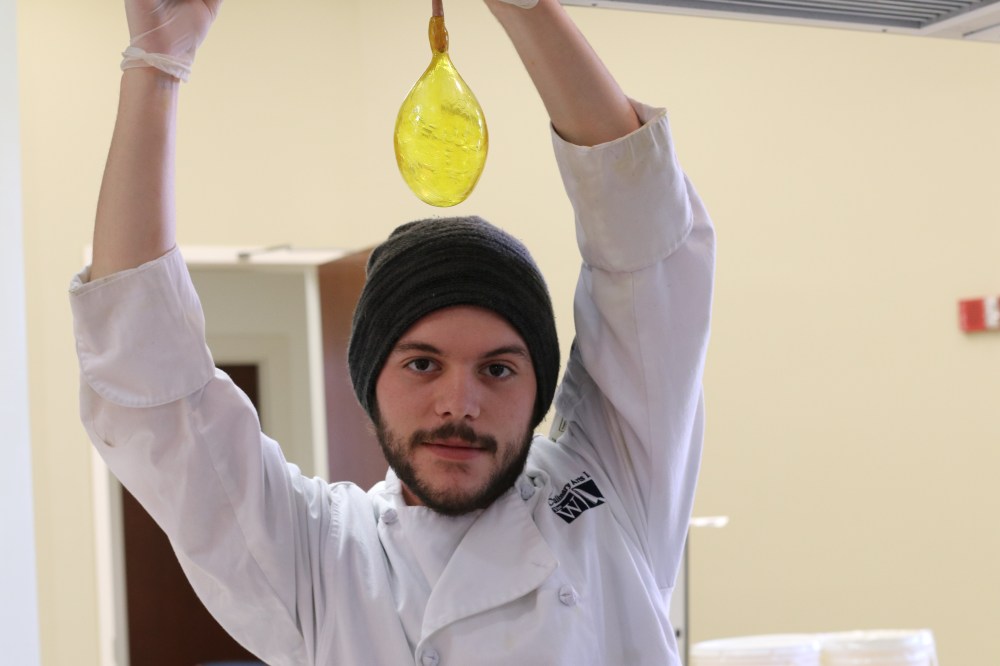
Gentry ran off to create a large yellow sugar ballon which he held over his head, upon Chef Jared’s suggestion, to look like a light bulb shinning!
I went off to create a sugar teacup to go with my Alice in Wonderland themed wedding cake. However, I crushed it as soon as I finished it and didn’t manage to get a picture! Ugh…
Next, I attempted to create my own sugar flower. I made a several yellow, sugar petals and a stamen.
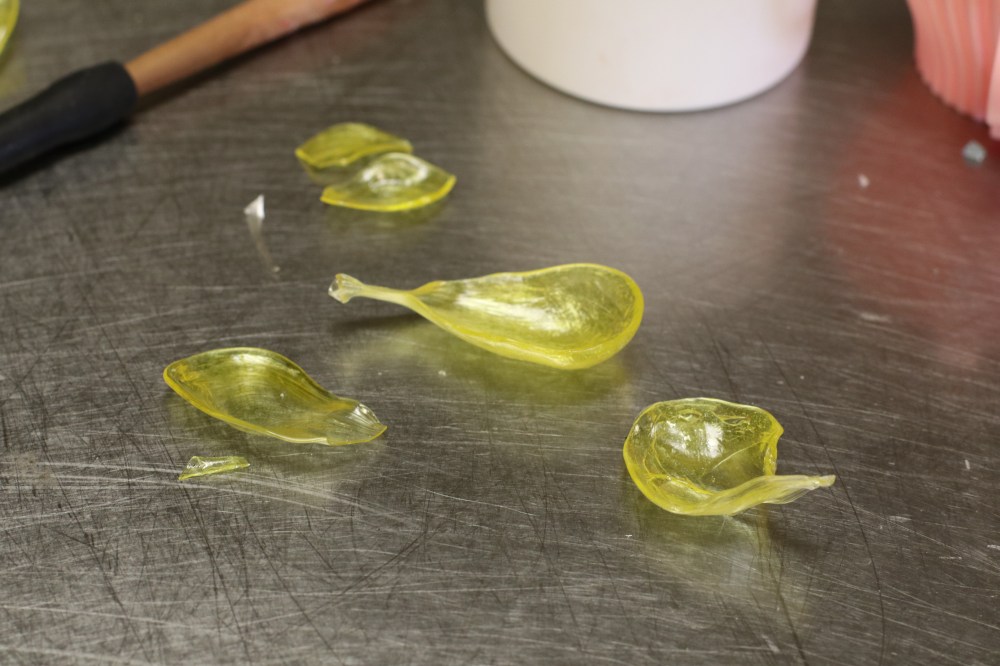
However, I did not get to finish my flower because Chef Mary Helen began telling us to clean up because she needed to leave for a meeting right at 12:00! This was one of the days that I would have really liked to have those couple extra class hours like we normally do to pick Chef Jared’s brain some more!
I did manage to ask him what we could do if we couldn’t afford (with our broke college kid bank accounts) an expensive sugar warmer. He told me that he used to create his sugar art using a cardboard box with a warming lightbulb attached to the top and a silpat in the bottom. The box kept all the heat inside to keep the sugar pliable, just like a warmer.
I crushed most everything that I tried to make! I learned that it takes approximately 0.2 seconds for sugar to go from pliable to BREAKABLE. I felt like I was an ogre crushing everything I touched!
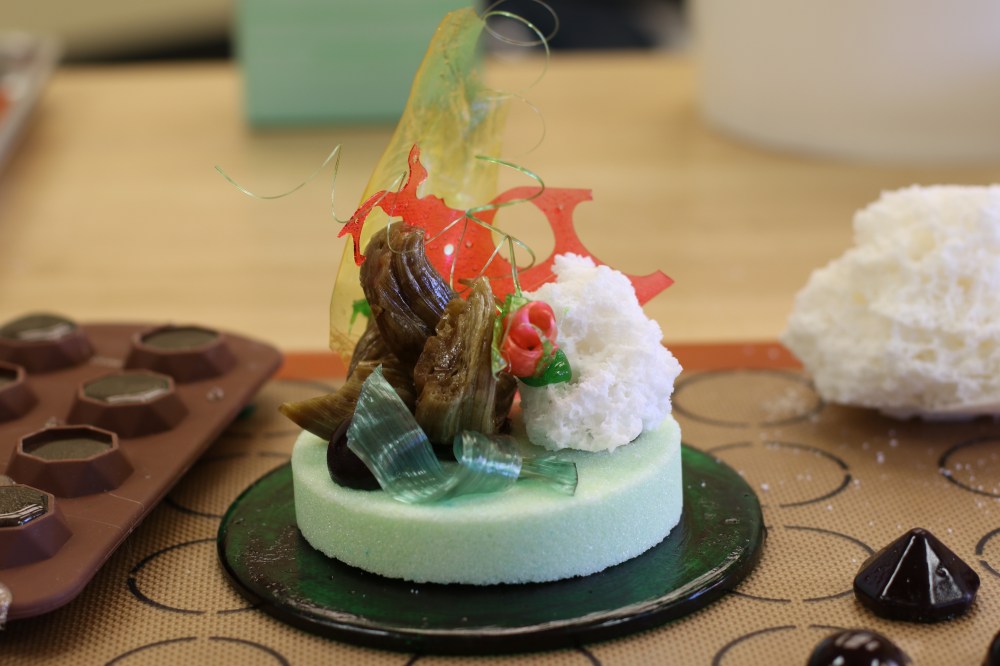
While I was destroying all of my sugar, Chef Jared was putting together his own masterpiece.
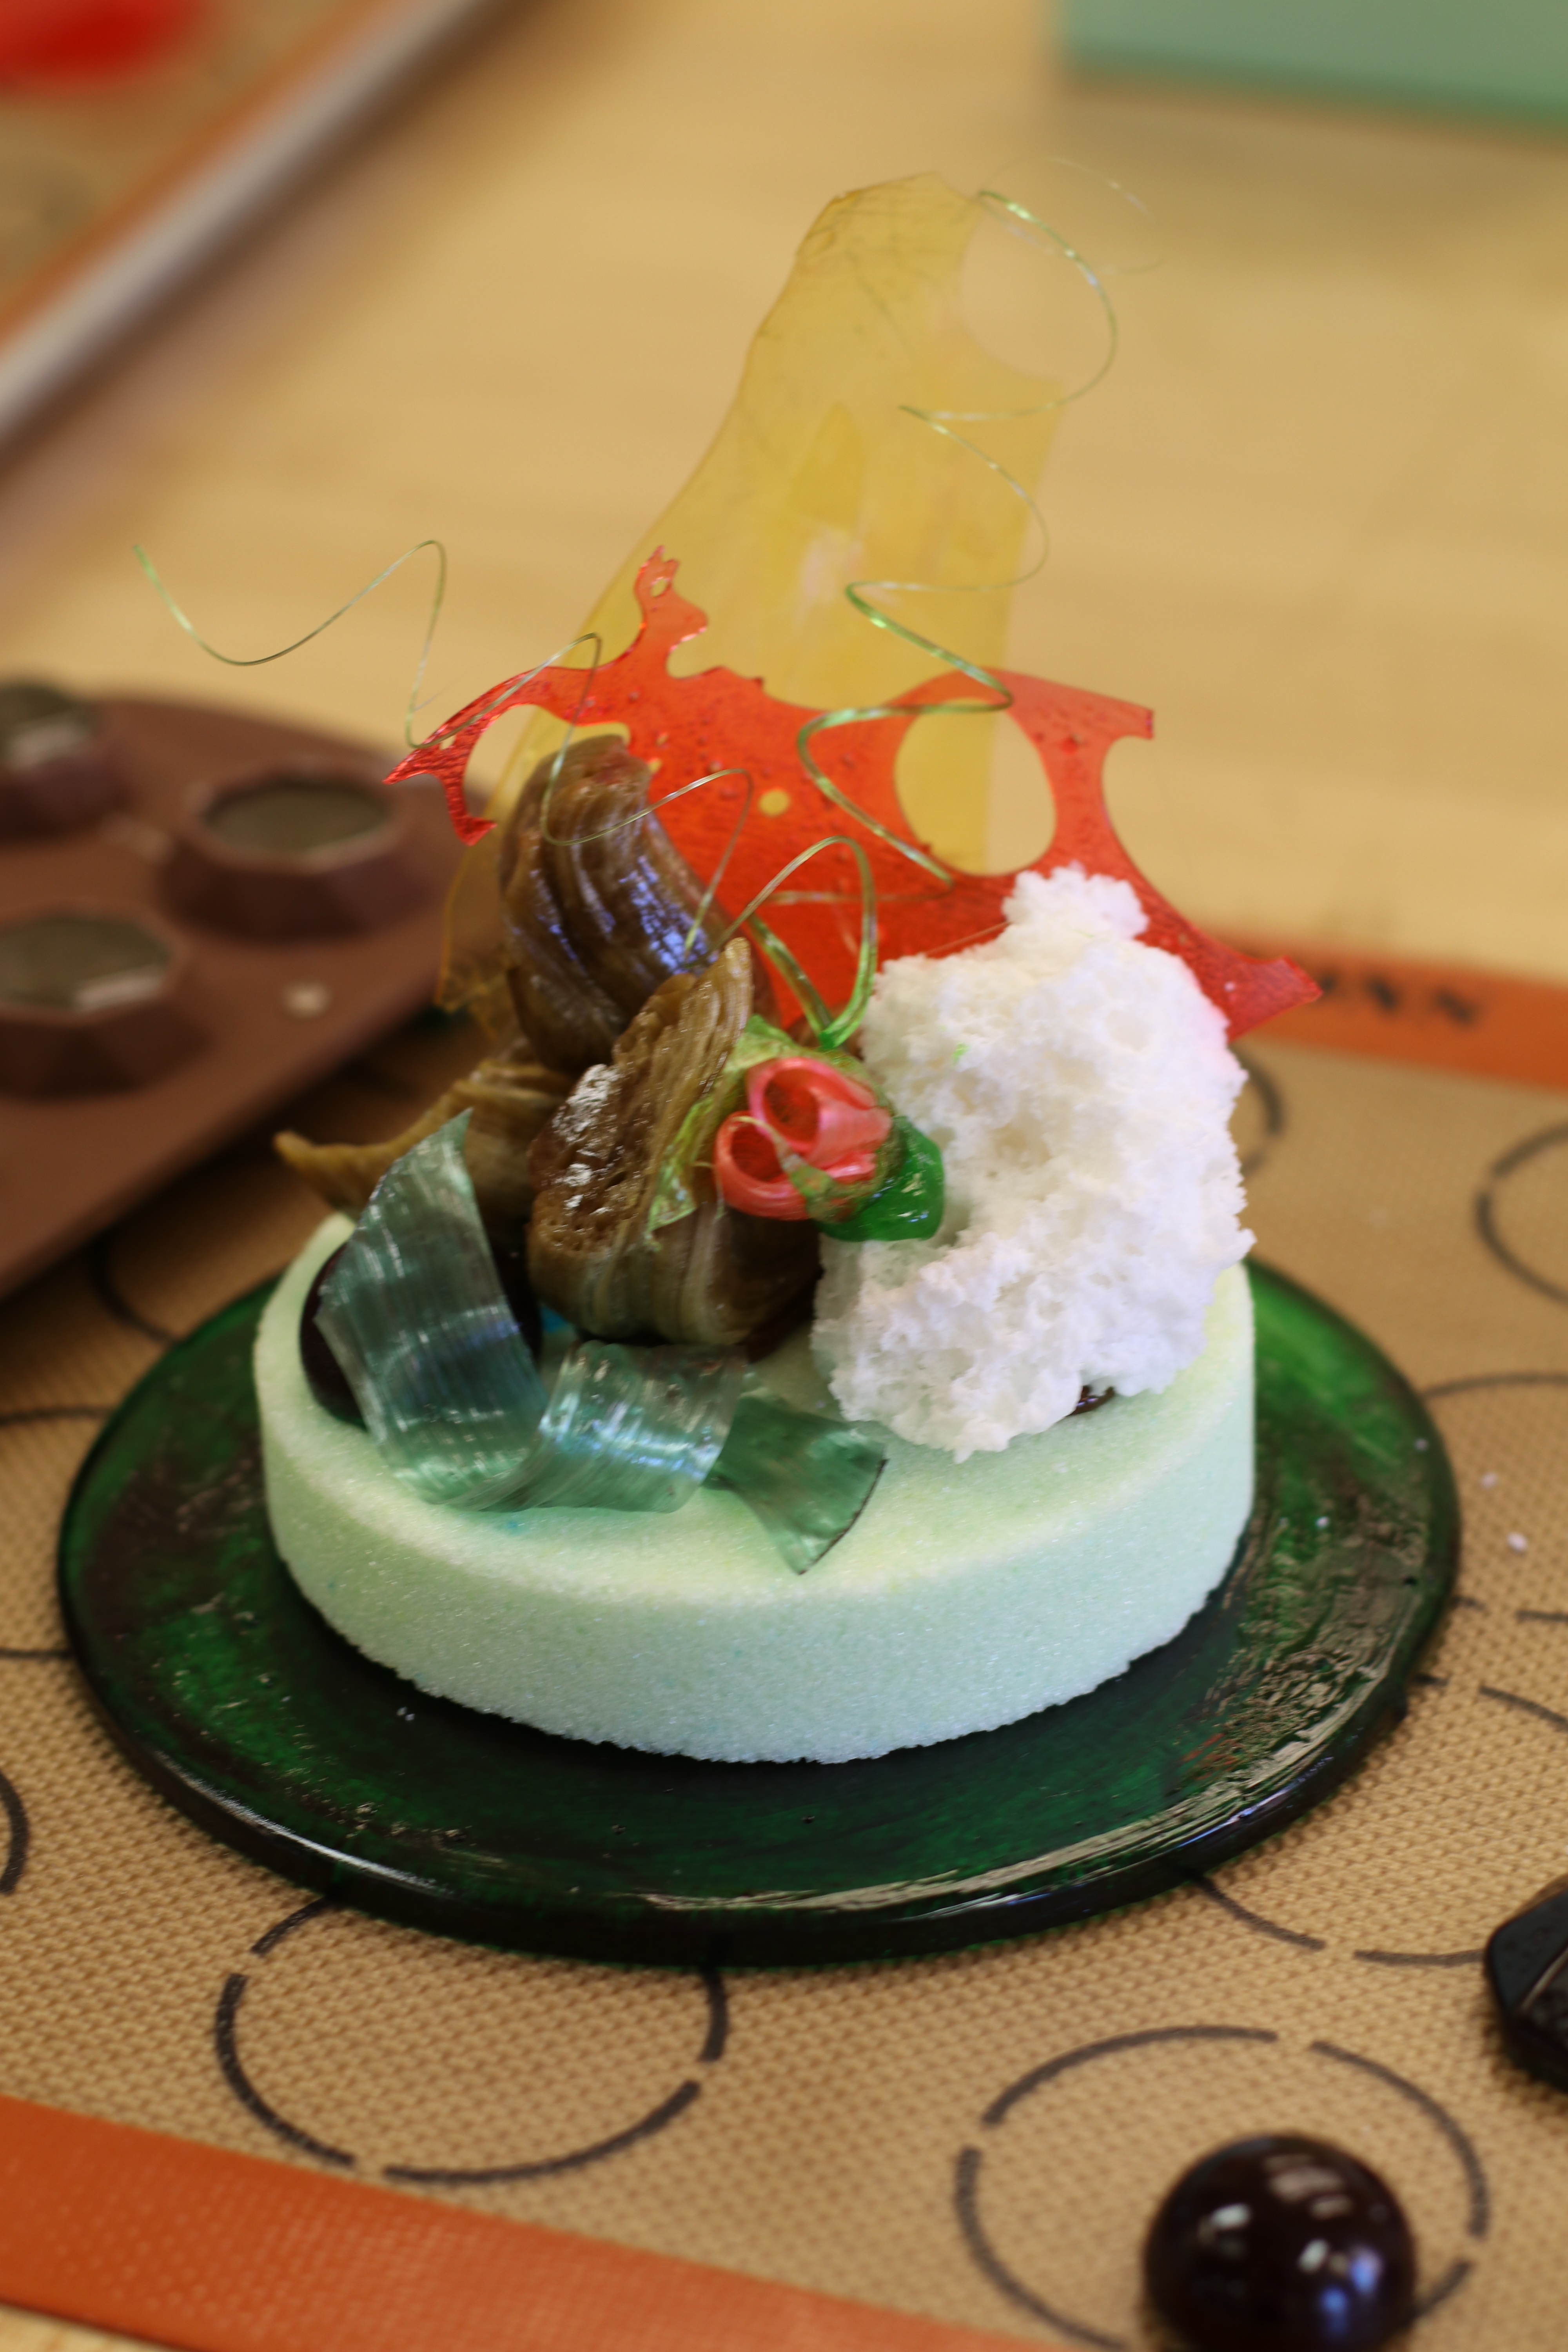
He used several elements that he had demoed for us during our class time, plus a few more that he created while we were working individually.
I am really amazed at how beautiful his sugar is! He is extremely talented. After this class, I have developed a brand new interest in sugar art and plan to try my hand at it again sometime soon! (I kept all of my sugar from the class time so that I can reheat it and try again during class one day.)
I am so thankful for the opportunity to learn from Chef Jared, and I cannot wait to continue exploring my newfound interest!
Well, next week you all will not be hearing from me because it is SPRING BREAK! I will be visiting my Mamo (grandma) for most of the break and catching up on some much needed sleep! What about you?
Until next time!
ABC.
