Down the rabbit hole we go…
Monday in Food Styling we were given time to work on our Homecoming Display. We had to come up with our own personal displays as a large part of our final grade. Chef MH had suggested that I repurpose and improve upon those Alice in Wonderland cupcakes that I made a few weeks ago for my own display. So I am doing JUST THAT.
Warning: this will be a lengthy post because there was a LOT of work to be done on this project and I want to be able to give you ALL the details, “how to’s”, and recipes.
In case you have forgotten, here are a few pictures of my six themed cupcakes that I am repurposing for this project!
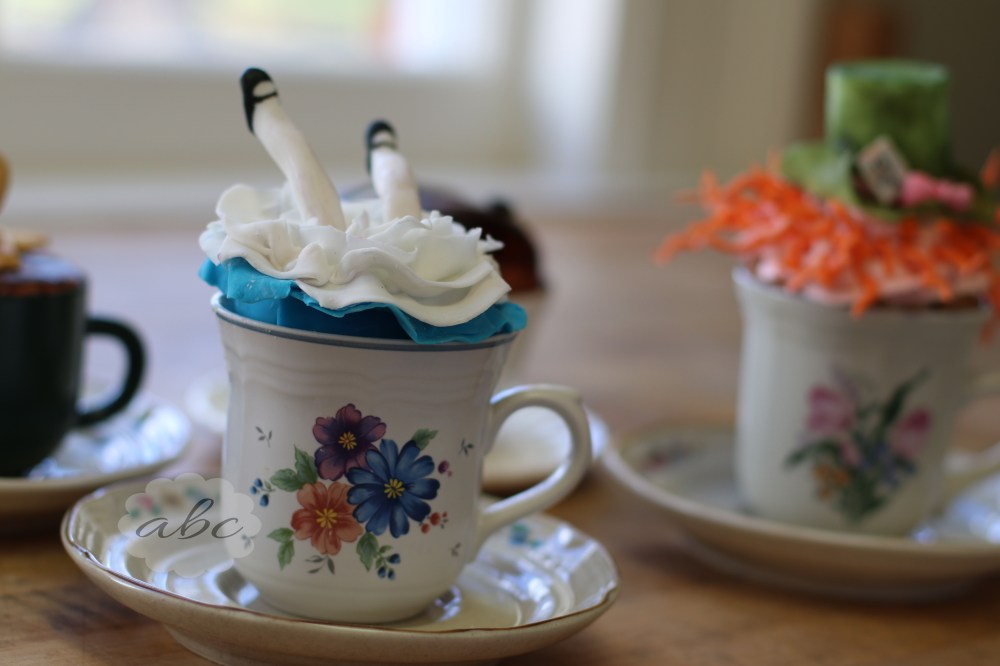
Alice..
The Mad Hatter..
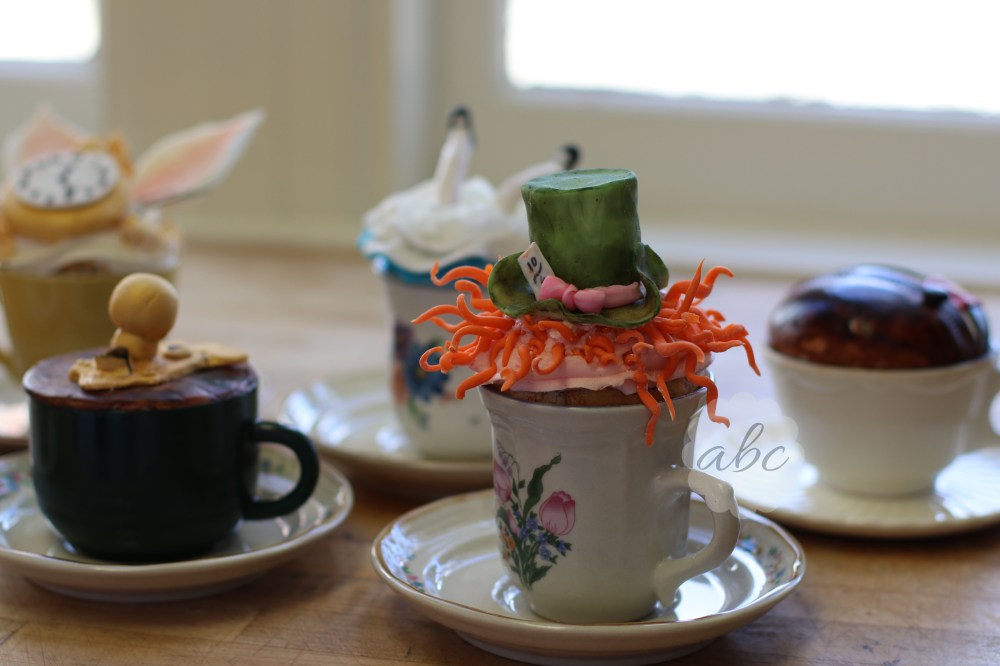
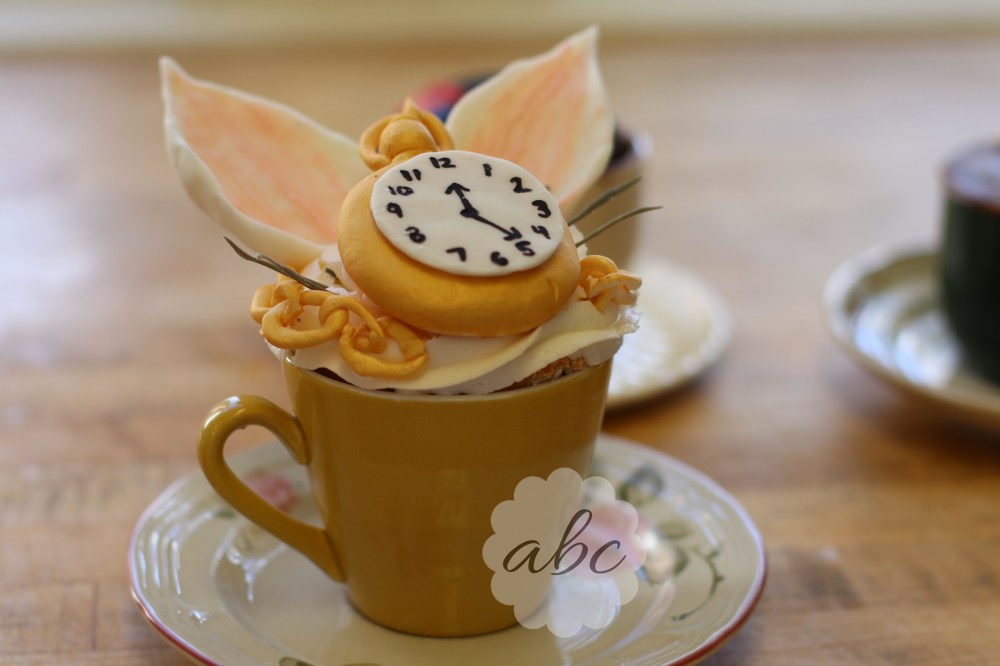
Mr. Rabbit..
Dee & Dum.. (There are a pair of these)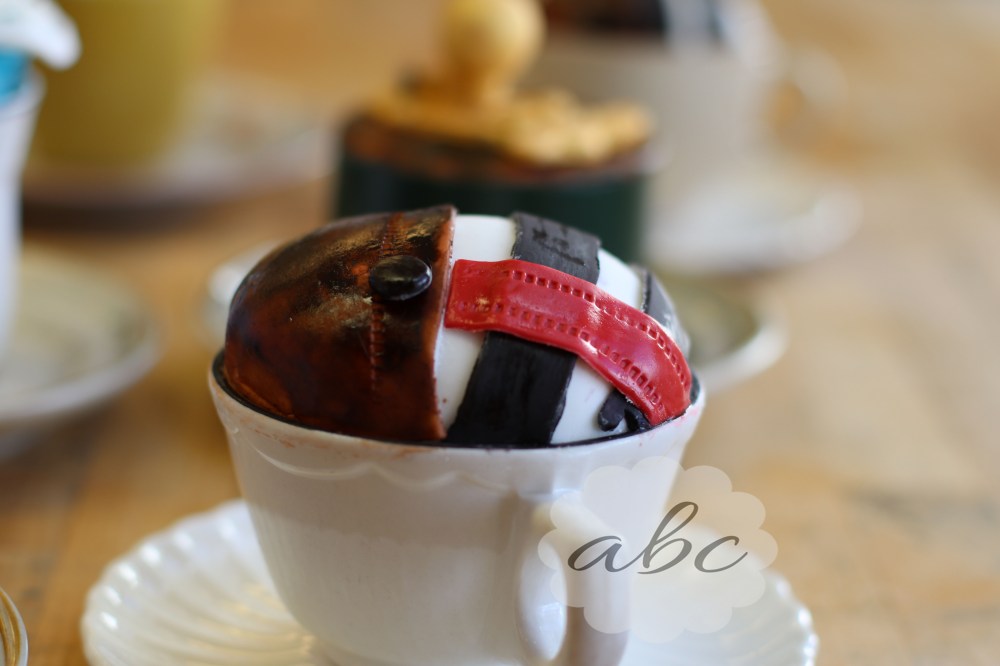
And the Doorknob..
Over Spring Break (which was an excellent and desperately needed week of relaxation and shopping $$) I came up with my design for this display with the help of my sister. I won’t torture you with a photo of my actual sketched design because I am NO artist.
BUT the general idea was to first, fix any messed up areas on my six cupcakes (for instance, I wanted to attempt to make a better doorknob face and I needed to remake Mr. Rabbit’s ears because they had broken over the last few weeks) and then add a few new elements:
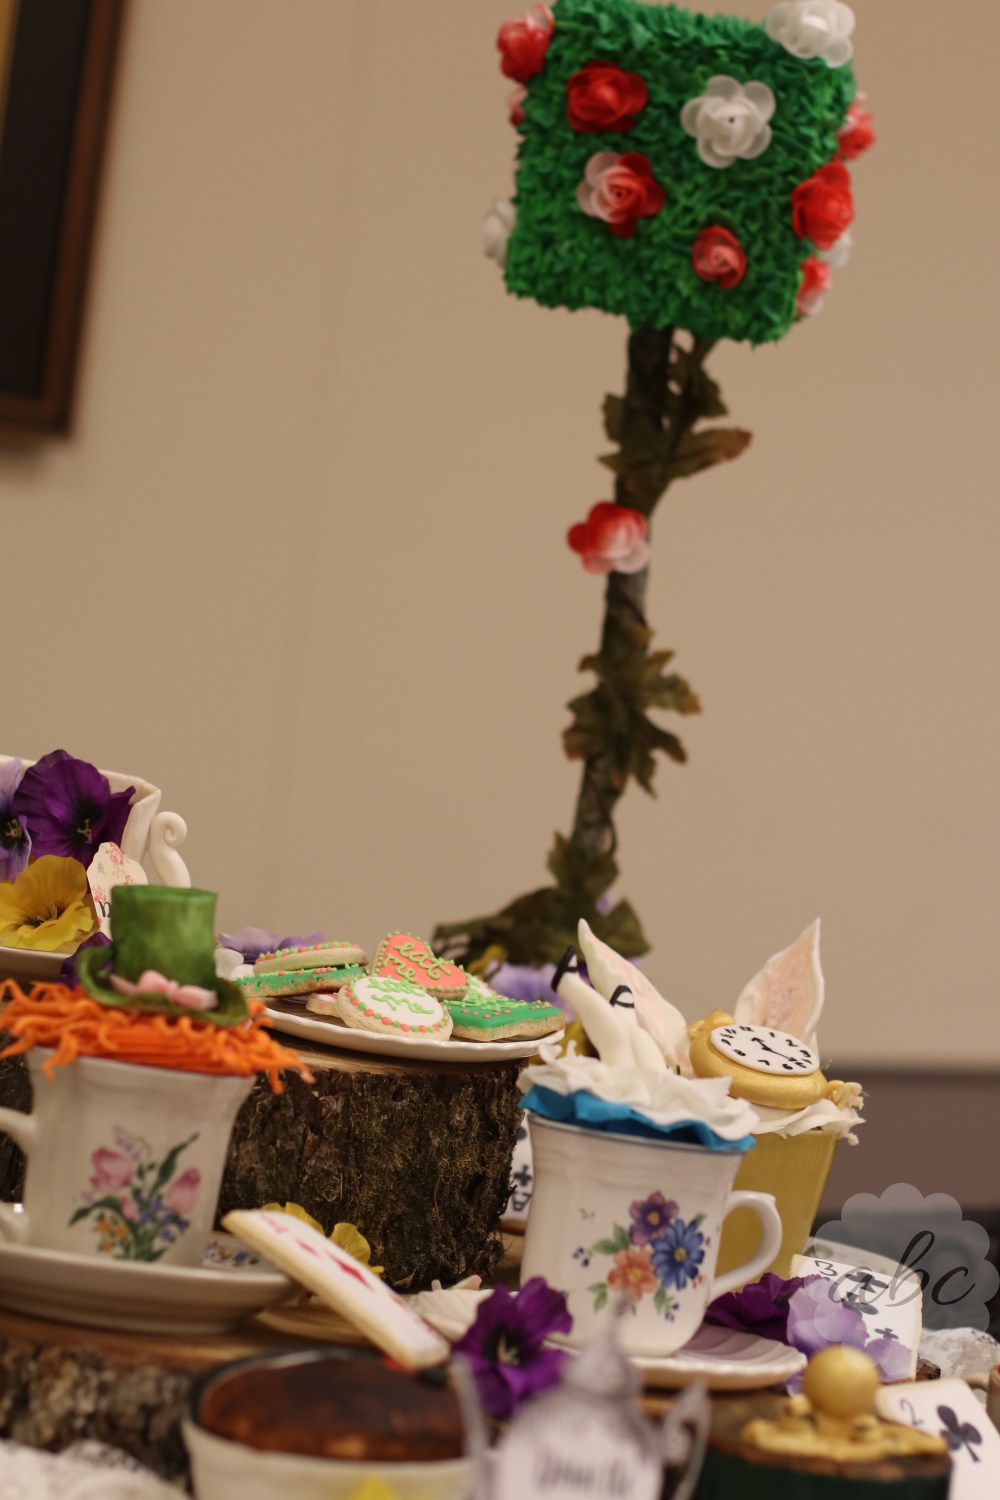
- a rose tree planted in a tea pot with piped red and white roses and leaves on it
- “eat me” cookies on a saucer
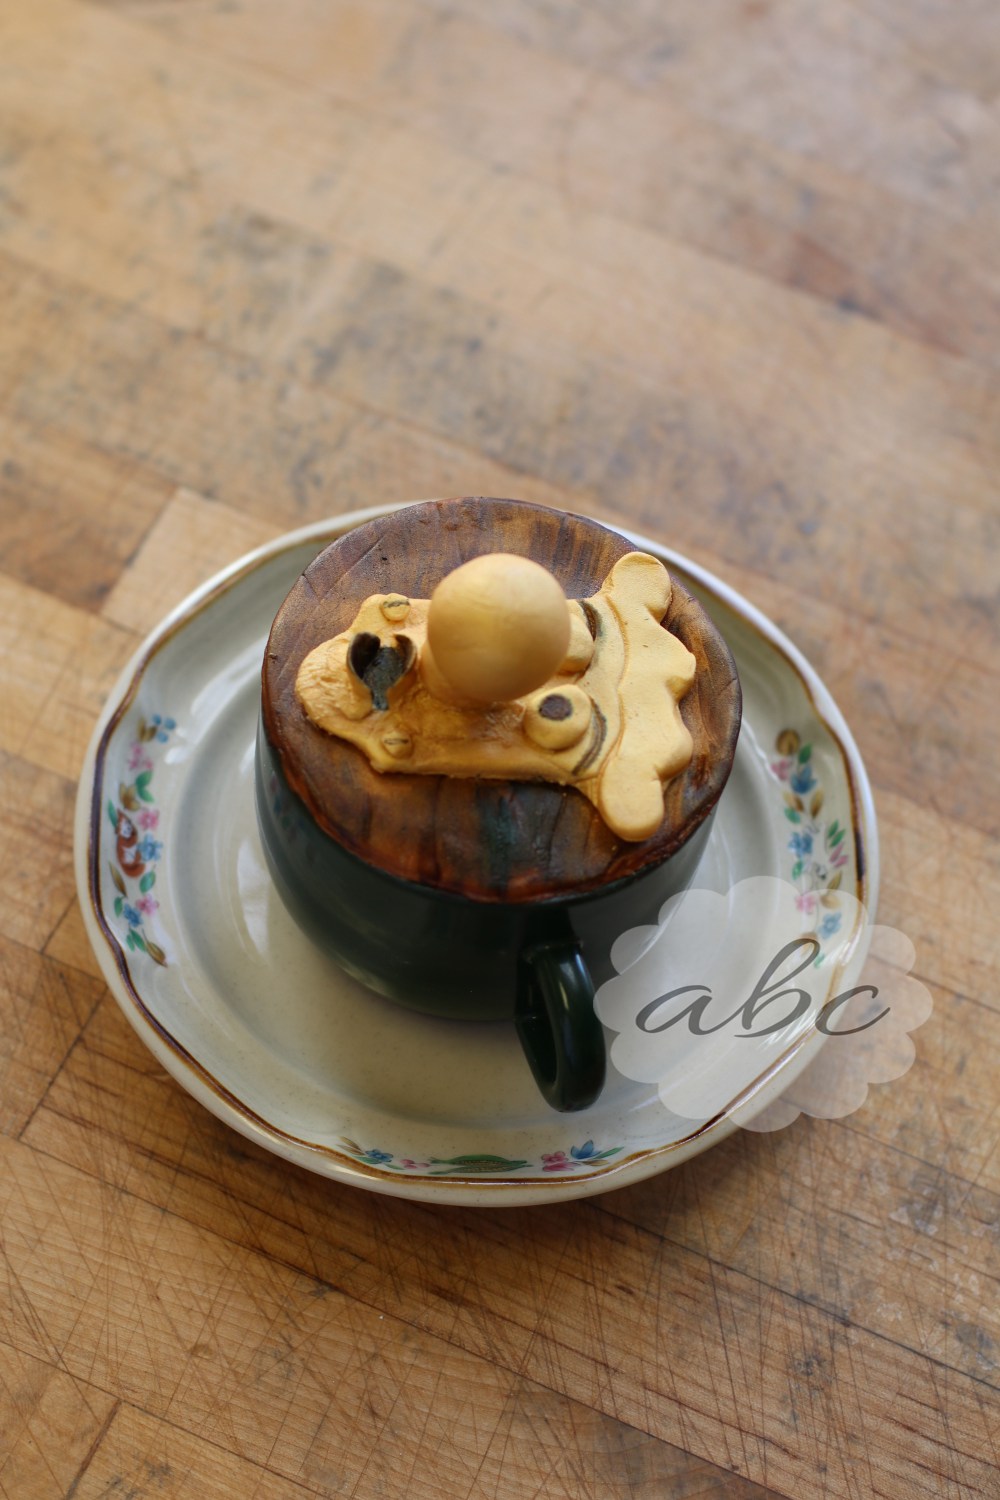
- “drink me” tea in a teacup
- tree trunk pieces to set everything up on
- playing card cookies
- colorful meringue mushrooms
- and a lace “tablecloth” under the whole set up
This was the general idea at least! I wanted to have plenty of new components to experiment with.
This past Friday night, I went ahead and mixed up some sugar cookie batter to cut and bake off my playing card and “eat me” cookies.
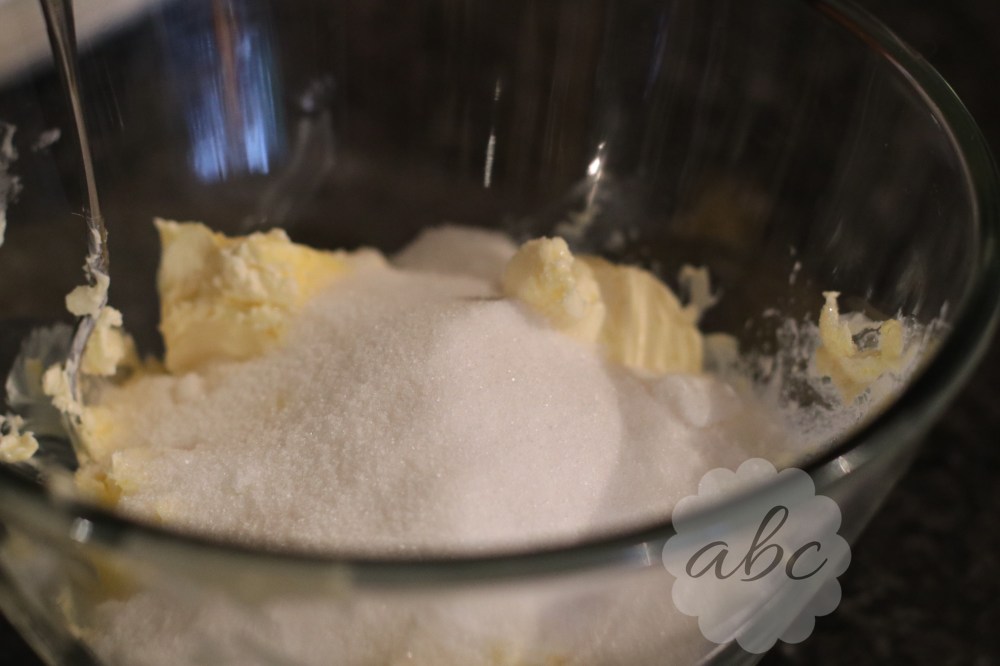
First, I added a cup of softened butter to a mixing bowl. I would typically use a stand mixer for this recipe, but I did not have one handy, so here is the old fashioned method!

Then I added a cup of sugar right on top of it..
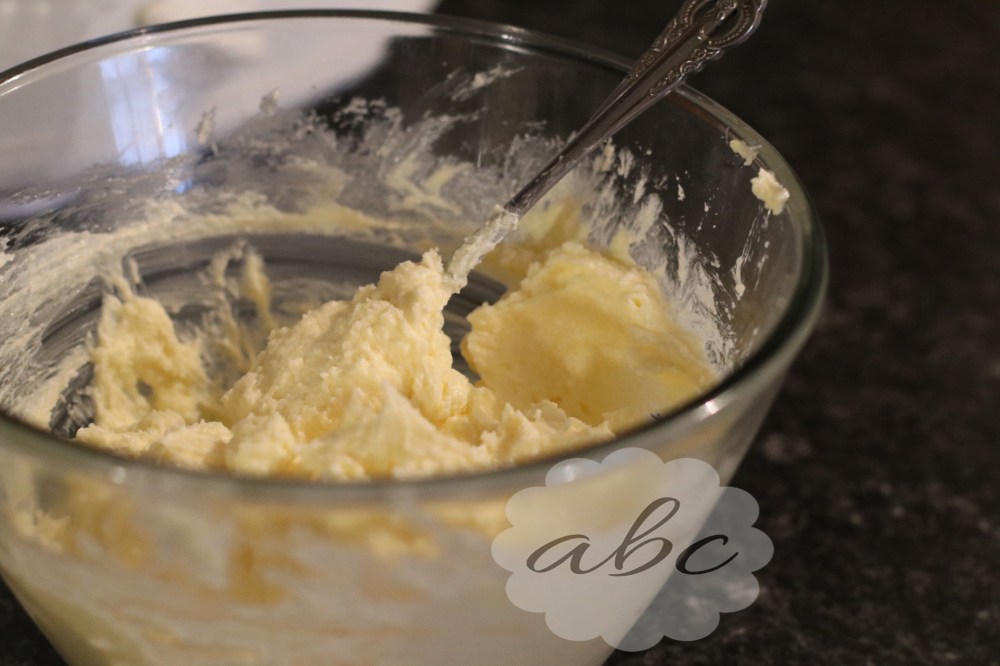
I creamed it all together (with a handy dandy metal fork) until it was lighter and fluffier, and yes, my arm was quite sore by the time I was finished..
I then added in my vanilla and egg. I promise that the strange color in the picture below is from the pure vanilla extract and not the egg!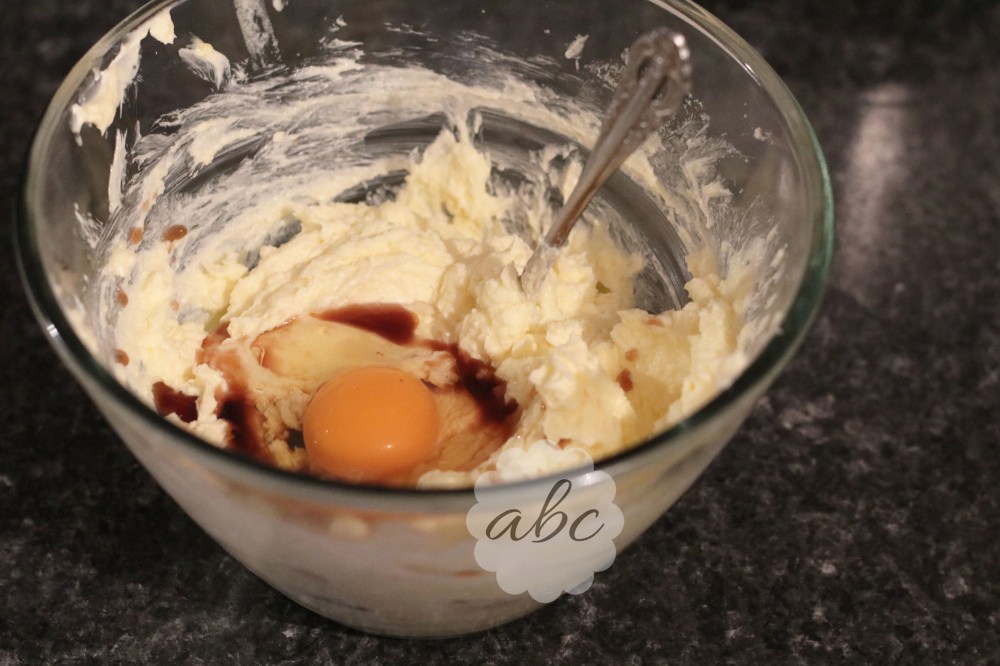
I mixed this until fully incorporated and then began adding flour one cup at a time along with the baking soda..
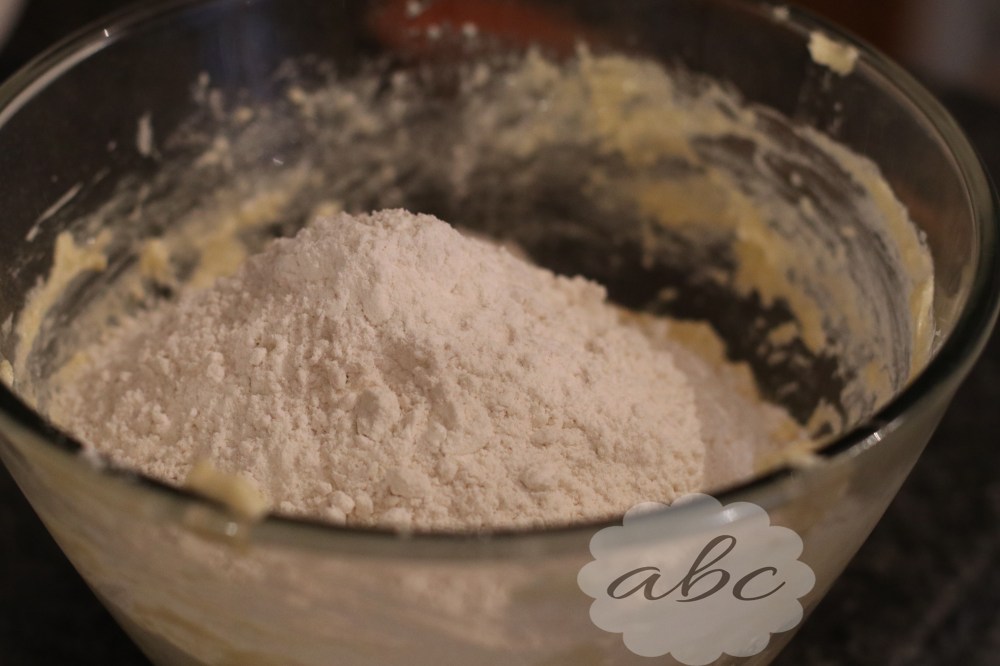 I mixed each cup of flour and into the cookie batter before adding the next cup. Hot days may require a little more flour if the dough is too sticky, cool days may require a little less. I find it best to use as LITTLE flour as possible to get the softest sugar cookies (this is why I add it in multiple batches so I can gage if I need the whole allotted amount or a little more or less). You want the dough to be be a little tacky but NOT sticky. If it sticks to everything then it will be nearly impossible to roll and cut.
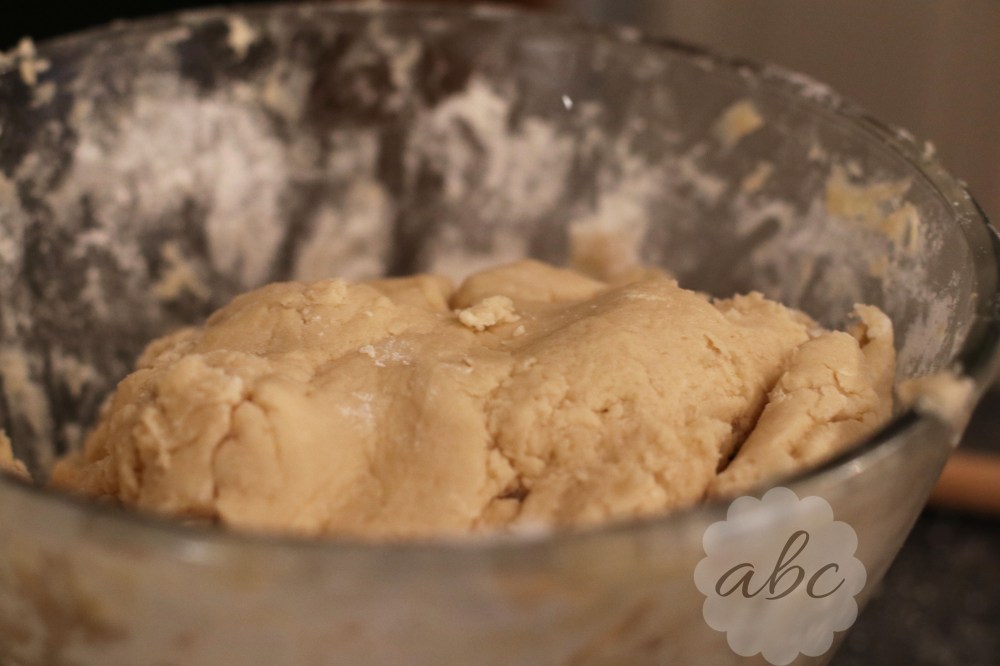
My finished dough looked like this..
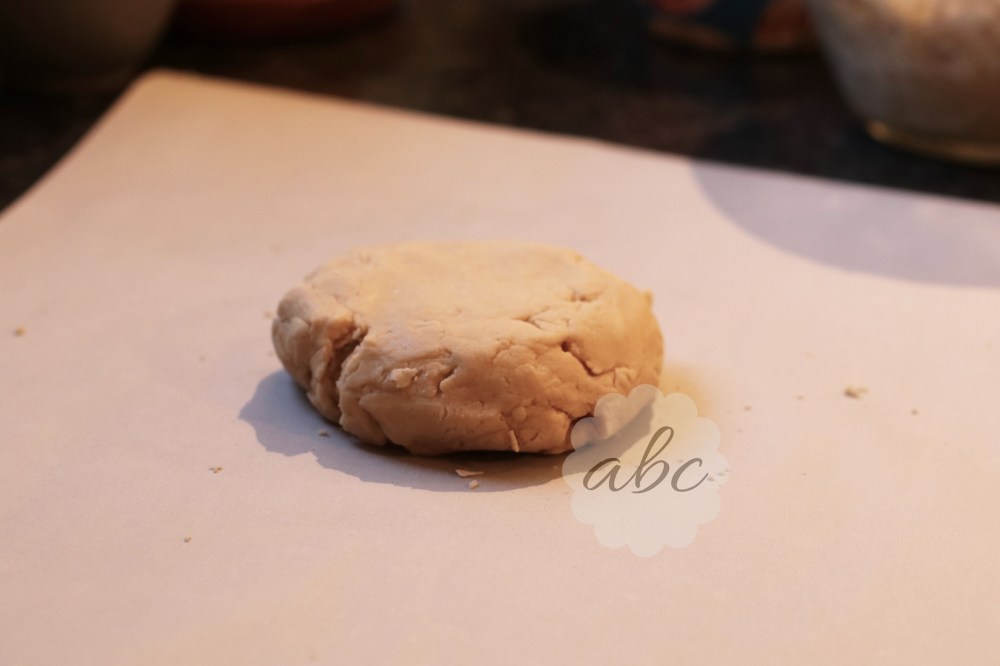
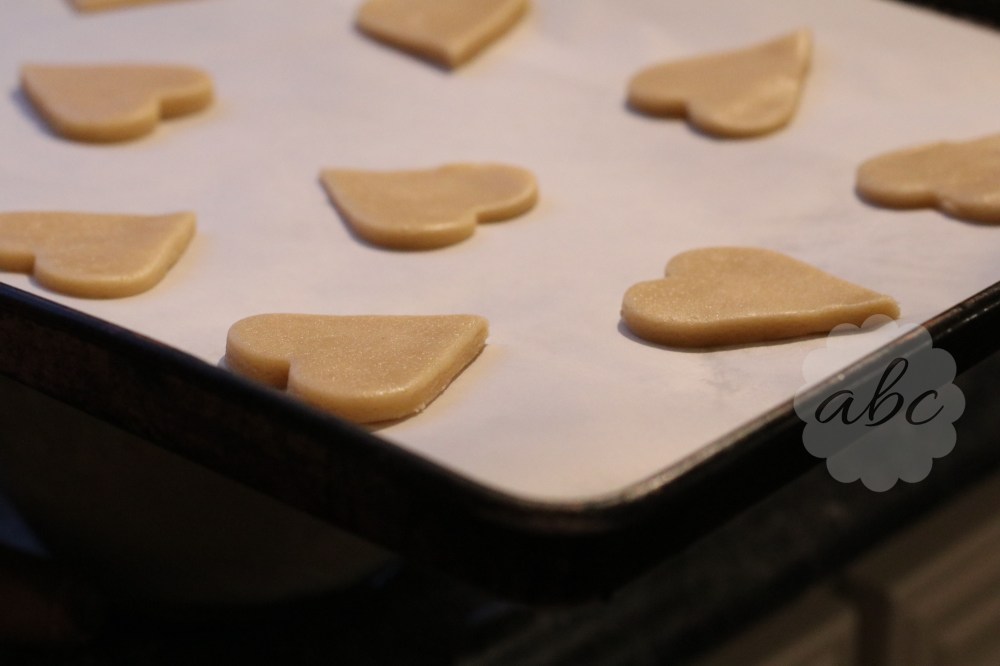
Then I placed a piece of parchment on my counter, sprinkled it lightly with flour, and added a heap of my cookie dough to one side of the parchment..
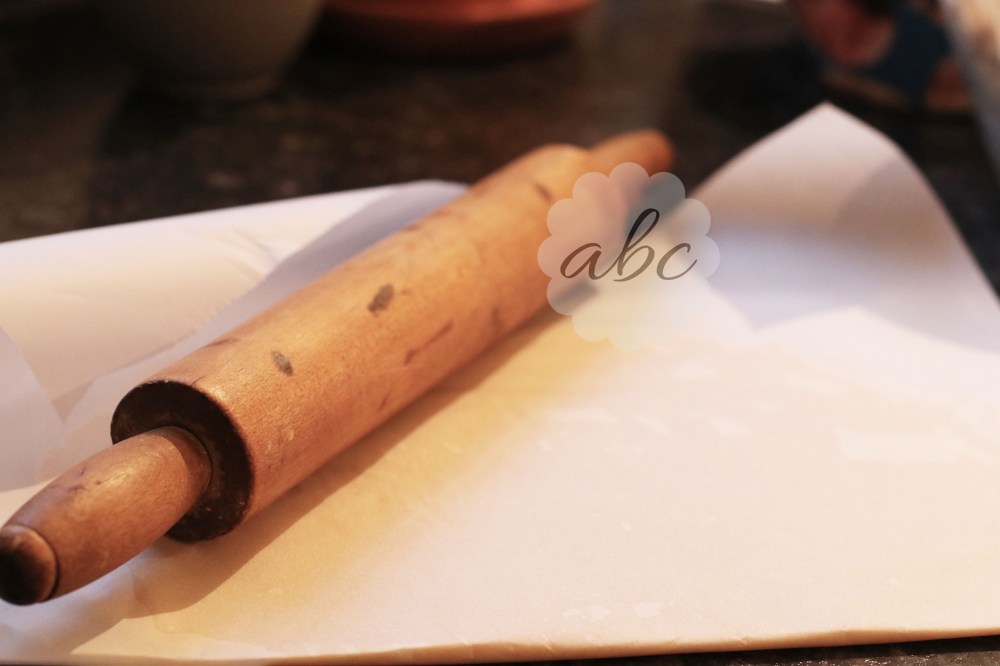
I then folded the other half of the parchment over the dough and used a rolling pin to flatten it out to about 1/4 inch thick..
I then cut up my dough into hearts, circles, diamonds, and rectangles..
And then I baked them all until they were just beginning to turn golden brown! I like my sugar cookies soft, and baking them too long will result in harder, crunchy cookies.

I laid all of these cookies aside to cool completely and then bagged them all up to keep them from drying out in the open air! I set them aside for decorating on Saturday.
Here is the complete recipe for these cookies..
Sugar Cookies:
Ingredients:
- 1 cup softened butter
- 1 cup granulated sugar
- 1-2 tsp vanilla extract
- 1 egg
- 2 3/4 cup flour
- 2 tsp baking powder
Directions:
- Preheat oven to 350 F.
- Cream butter and sugar until light and fluffy in a large bowl.
- Add vanilla extract and egg and mix until incorporated. (May substitute vanilla for other extract flavors)
- In a separate bowl, mix together flour and baking powder.
- Add one cup of flour mixture at a time to butter mixture. Combine thoroughly after each addition. If dough is too sticky, add an extra TBSP of flour at a time until it is a rollable consistency.
- Roll out dough to 1/4 inch thickness and cut into shapes.
- Place on a parchment covered baking sheet and bake for 7-10 minutes or until VERY lightly golden brown on bottoms and sides.
Saturday afternoon, I pulled out all my baked cookies to apply the “base” coat of royal icing. My go to royal icing recipe is super simple to make. Here is the recipe in case you want to make some of your own!
Royal Icing:
Ingredients:
- 1 lb powdered sugar, sifted
- 3 tbsp meringue powder
- Optional extracts
- 5 to 6 tbsp water
Directions:
- In the bowl of a stand mixer fitted with a whisk attachment, combine sifted powdered sugar and meringue powder.
- Whisk together mixture at a medium speed.
- Add any desired extracts.
- Begin adding water 1 tbsp at a time until everything is moistened.
- Whisk for about 10 minutes. (If it is not whisked for about ten minutes then the icing may be runny and yellow.)
*Helpful Royal Icing Tips That I Have Learned Through Trial and Error:
Do not leave at room temperature! This icing WILL separate. Keep it in an airtight container or in the bowl with a wet towel covering it while using. You can color it and put it into piping bags wrapped up with plastic wrap and freeze it to keep it for longer periods of time. It will harden, but once it returns to room temperature it will be a looser consistency. Be careful when adding water, icing can always be thinned but cannot be re-thickened! Make “flooding” icing by adding a little more water until icing is thin enough to spread easily on cookies. Thick icing is great for scrollwork, details, etc.
I had some leftover royal icing from a batch of cookies that I made a few weeks ago, so I busted that out of my freezer and allowed it to come to room temperature to use for these cookies! Fact about me: I hate waste, so I like to reuse leftover ingredients whenever possible!
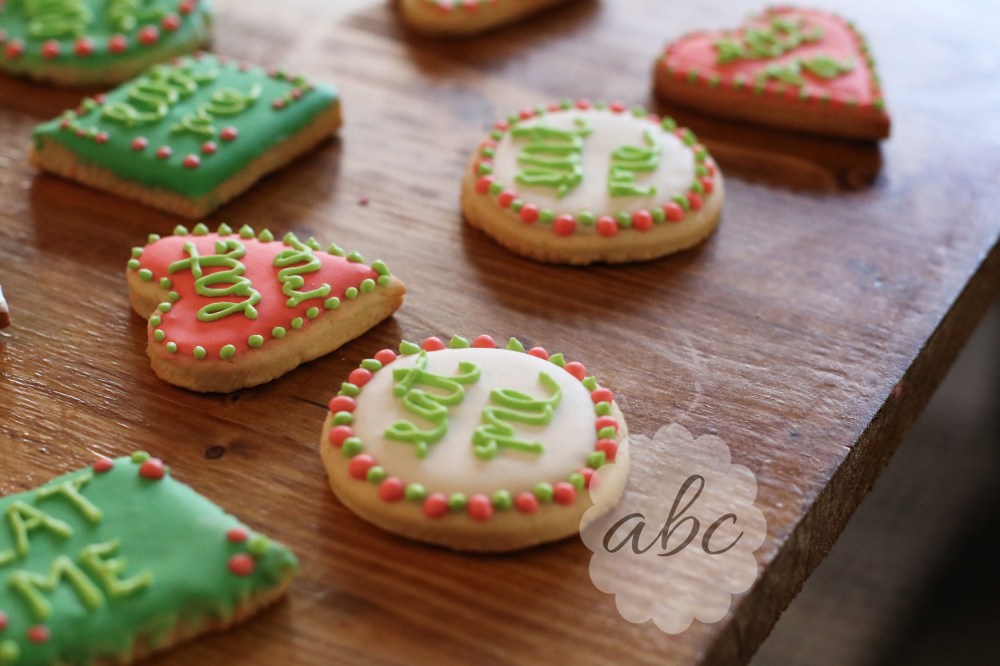
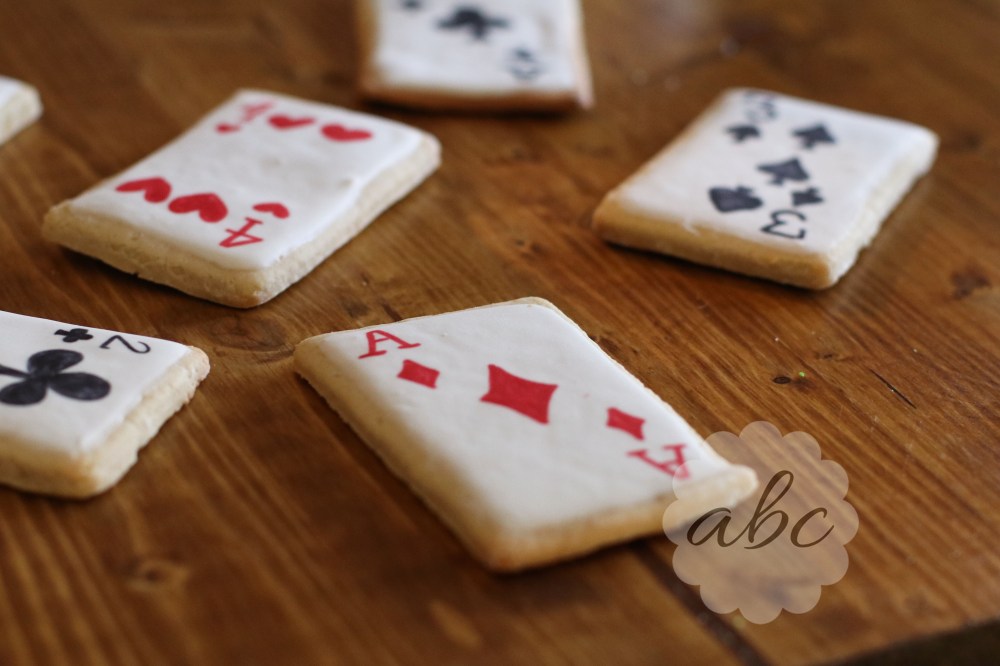
I applied some white royal icing to my large rectangle “playing card” cookies and pink, white, and green icing to my “eat me” cookies which will be heart, circle, and diamond shaped.
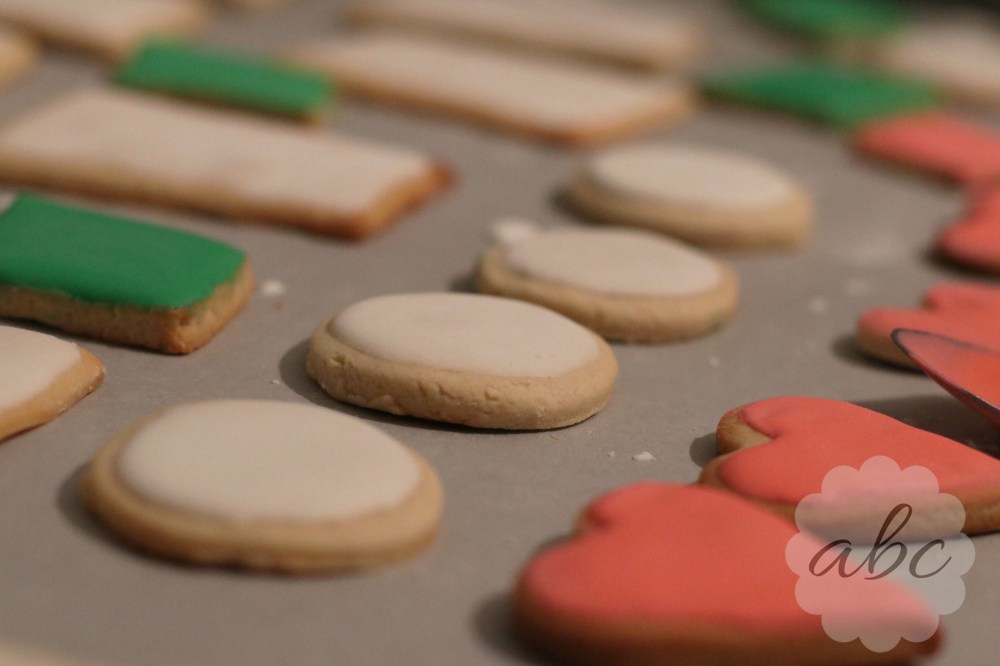
I set these all aside to firm up so that I could continue decorating them on Sunday.
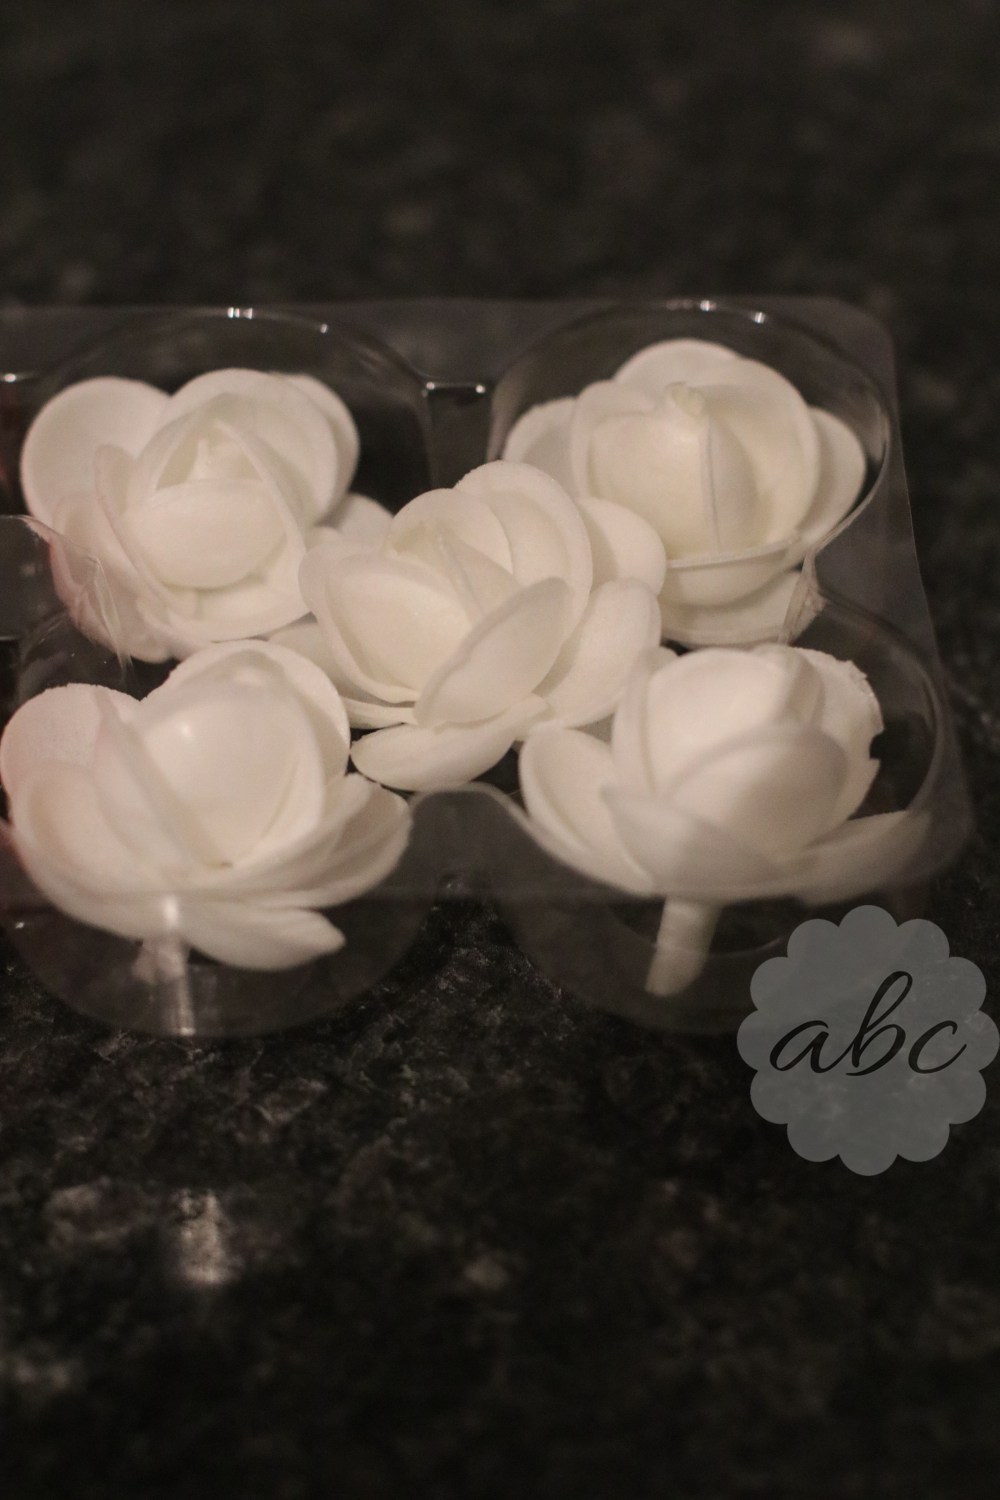
I then got to work making my white and red roses for my “painting the roses red” shrub. Earlier in the day, I had found two packages of wafer roses! These were an excellent find because they will be light enough to cling to my shrub tree with little other support. (I had been concerned about my buttercream roses because they are quite heavy and tend to harden and fall off of cakes if they do not have a prop, but I think these will be MUCH better!)
The roses originally looked like this..
I had purchased a red bottle of edible spray color and used this to color a few of my roses completely red, and then some only partially red like this..
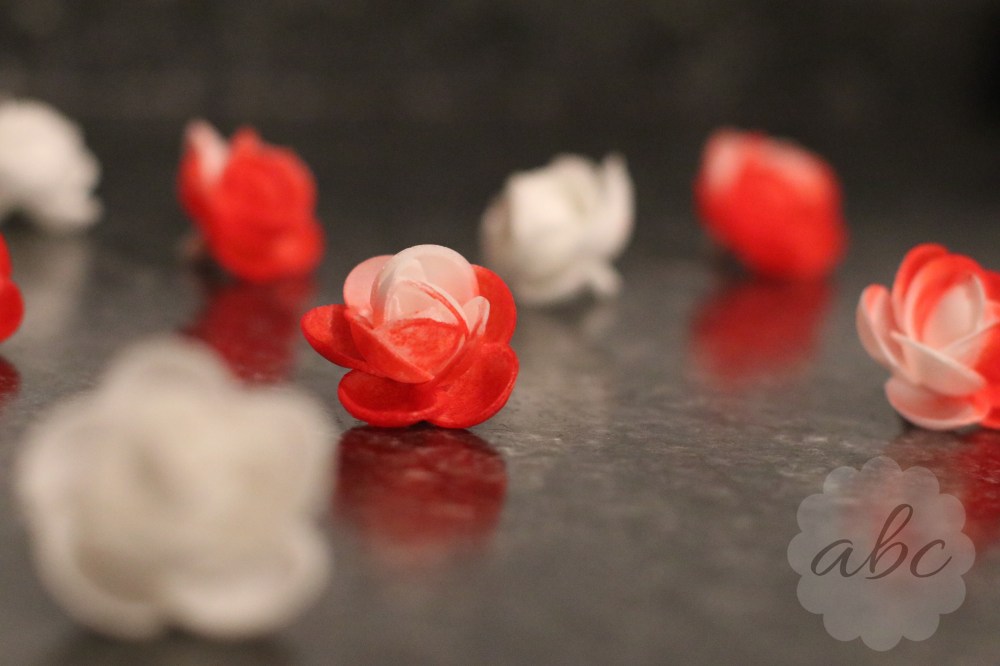
I also left five of my roses completely white! This way, I will have some unpainted white roses, some painted red roses, and some halfway painted roses – just like the movie! I think this will be a great effect on my rose tree.
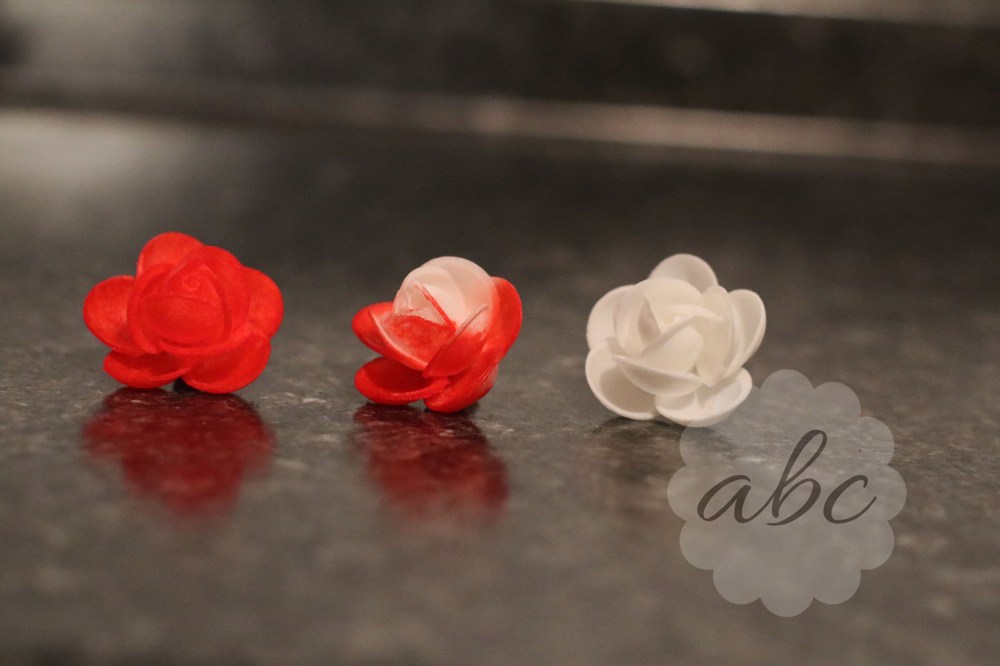
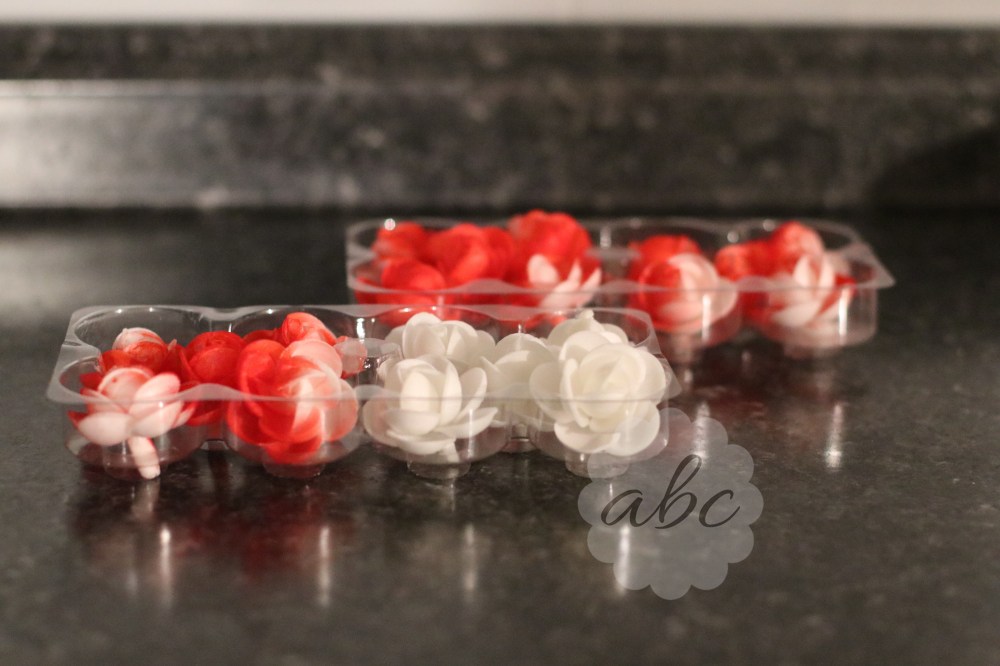
I was quite happy with the turnout of these colors. In total, I had twenty roses!
And some VERY red fingers. Note to self: buy some gloves to keep at home.
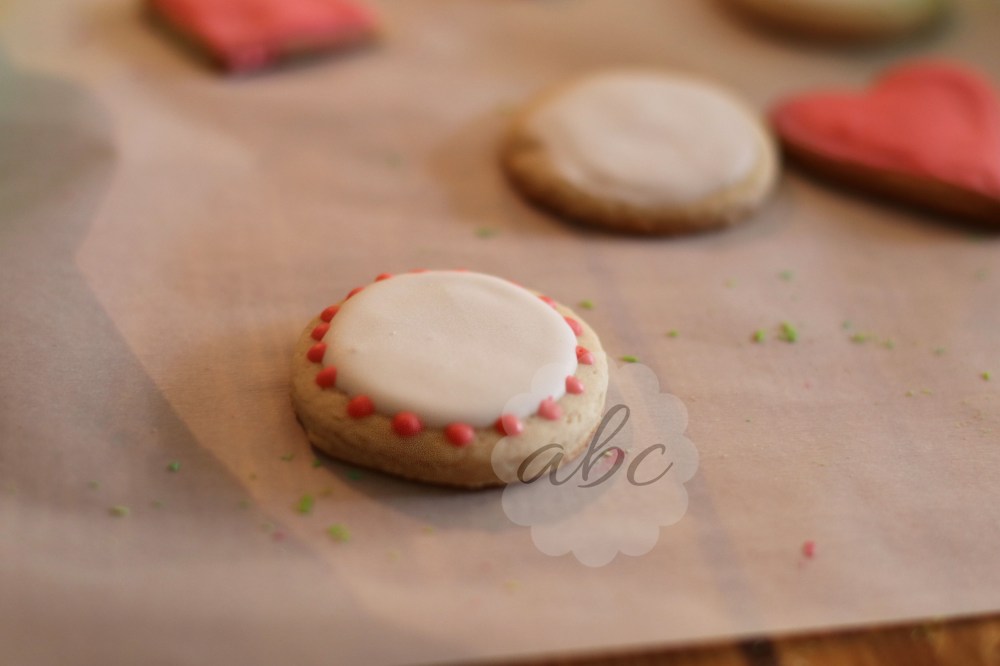
Sunday morning, I began decorating my cookies. I started out with my “eat me” cookies. I chose a few of the best looking cookies and piped a dotted border.
I then wrote “eat me” in the center of the cookies. I used a cursive font and an all caps font to add some variety.
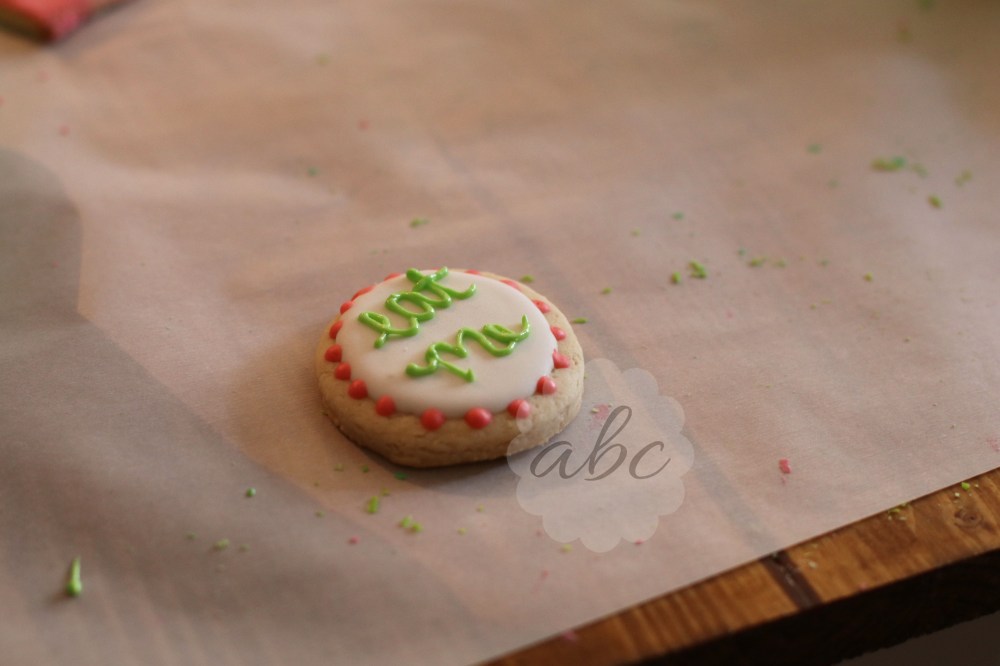
And then I finished off the cookies with different colored dots around the border.
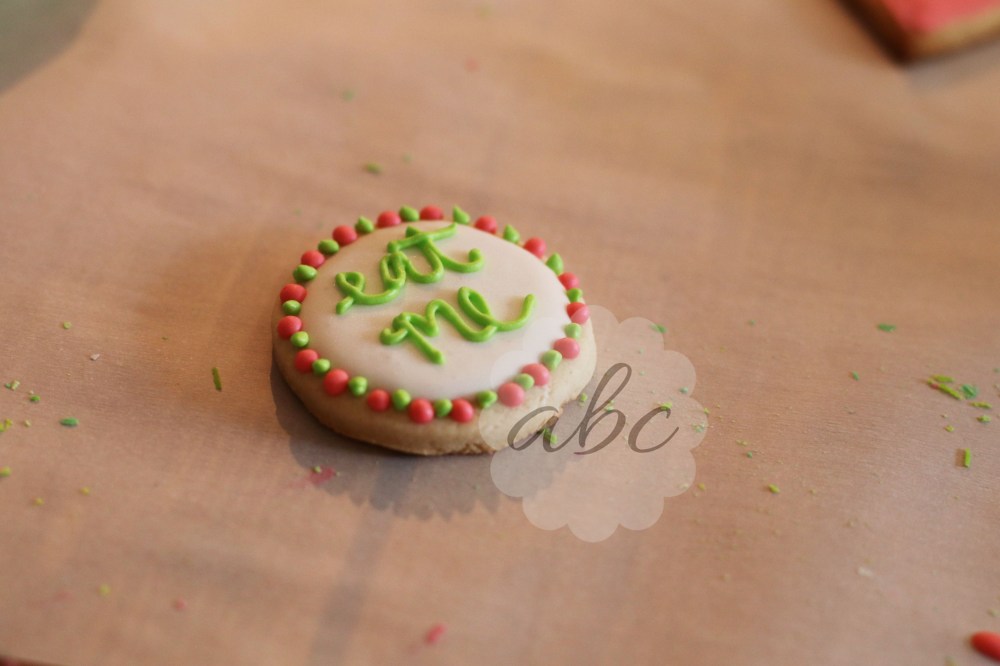
All in all, I really like these quirky cookies!
Next, I moved onto my playing card cookies. I took my rectangle cookies that I had previously flooded with white royal icing and using my edible markers, I drew hearts, diamonds, clubs, and spades on them..
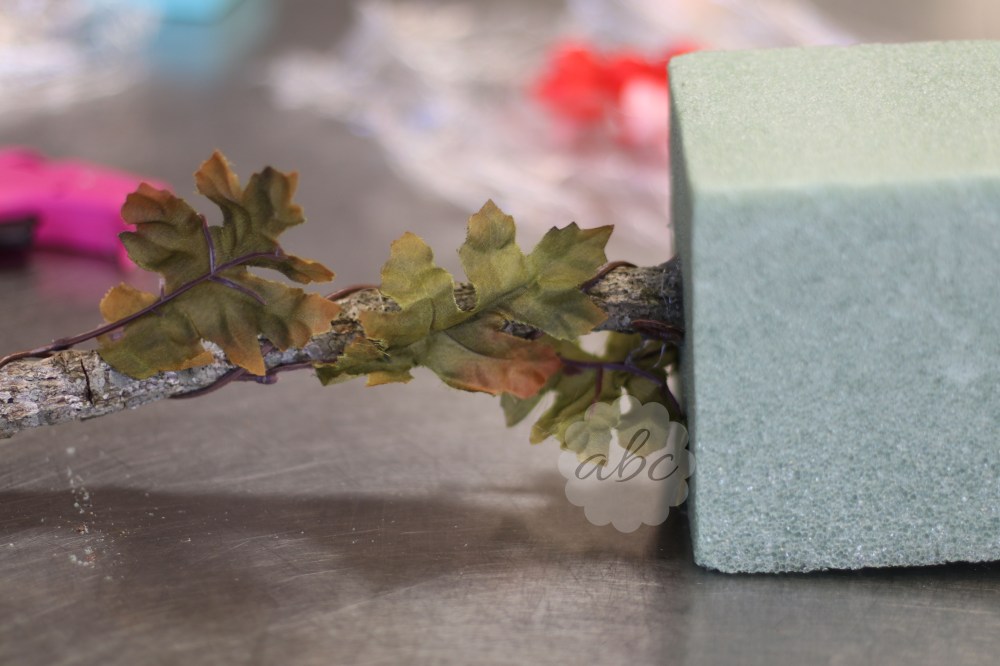
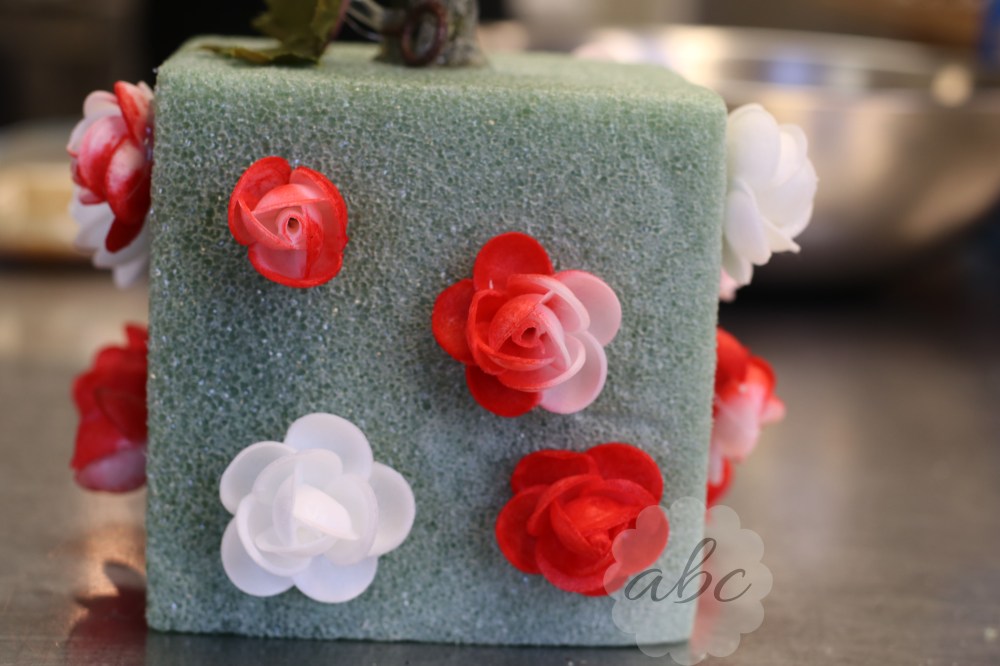
In class on Monday, I began working on my rose tree. I made a hole in the bottom of a styrofoam block and inserted a short tree limb that I had cut off a fallen branch at home. I secured this with some hot glue. I then wrapped a plastic vine with leaves attached around the stick and added a little hot glue to make sure it didn’t move.
I then began creating little holes in the styrofoam, adding a little glue to these holes, and inserting the ends of my wafer flowers.
Holly had whipped up some buttercream while I was working on this, and she let me have some to color green to make my leaves. I piped this on with a small leaf tip – getting as close to the flowers as possible without getting any green coloring on them.
I piped all sides except for the top because I needed the tree to be able to “sit” without disturbing the leaves while they hardened until Friday.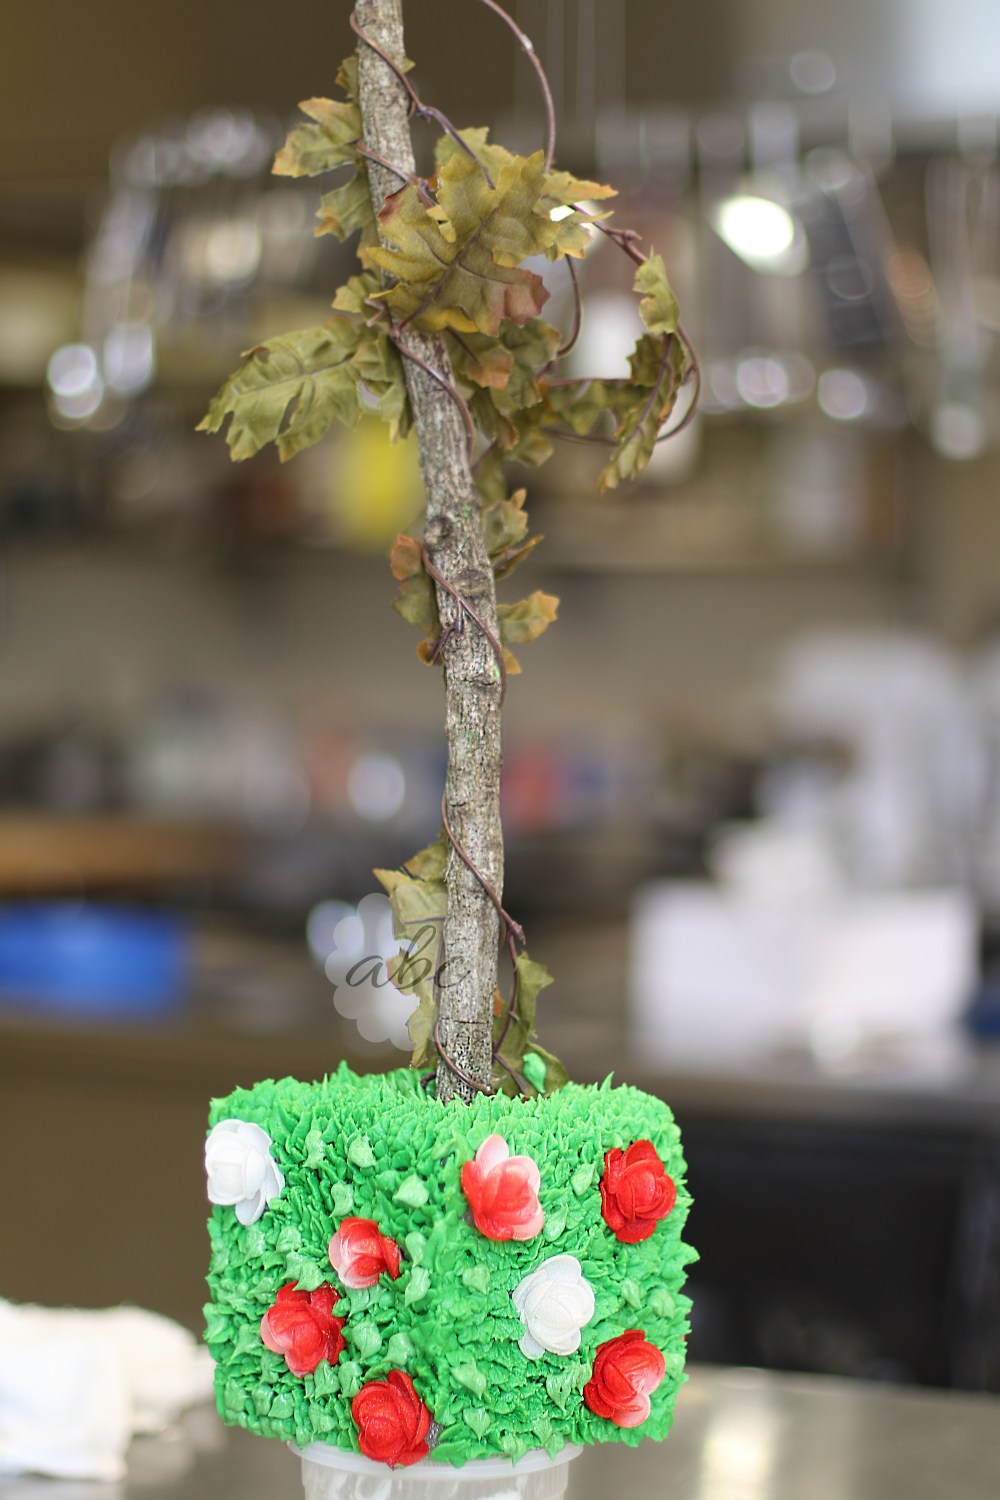
After this, I worked on reattaching my rabbit ears which had broken and fallen off, making new Alice legs (mine had begun to droop), and reassembling the Mad Hatter because many of his curls had fallen off.
I then left everything alone in the conference room until Friday – at which point I would add the final touches and set up my full display.
After finishing up my work in Advanced Baking on Friday – see my next post for those details – I set out to finally finish my homecoming display.
I settled my rose tree into a teapot full of rocks to hold it steady and piped leaves on the very top.

After finishing up my tree, I made a “half teacup” using a plastic cup that I cut in half and some gum paste. I rolled out the gum paste and laid it over the half cup to make a cup shape and allowed it to harden. I then shaped a handle and attached that with a little dab of water.
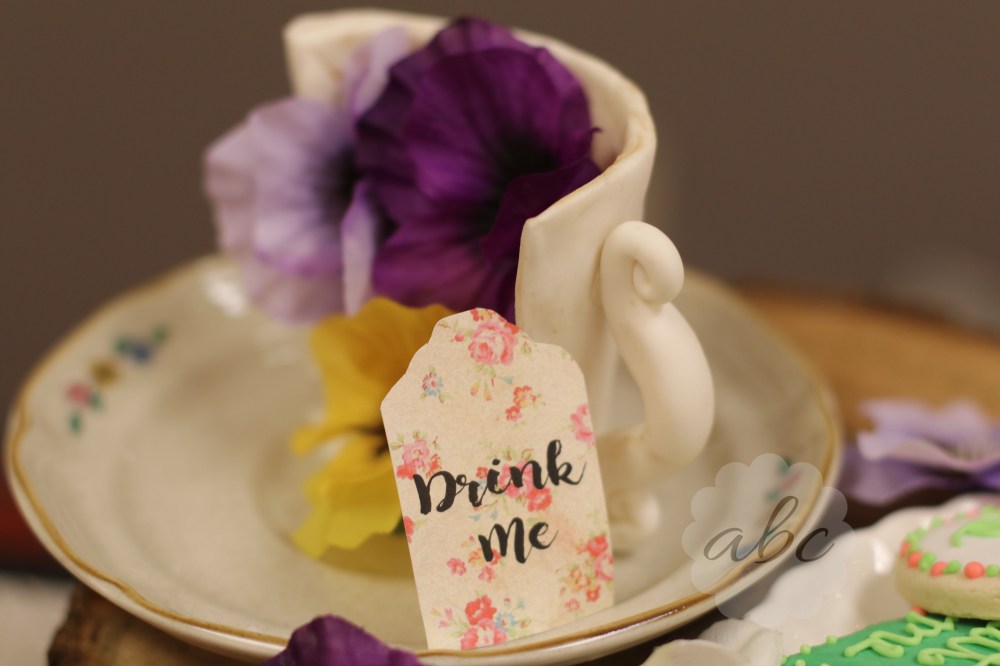 After this hardened up, I slid the gum paste off of the plastic cup and “glued” it to a real saucer using some buttercream. I then added a few flowers to the inside of my cup to make it a little prettier.
I then pulled out all of my project pieces as well as two tree trunk stands that I had borrowed from my mom and started putting together the whole display!
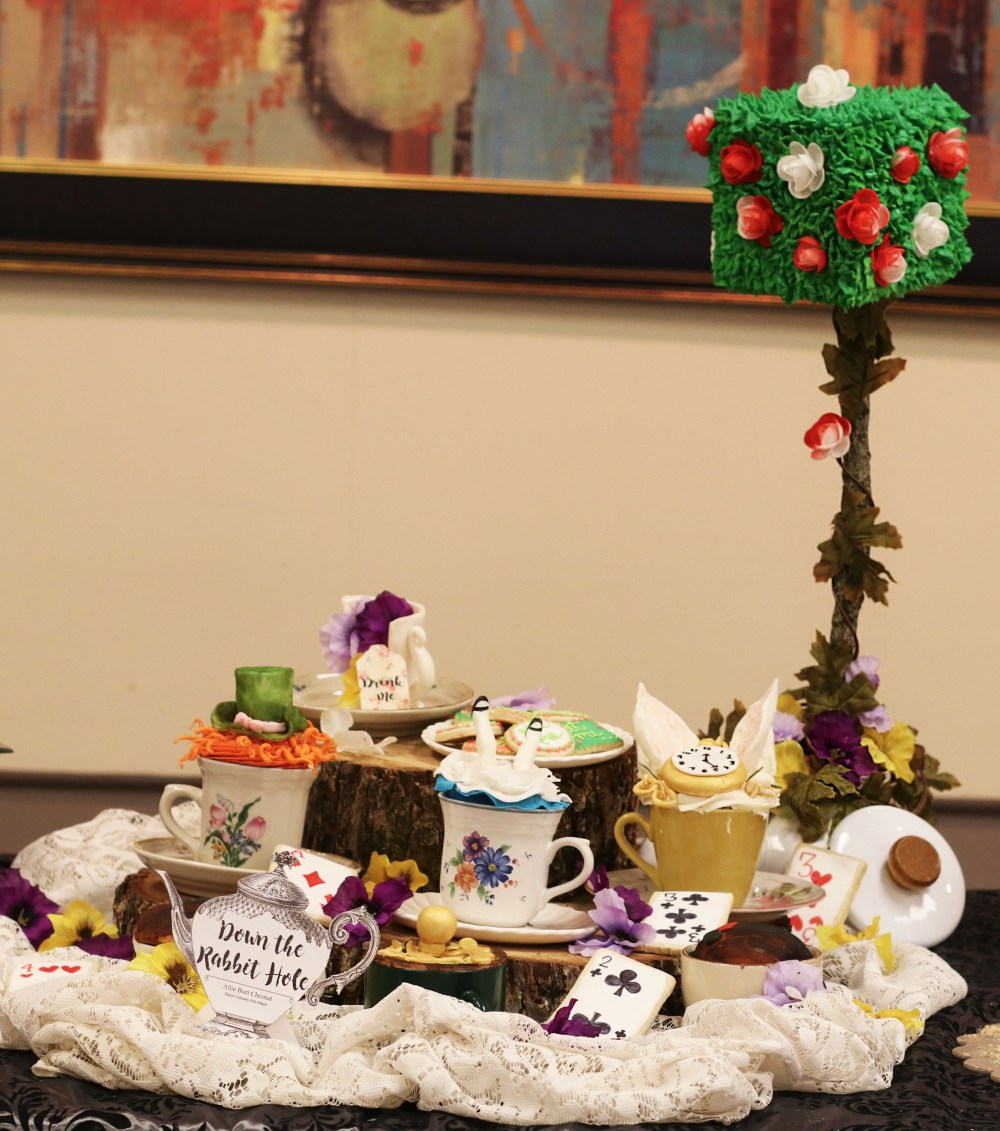
All in all, I am pretty proud of my creation! I think all of the elements work nicely together to make one cohesive theme.
This has been a VERY busy week, and I am ready for a little much needed rest. BUT I kind of can’t wait for Monday because the uber talented Martha Foose is coming to talk to our class about “Food Styling in Movies”!
Until next time,
ABC
