This past Friday was gumpaste flower day! I have very limited experience with gum paste (only having used it a time or two for decorations that needed to be very thin and stiff for cakes)!
When we arrived in class we were given a few supplies:
- cheesecloth square
- twine
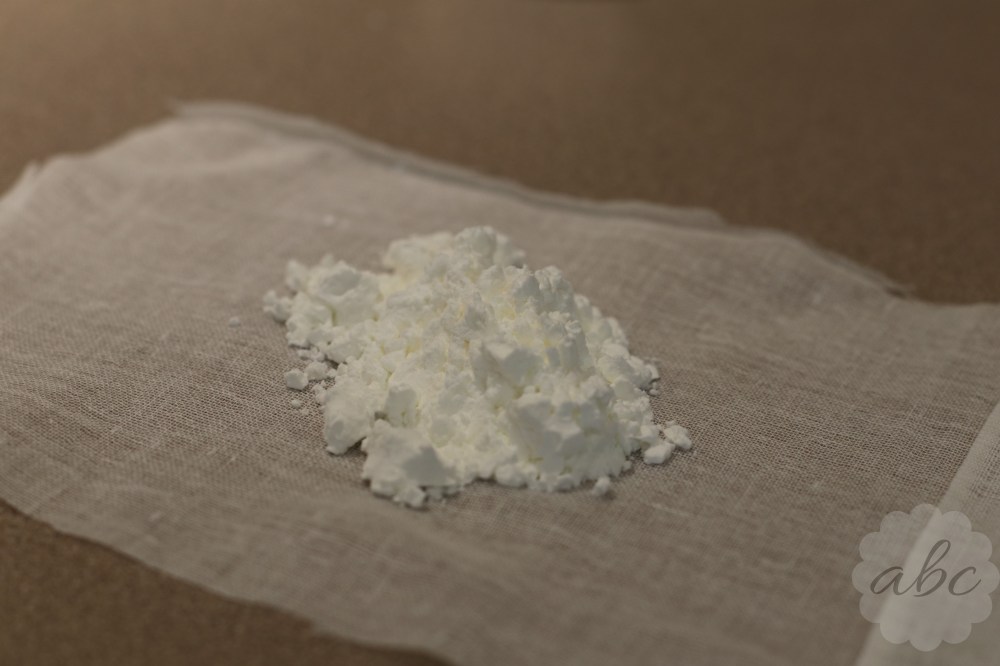
- cornstarch
- gumpaste

We were instructed to put a little of our cornstarch on top of the cheesecloth..
And then tie up the cheesecloth using the twine..
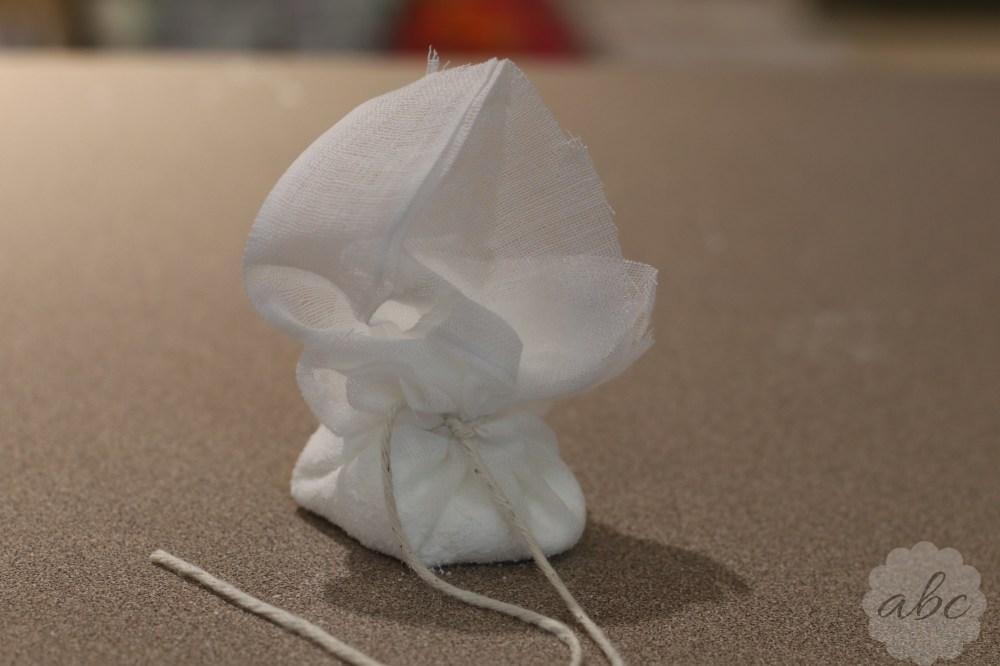
This would be our “dusting bag” for the day! I have made one of these before using a pair of pantyhose and cornstarch, but this is much cuter!
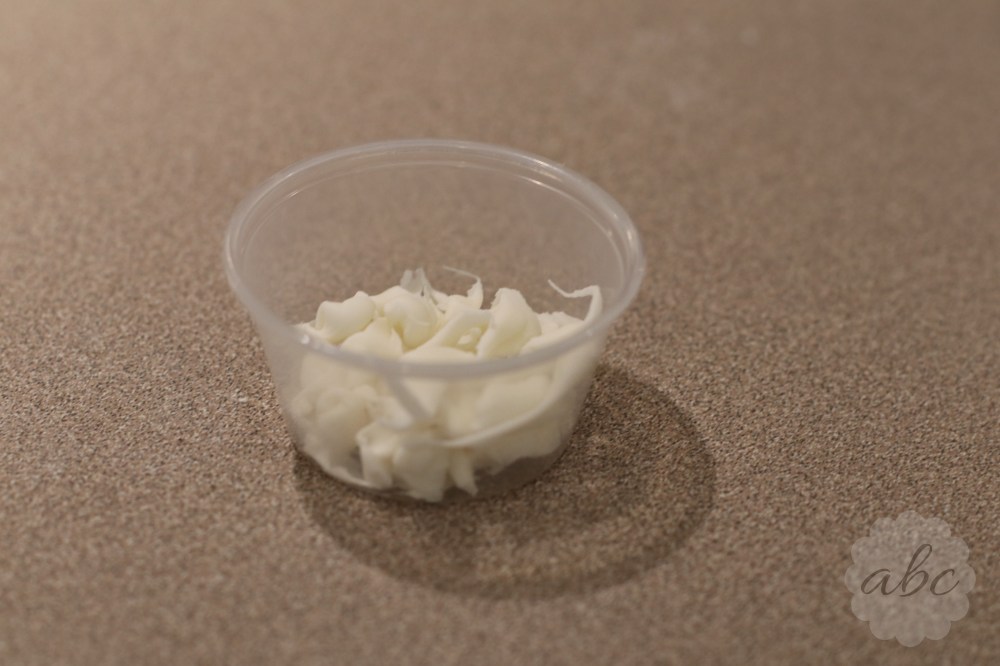
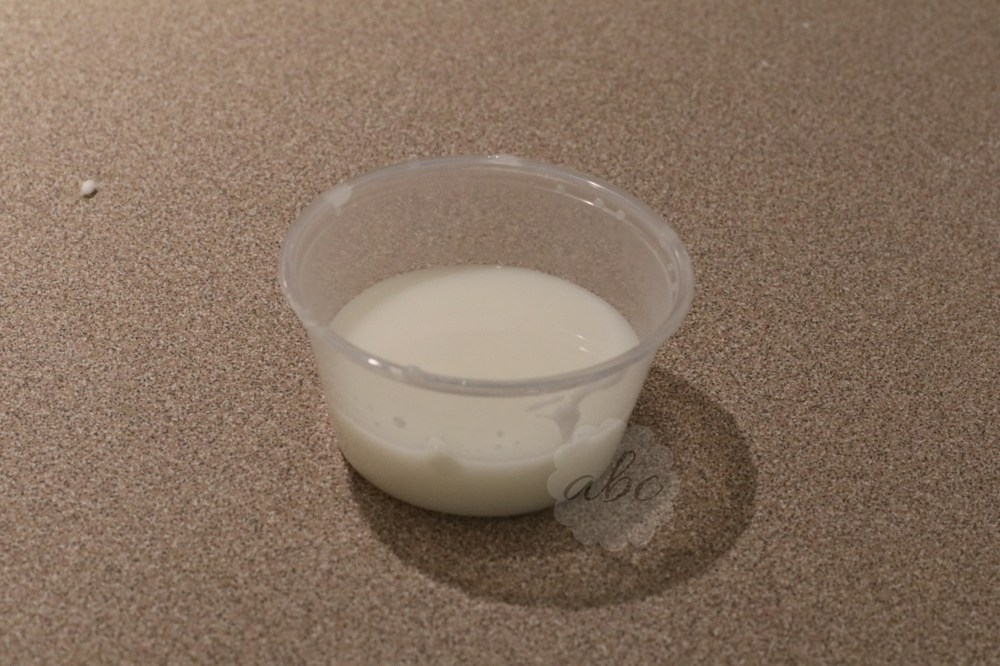
We then turned our block of gumpaste into tiny pieces and placed them back into our cup..
Holly was then nice enough to take her cup and my cup and add about 1 tbsp of water on top of the gum paste..
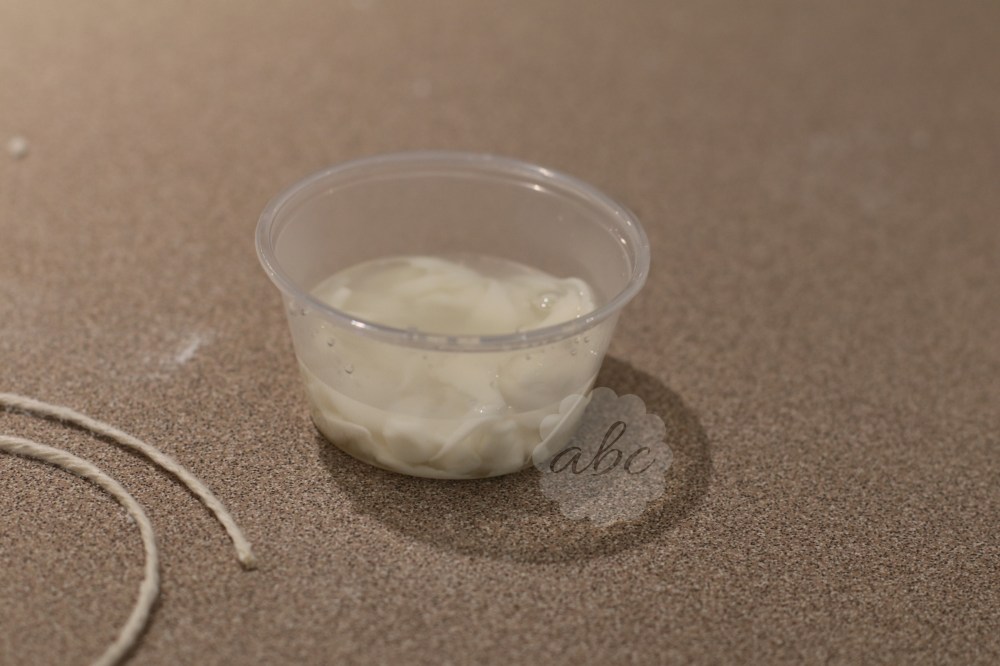
We then stirred this all up until it was a smooth mixture! This is now GLUE for our gum paste that will hold gum paste leaves together! (I had never known to make “glue” before.)
While we were getting this all together, Chef MH went over some basic Gumpaste information!
Gumpaste 101:
- Gumpaste is a dough like icing that can be rolled very thin. It is great for flowers.
- When working with gum paste in high humidity, add 1/2 tsp Gum-Tex.
- Kneading and Rolling:
- Stretch until thin
- Twist into spiral
- Knead until smooth
- Roll out thin
- Gum-Glue Adhesive:
- Break 1/2 inch ball into pieces and dissolve in 1 tbsp water
- Coloring:
- Cut off desire amount
- Add color, a LITTLE at a time
- Knead in color until even
- Wrap TIGHTLY and store in a ziplock bag
- Useful Tools:
- Veining
- 2 Umbrella
- Cone
- Dogbone
- Shell/comb
- Ribbon inserter
- Ball tool
- Pallet Knife
- Fine Tweezers
- Cutting Shapes:
- Cut outs (like cookies cutters)
- Shift cutter side to side to separate the shape and get smooth edges.
- Store under plastic flap or plastic paper to prevent drying
- Steps for Leaves:
- Tint
- Roll thin
- Wire
- Cutter
- Impression mat
- Softening Edges:
- Dust form and tool with cornstarch
- Hold ball tool like a pencil
- Ball tool mostly on foam pad outlining the edge of petal
- Ruffling Edges:
- Dust form and tool with cornstarch
- Move ball tool back and forth with ball tool half on foam , gently pressing down
After going over this helpful info, Chef MH then showed us her extensive assortment of gumpaste cutters and tools. I need to SERIOUSLY upgrade my very limited collection.
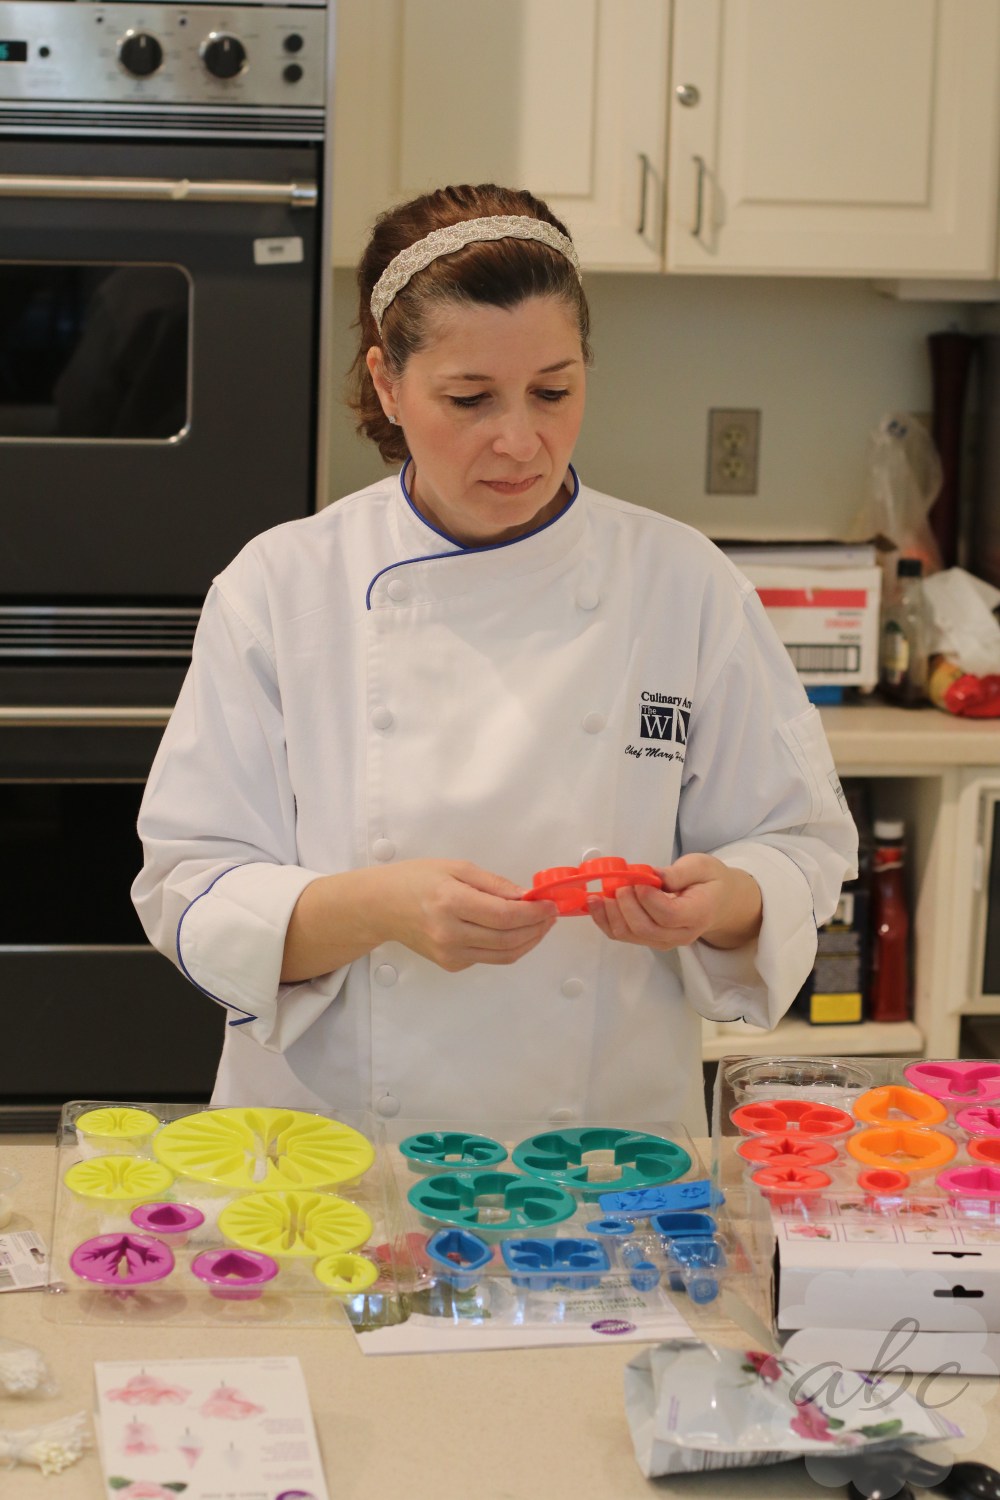
She then demonstrated how to make a daisy and a rose for us!
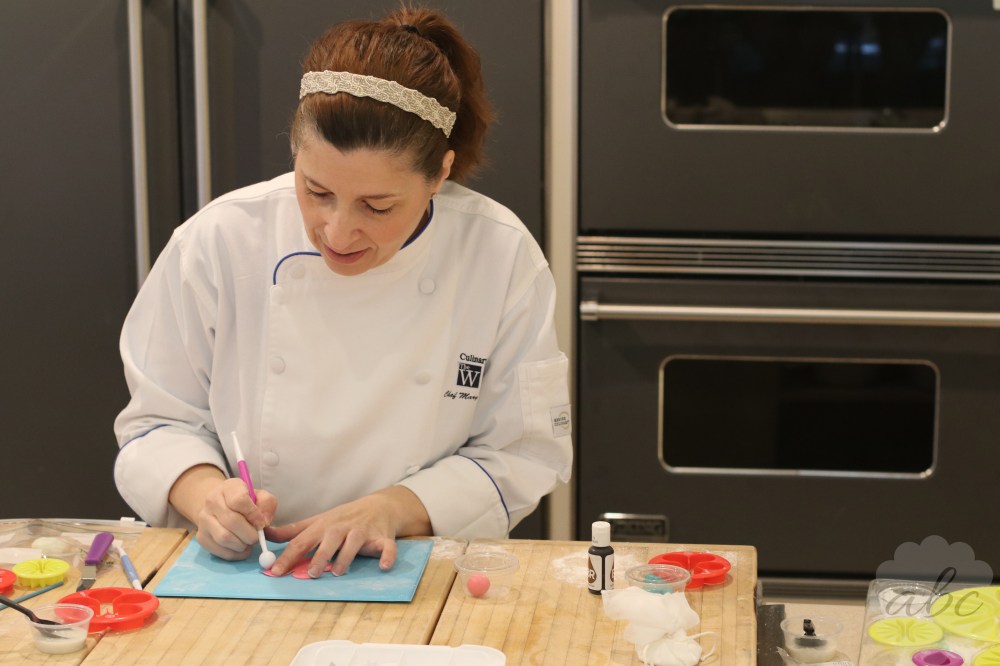
While she was working, we began constructing our own flowers. I decided to make a daisy first.
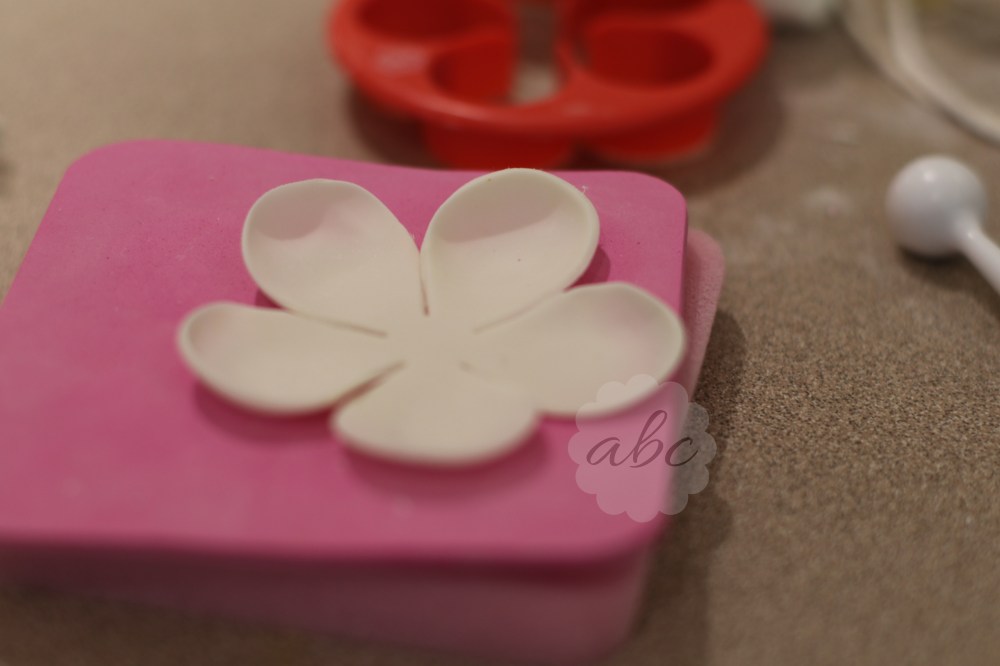
I began by using a daisy cutter and cutting two large daisy petals and one small one. They look like this..
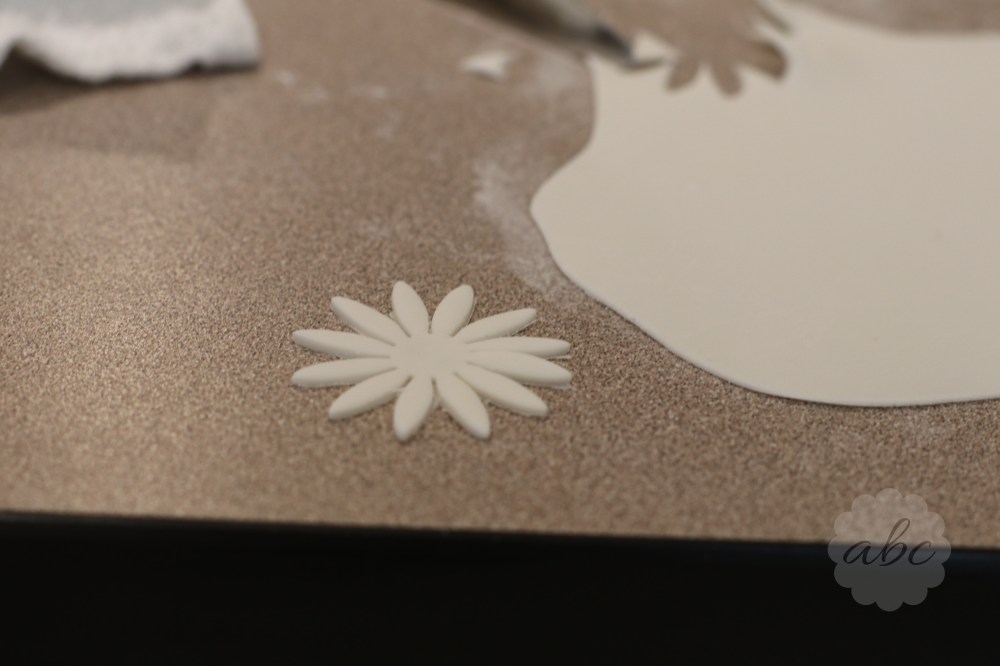
I then “glued” the two large ones together and added a small circle of rolled up gum paste to the center. Then, using the end of a paintbrush, I made some indentions to the center of my flower to create a more realistic look.
I also used a gum paste tool to create curves within each petal! I love this effect.

I then used a little luster dust mixed with my “glue” to add color to my daisy!
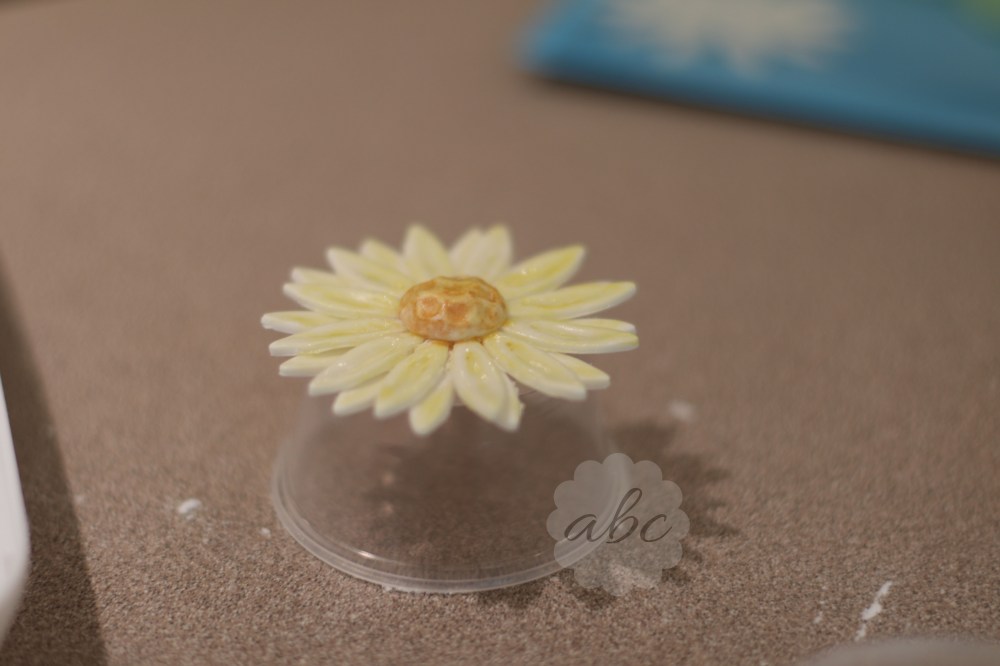
I’m pretty proud of my daisy for being my very first one!
Next, I decided to make small version using the smaller petal cutout that I had cut earlier and then repeating the other steps.
On to a gumpaste rose!
I began by cutting out several rose petals, both big and small and using a large ball tool to thin out the edges.
I made a pointed base shape and poked some thin wire through it to act as a stem. I then used my first small petal cut out to create my first five leaves.
I folded these all over and attached them with a little glue. I then went back and used my fingers to crinkle up the tops and create a more natural effect.

I then began adding more petals..
and more petals..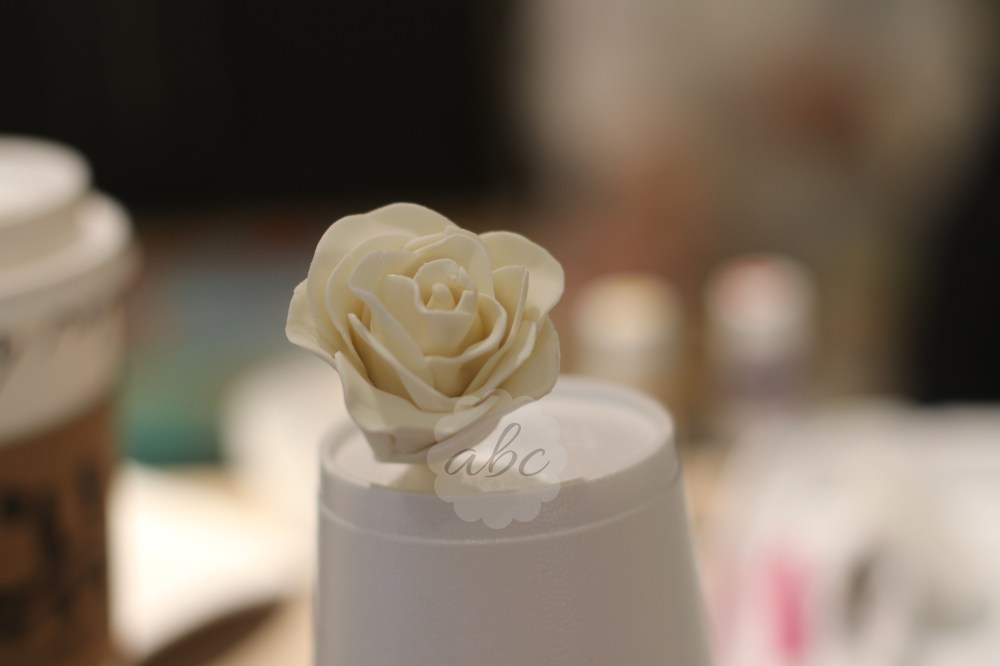
and more..
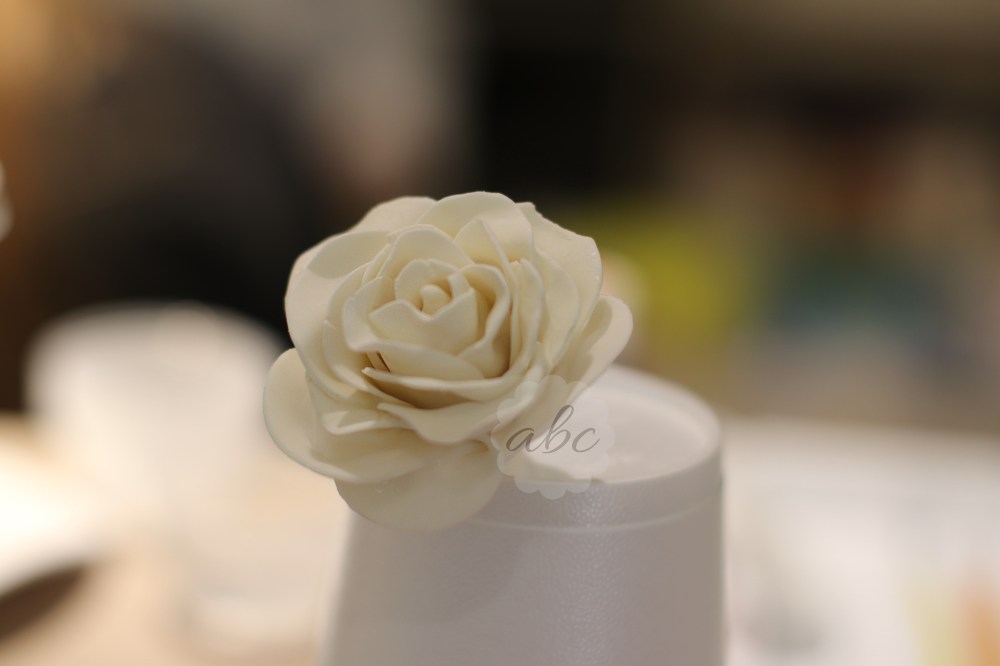
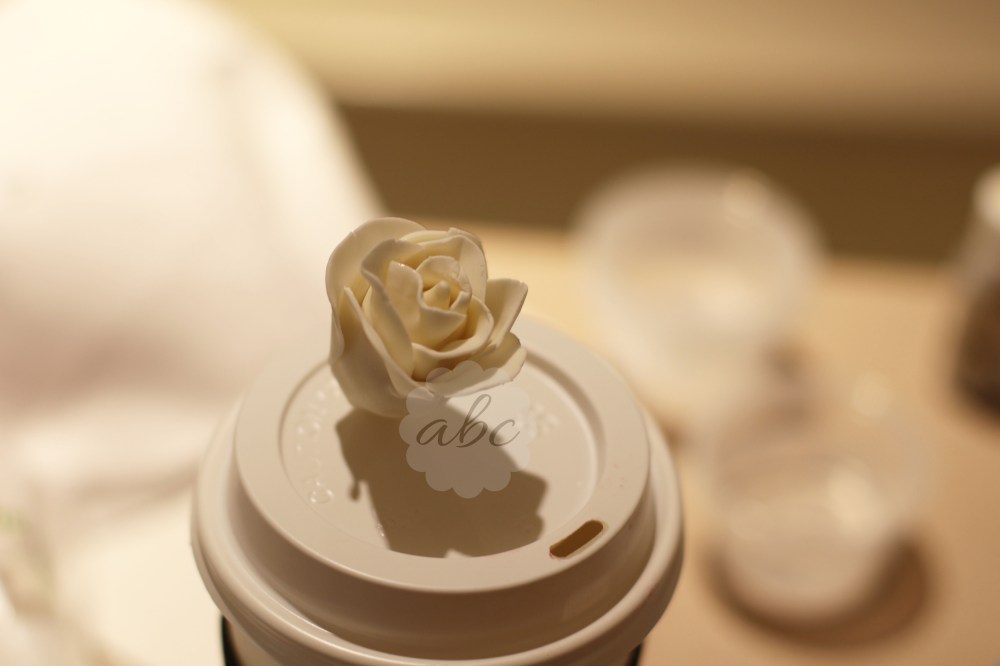
until I had reached the fullness that I wanted!
I then added the tiniest bit of pink luster dust to a little of my “glue” and painted this onto the petals which added a very soft pink hue to the rose!
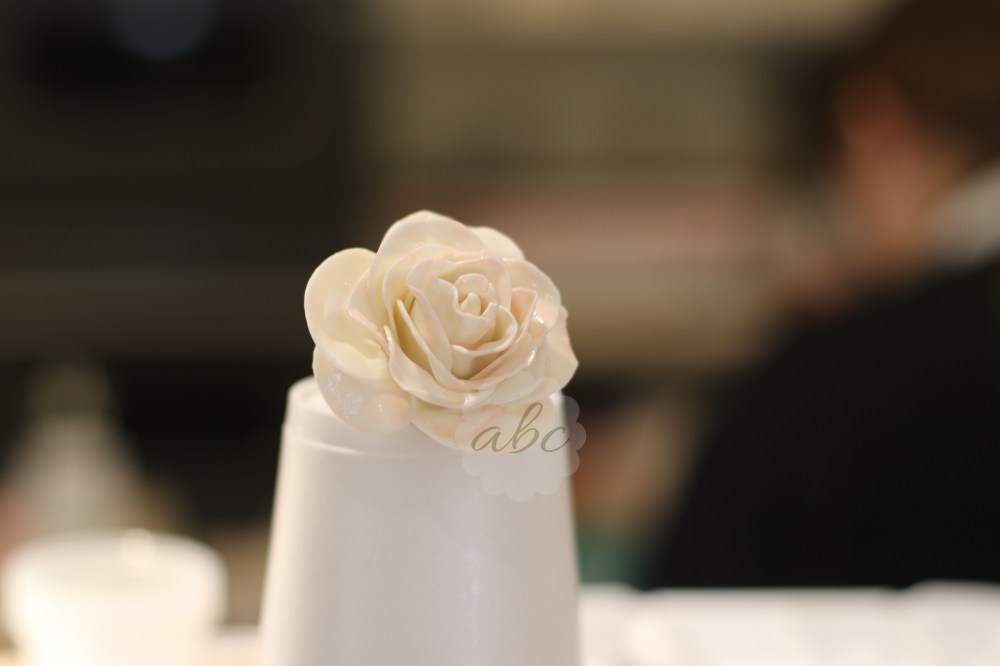
I am extremely happy with this rose! It’s the first gum paste one that I have ever made and I think it turned out very well! Maybe I will make some of these to go on my wedding cake (which we start working on NEXT WEEK by the way)!
I received my cake sketch from Chef today so here is a sneak peak..

I absolutely cannot wait to get started on this project!
Until then,
ABC.
