Off to Wonderland once again!
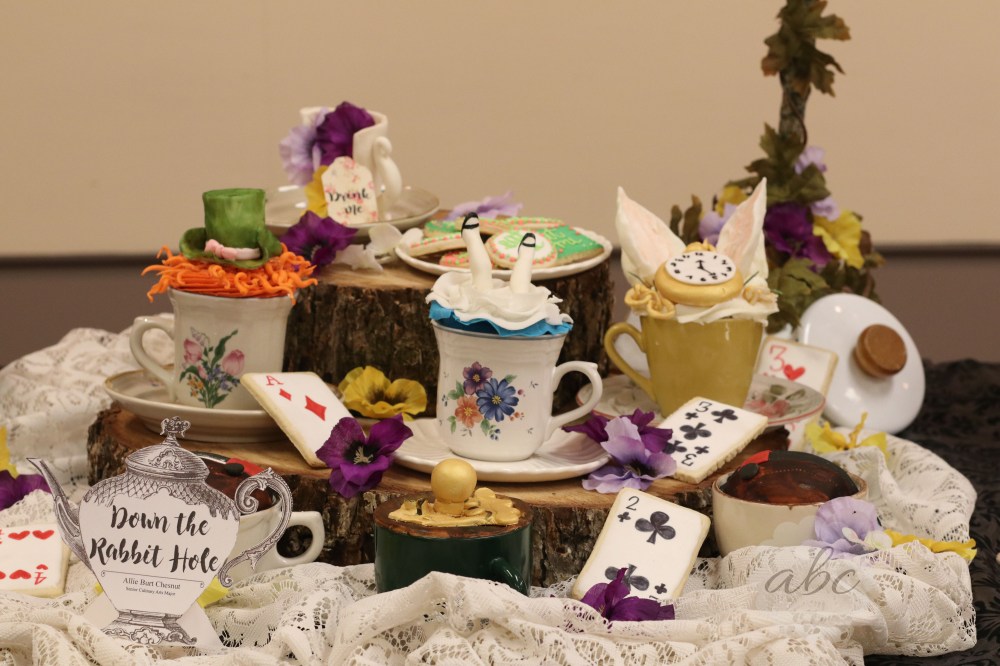
We started on our wedding cakes this past Friday, and of course, mine is Alice in Wonderland themed to match my six cupcakes! Here’s a reminder of what my cupcakes look like:
 And here is the sketch of what my wedding cake will look like:

I worked only on baking ALL of my cake layers this past Friday. Chef MH had a luncheon coming up, so I helped her recipe test during my free minutes of class since my agenda for the day only included baking!
I used a great recipe from Food Equals Happy Me to create my Earl Gray Cake layers.
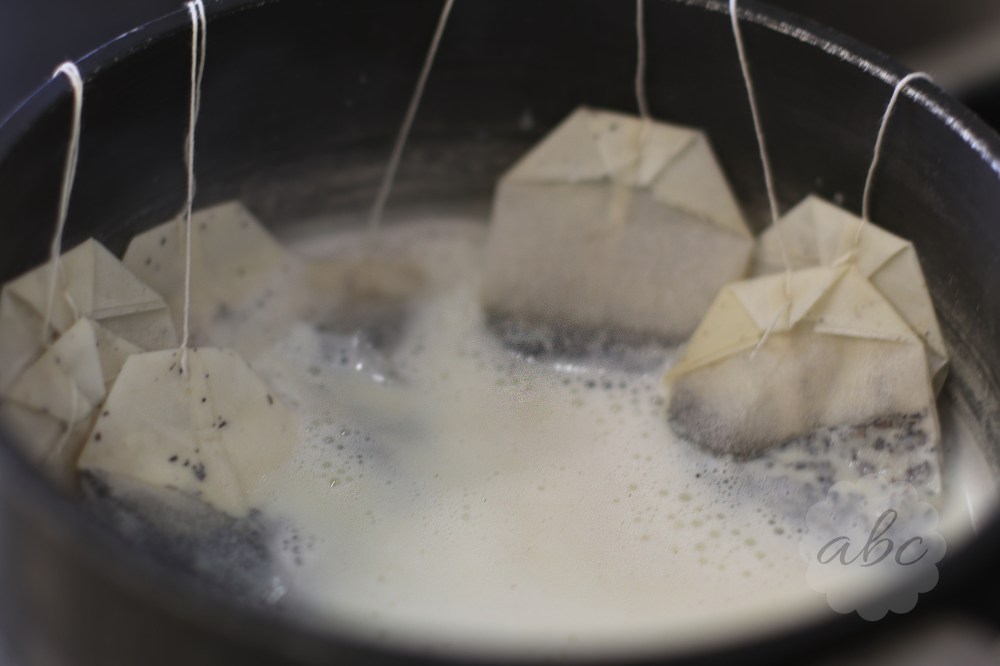
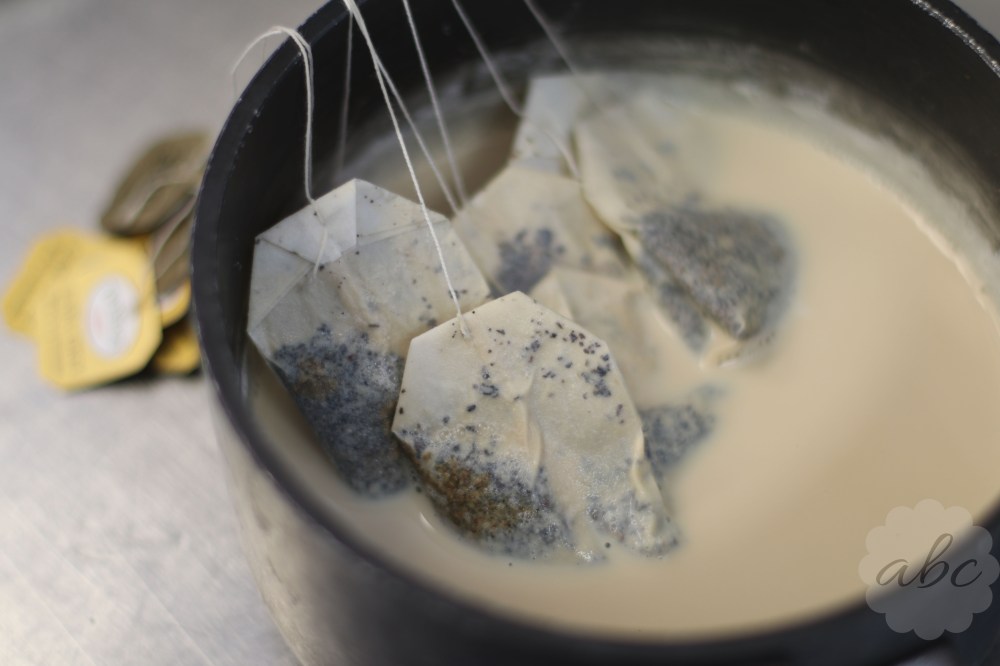
I started off by heating up my milk to a simmer and added in my earl gray tea bags and threw on a lid to let it all steep for about 20 minutes..
 I then began creaming my butter and sugar..
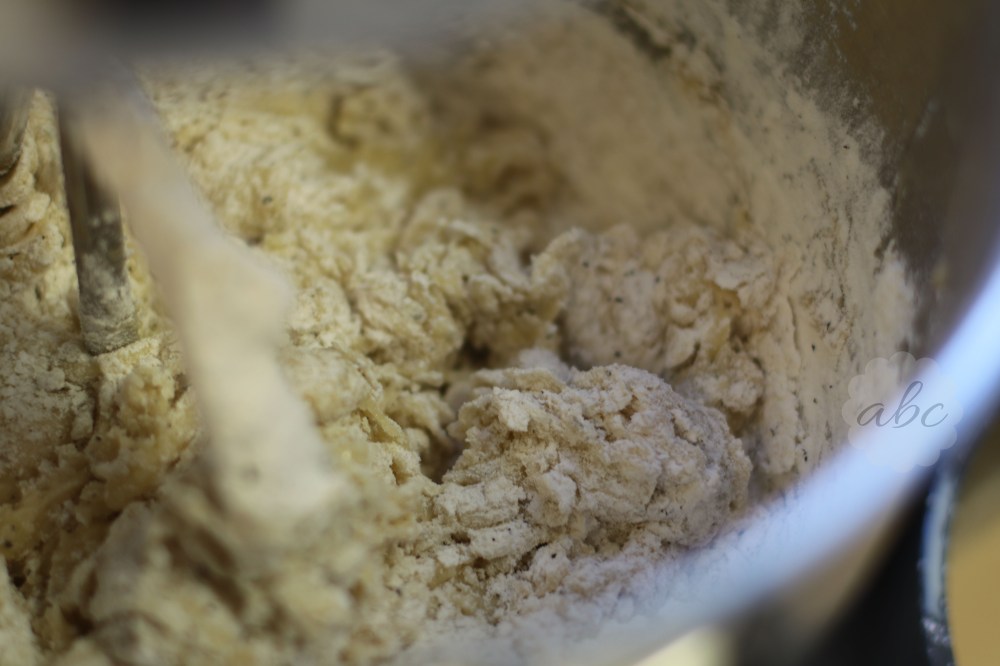
 And while those were creaming, I whisked together my flour, baking powder, salt, and contents of my other tea bags..

Once my butter and sugar were creamed, I added in my eggs one at a time and then my vanilla.
Once the tea had steeped for 20 minutes..
I began adding it and my flour to the butter/egg mixture in alternating batches, beginning and ending with the dry ingredients..
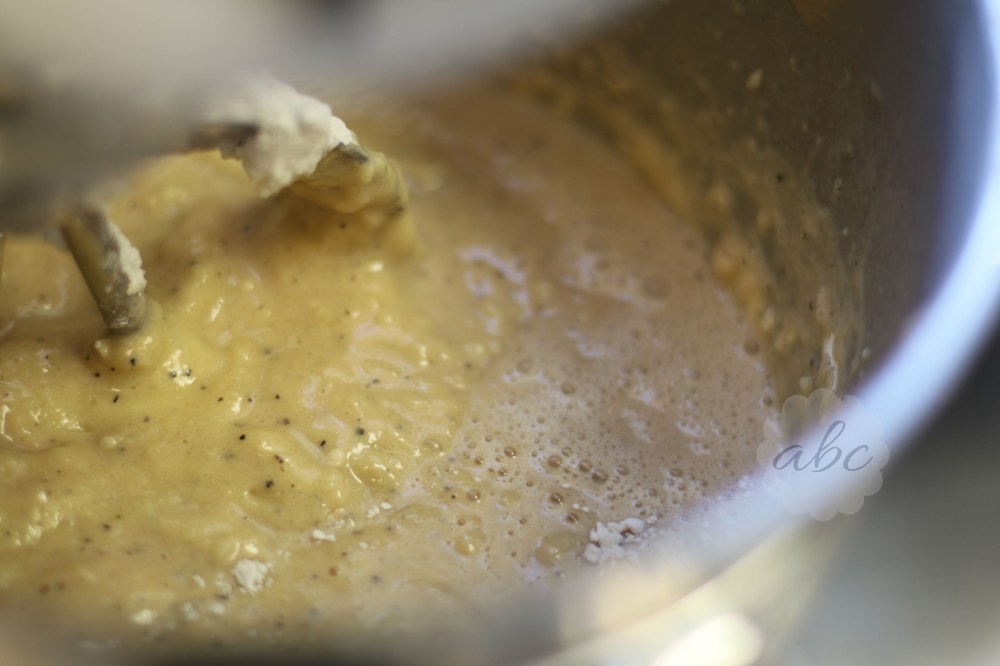
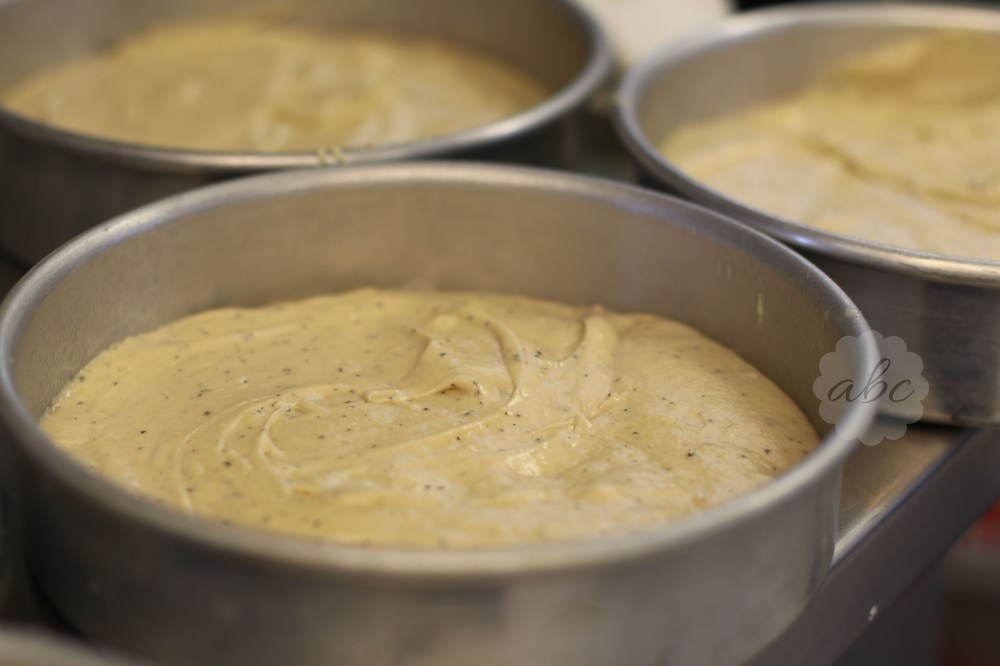
Once everything was incorporated, I poured it into some greased pans and popped these into my preheated oven..
Here is the yummy recipe from Food Equals Happy Me which can be found at: https://foodequalshappyme.com/2015/08/31/earl-grey-tea-cake-with-lavender-swiss-meringue-buttercream/
Earl Gray Tea Cake
Ingredients:
- 1 cup milk
- 5 earl grey tea bags
- 3 cups plain flour
- 2 1/2 tsp baking powder
- pinch salt
- 225g unsalted butter, softened
- 2 cups caster sugar
- 4 eggs
- 1 1/2 tsp vanilla extract
Directions:
- Preheat oven to 180 degrees celcius. Line the bottom of two 7inch round baking tins with baking paper, and grease the bottom and sides.
- Place milk in a saucepan over medium heat and bring to a simmer. Turn off the heat then add 4 of the Earl Grey teabags and leave to brew, covered, for 20mins. After 20mins remove the teabags and squeeze out all the liquid. Set the milky tea aside to cool slightly.
- Place the flour, baking powder, salt, and the contents of the remaining teabag in a bowl, and mix to combine with a whisk. Next place the butter and sugar in a mixing bowl and beat until light and fluffy. Add the eggs one at a time, beating well after each addition. Then add the vanilla extract. With the mixer on low speed add the flour mixture, and milky tea in alternating batches, ending with the flour. Mix until just combined.
- Divide the mixture between the prepared tins, and place in preheated oven for 45mins or until cooked when tested with a skewer. Leave in tins for 5mins, before turning out onto a wire rack to cool completely.
I ended up making SIX batches of this cake! Four were the regular, Earl Gray, and then I ran out of Earl Gray tea bags, so I replaced these with Chai tea bags! The Chai tea cake turned out just as well, and I followed the steps exactly the same for this version. The middle tier will be the Chai tier!
Once all my layers were baked, I waited for them to cool and then wrapped them in plastic wrap. I placed these all on a sheet pan and put them in the walk in freezer with a label on them! I will begin making decorations next time!
There will be NO Advanced Baking this Friday because it is Good Friday! Instead, I will be traveling to Virginia to see my husband for the first time since January! I am very excited.
Until next time!
ABC.
