PHOTO SHOOT DAY!
Today, was photo shoot day for half of my food styling class – we unlucky few who have names at the beginning of the alphabet. So, I arrived as early as I could – at 7:30 am – to stage my photo because I was the very first student up for being photographed right at 8:00 am.
Since I had only thirty minutes to prepare my product for Chris Jenkins, the photographer who came to our last class meeting, to photograph, I needed to get most of the work done before class.
SO last night, I made my product and finished planning my set up.
I knew that I was going to make a blackberry pie, but I wasn’t sure exactly how I wanted it to look for the photo shoot. I had a few options in dishes…


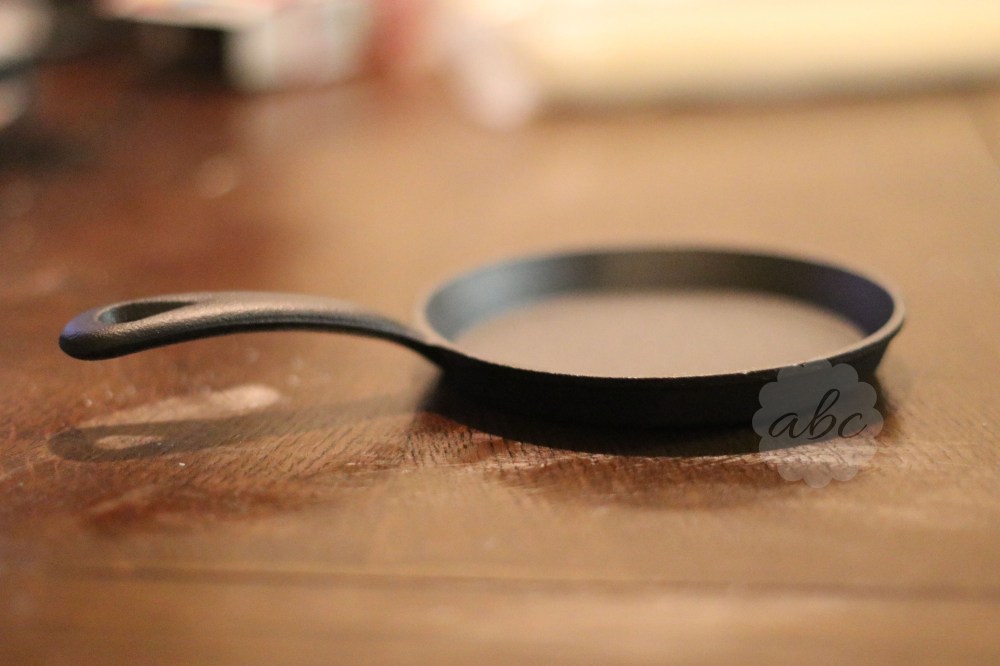
Finally, I decided to use the big cast iron skillet for my product, and also, the little one, just in case that ended up being cuter!
I began by spraying my cast iron skillets with some cooking spray. I then rolled out a layer of pie crust and lined the bottom of both of the skillets..

I poked holes in the bottom of the crust so that any air bubbles could be released while baking..

I then began working on my filling.
I thawed my two bags of blackberries that Chef MH had purchased for me.
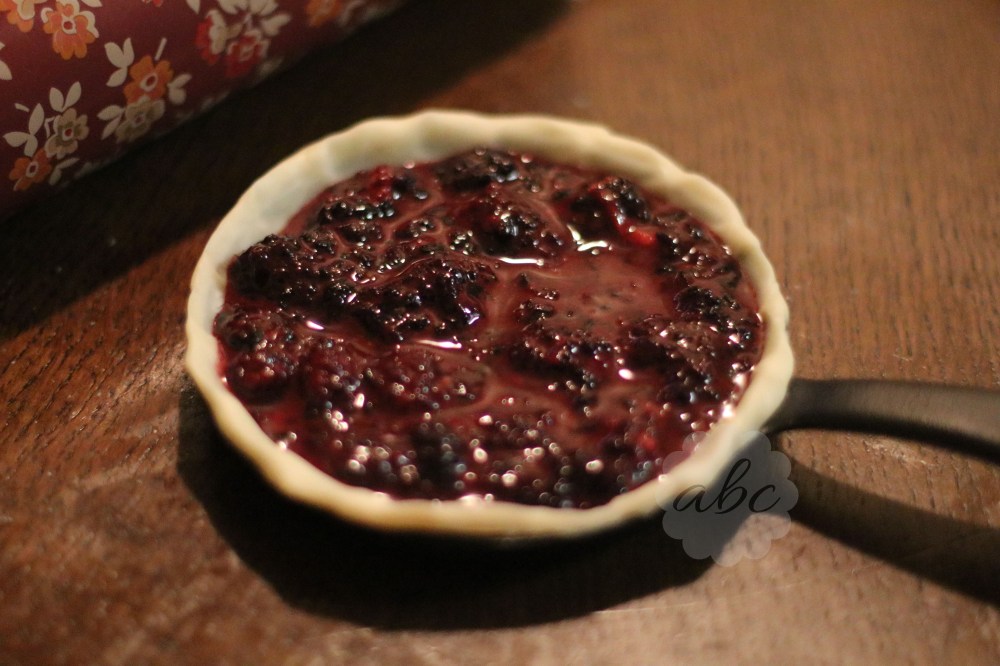
While they were thawing, I began combining my other ingredients: cornstarch, lemon zest, lemon juice, and sugar (to be totally honest, I didn’t really measure any of these ingredients). It was about five cups of blackberries, one cup of sugar, 1 tsp lemon zest, 2 tsp lemon juice, and 3 or 4 tbsp cornstarch (I added this so that my pie filling would congeal a bit so it wouldn’t be too runny once I cut into it. Ordinarily I would add none or very little for a better tasting pie, but this is just for the photo shoot and no one will be eating it.)

I then added in the berries and folded the entire filling together before pouring it into the shells.
I then cut strips of dough to create lattice for my pies. I began by placing rows of lattice across my whole pie..
Then I began adding horizontal strips. Each new, horizontal strip required my to lift up half of the vertical strips to lay over the horizontal strip..
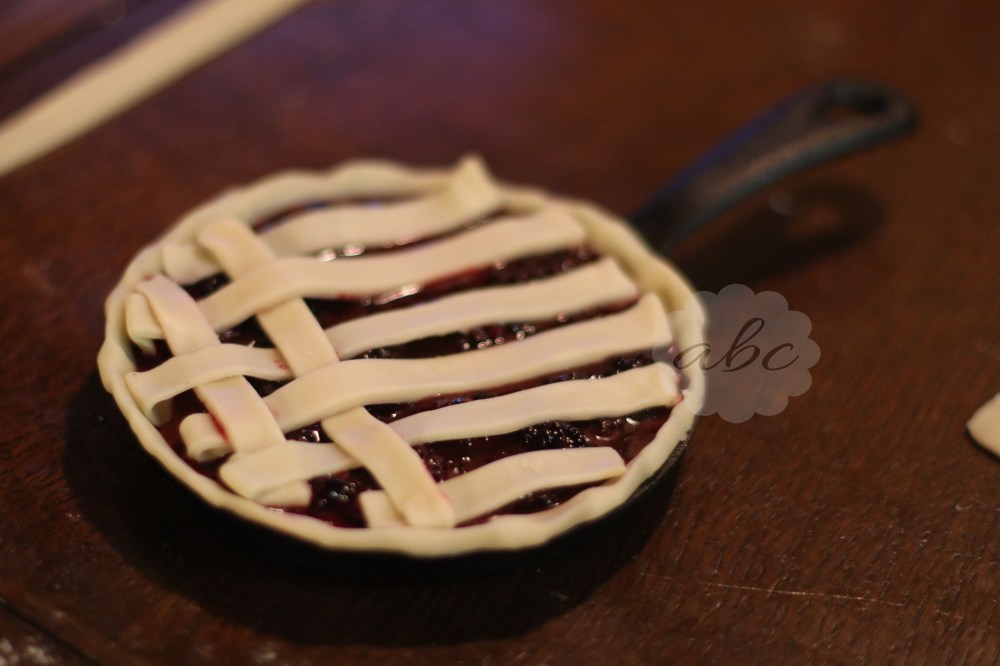
I continued weaving my lattice until the pies were completely finished..

I then egg washed the dough and popped both pies in the oven and baked them until the crusts were a pretty golden brown color. I baked them a little longer that I ordinarily would because I wanted a bit of a darker, golden brown color for my photo..
After my pies finished baking, I wrapped them up and set them aside to take to class.
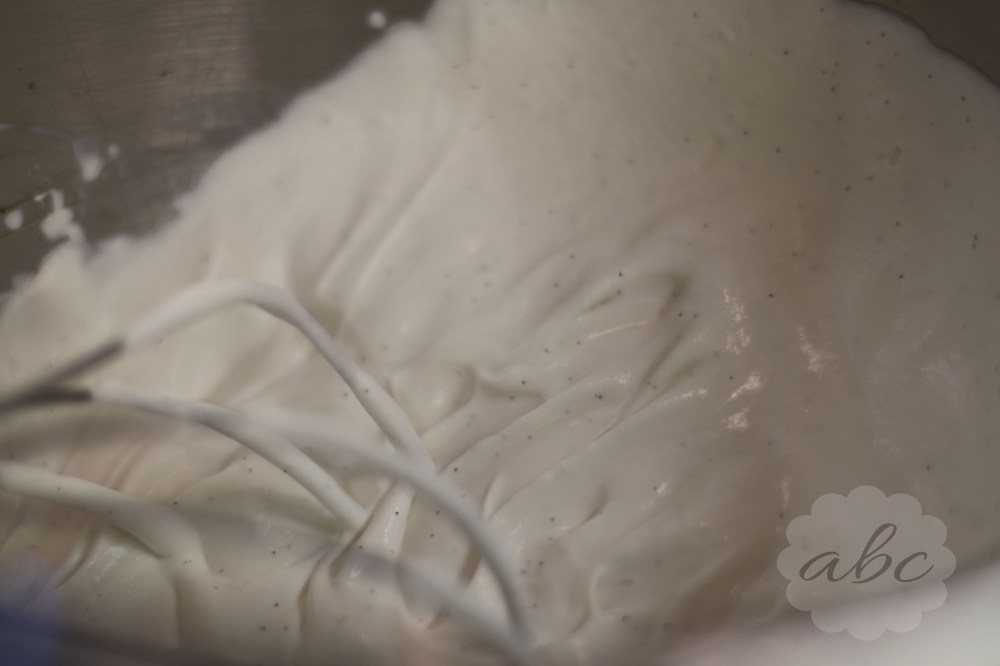
I then mixed up some faux ice cream with some vegetable shortening, corn syrup, and powdered sugar. I added in some vanilla bean paste to make Vanilla Bean Ice cream.
I wrapped this up and set it aside as well! I also gathered my rolling pin and cooling rack to use as background elements for my photo.
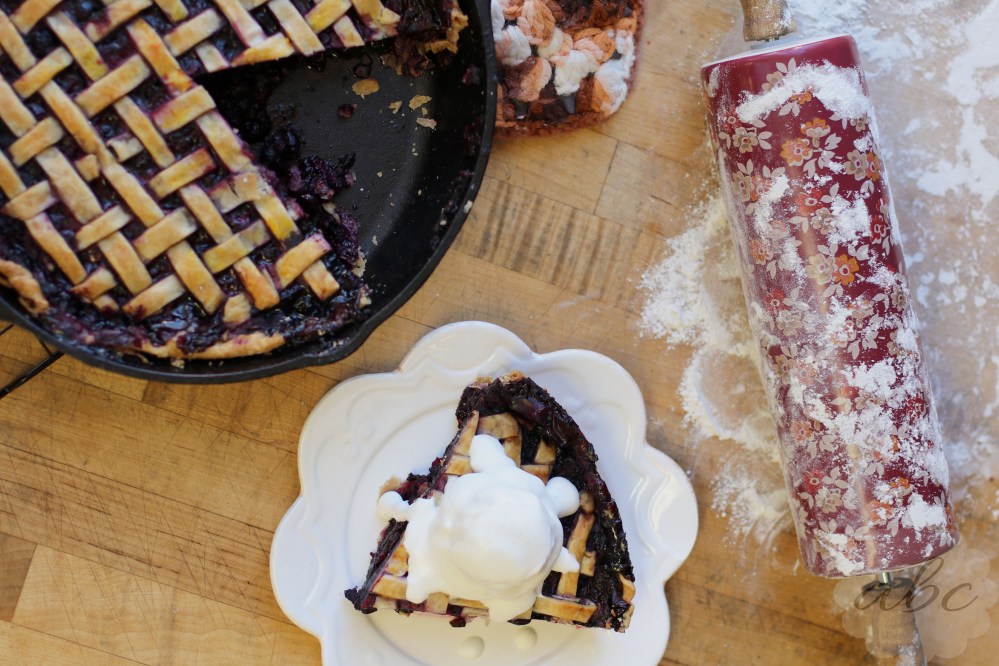
I was the first to arrive in class this morning, so I immediately claimed the wooden counter in the bakeshop because it is next to two big windows that provide the BEST, natural, diffused light (which creates the prettiest pictures when compared to the bright, florescent lights around the rest of the kitchen). I wanted to make sure I had a great light source for my photo, and I also wanted the wooden table underneath my pie!
I claimed a pretty, scalloped edged white plate, and cut a large piece of my pie and placed it on this pretty plate.
I cooked down a few blueberries that I found in the freezer with some sugar and used these to patch up a rough spot that I had created when cutting my slice and make my cast iron skillet a little “messy” in the area that I had removed the slice so my pie would not look so congealed.

I used a small paint brush to paint the blueberry juice onto the exposed top of my pie (where it peeked through the lattice) to give it a juicy, freshly baked, glistening appearance.
I then scooped a bit of my “ice cream” up and placed it onto my pie slice. I whipped up a little heavy cream until it was a little stiffer than normal, but STILL runny enough to pour. I also added in a little vanilla bean paste to match my “ice cream”.
 I poured this heavy cream onto the top of my “ice cream” and created a few drippings down the side of the pie to create the appearance of melting ice cream on a warm pie without actually have to worry with melting ice cream and warm pie.

I placed my skillet pie on my cooling rack with a pot holder that I have that my great grandmother made and gave to me a LONG, LONG time ago. It is sentimental and my most used pot holder. Plus, it gives an old, home-y look to the set up.

I then sifted some flour in one corner and rolled my personal rolling pin around in it a little bit to create a messy, used appearance.
My set up was all finished! I was even ready BEFORE Chris was! It was the quickest set up that I have ever done.
I told him that I thought my products would look best when shot from up above and he agreed, so he climbed up on a step ladder to get the PERFECT SHOT..

He showed me his images, and they were PERFECTION. Seriously. Exactly what I had imagined. Hopefully, I will be able to see it and share it on my blog when we review his photos on May 2nd, so stay tuned!!
In the meantime, checkout the images I took of my own product this morning!
I am extremely happy with my display and photo shoot.
I even really like the unintentional messiness of the pie (it looks like a pie that is real and homemade, instead of a perfect, cookie cutter pie from the supermarket).
 I think my images would be great for a recipe book or something along those lines, and maybe one day I can create images for that purpose!
I will sadly not have food styling for the next TWO weeks. This coming Monday is Easter Monday and I will be returning from my visit to see my husband in Virginia! And the Monday after that is the rest of the classes’ photo shoot, so I probably won’t be around unless someone needs my help specifically because I don’t want to be in the way (although I am quite nosy and love seeing my classmates’ work…so maybe I will come just to look!)
Until May 2nd,
ABC.
