In class this day, I continued working on my Alice in Wonderland inspired three tier wedding cake for my Advanced Baking final!

Holly and I made a large batch of buttercream using my buttercream recipe!
Vanilla Buttercream:
Ingredients:
- 2 cups butter, room temperature
- 2 cups vegetable shortening
- 2 tsp vanilla, or more TT
- 4 lbs sifted powdered sugar
- Water for thinning
Directions:
- In a stand mixer fitted with a paddle attachment, beat butter until fluffy and lighter in color. About three minutes for room temperature butter. Scrape down sides and bottom of bowl at least twice. (Make sure your butter is room temp for a smoother buttercream. If it is cold butter, beat a bit longer.)
- Add shortening and mix for another three minutes, scraping down the sides at least twice.
- Add vanilla and mix until incorporated.
- Add powdered sugar a couple cups at a time. Mix until incorporated before adding more sugar.
- If buttercream becomes too stiff for mixer, add some water, a tbsp at a time and then continue adding powdered sugar.
- Thin buttercream as desired with additional water.
** vanilla extract can be replaced with any other kind of extract if desired or left out altogether.
I leveled off each of my cake layers, filled the layers with fresh buttercream, and stacked my cake tiers…

After stacking each tier, I then added a layer of icing to act as the “crumb coat” for my cake.
A crumb coat is a fairly thin base layer of icing on a caking that collects all of those excess crumbs on the cake to prevent them from getting into the final layer of icing.

I personally like to pop my cakes into the fridge or freezer for a few minutes to chill before applying the final layer of icing. I find this helps lock in the crumbs even more.
I then added the final layer of icing to my top two tiers and smoothed out the icing with a Viva paper towel (a cake decorators best friend).
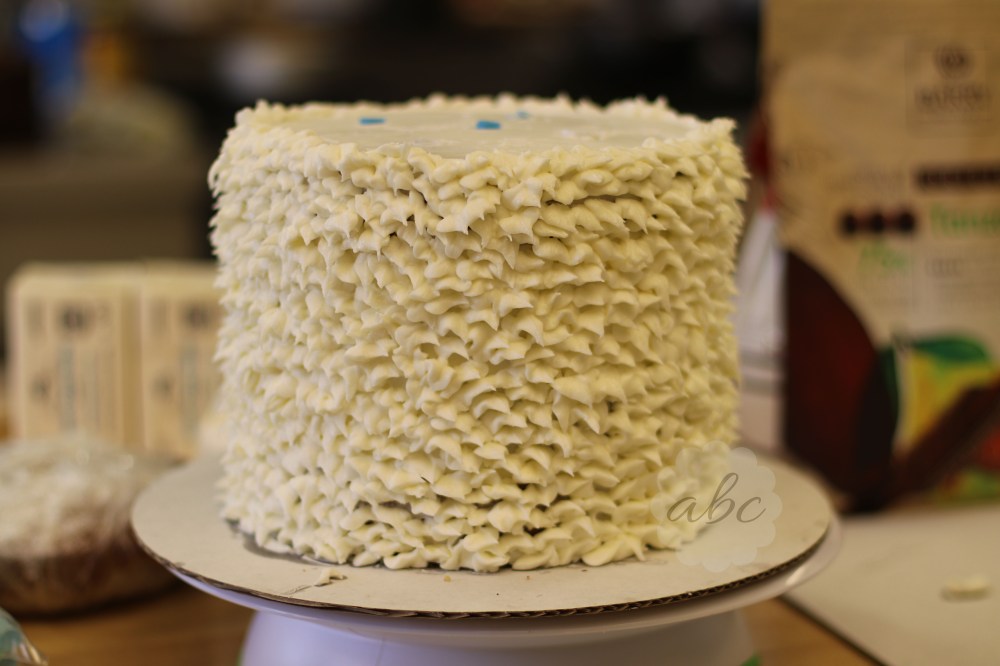
I piped a ton of individual leaves onto my base tier to create a shrub/bush like texture.
I measured, cut, and inserted five large straws into each tier as an extra, added support system for stacking purposes.
Notice that all of my cakes are on very LARGE cake circles. They actually are each sitting directly on a cake circle that matches the size of the cake perfectly, and then those boards are taped onto a much larger board. That’s because I find it easier to move and transport cakes when there is a larger boarder to hold on to. When it is time for stacking my tiers, I simply pull that big bottom cake circle off and I have a correctly sized circle under it!
Once all of my cakes were frosted, I set them aside to crust up. Crusting is what icing does when it is exposed to air – it kind of becomes stiff and hard and after about a day or so, you can touch it just about as much as you want without messing the outside up!
My final cake is due April 28th (next Friday) and hopefully, I’ll be able to get it all done in time!
Until then,
ABC.
