My Down the Rabbit Hole cake is FINALLY completed!
I think it turned out pretty well, if I do say so myself! I am quite proud of my cake – having designed and created it by myself from start to finish.
I’ll explain the steps that I took since the last class period to achieve this finished look.
I returned to the kitchen this past Monday to continue working on my cakes. I rolled out fondant and covered my book tier and my hat tier on this day. I also worked a little more on my book (middle) tier to create book edges and pages. (This photo was taken after airbrushing this tier which was done on Wednesday.)

On Wednesday, I returned to the kitchen once again to work on my cake. I brought my airbrush with me on this day and utilized my time to airbrush all three of my cake layers using gel colors that I diluted with water. I really played around with layering colors and making the right kind of shades that I had originally envisioned.

On Thursday, I worked from home and made several gum paste roses which I airbrushed with a little red color to create a “painting the roses red” effect.

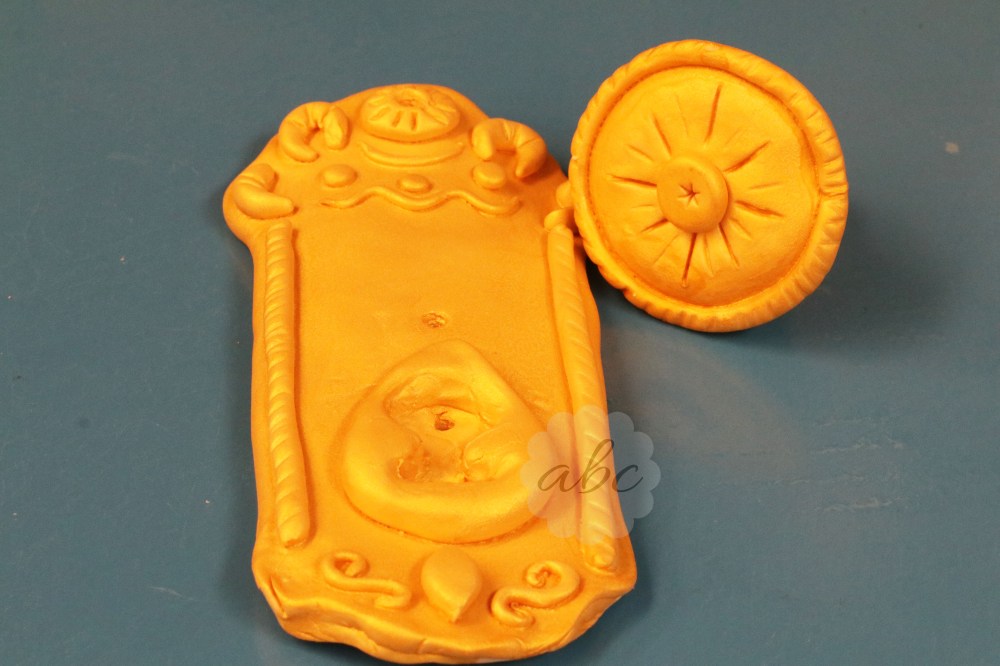
I also created the doorknob by modeling two separate pieces – the plaque and the actual knob. After designing the plaque, I pushed dowel rods through it in a few, discreet areas to create holes for attaching the plaque to my cake.
I created my knob and added a dowel rod straight through the back of it, and I also created a hole in the plaque where I wanted to doorknob to go. My idea was to use the doorknob and a few other dowels as “screws” or “nails” for my plague to hold it onto the cake. I would place the plaque against the cake and secure it with the knob and dowel and a few other dowels. This actually worked and I was extremely happy with my invention!
I used some edible, gold spray to paint the entire doorknob.
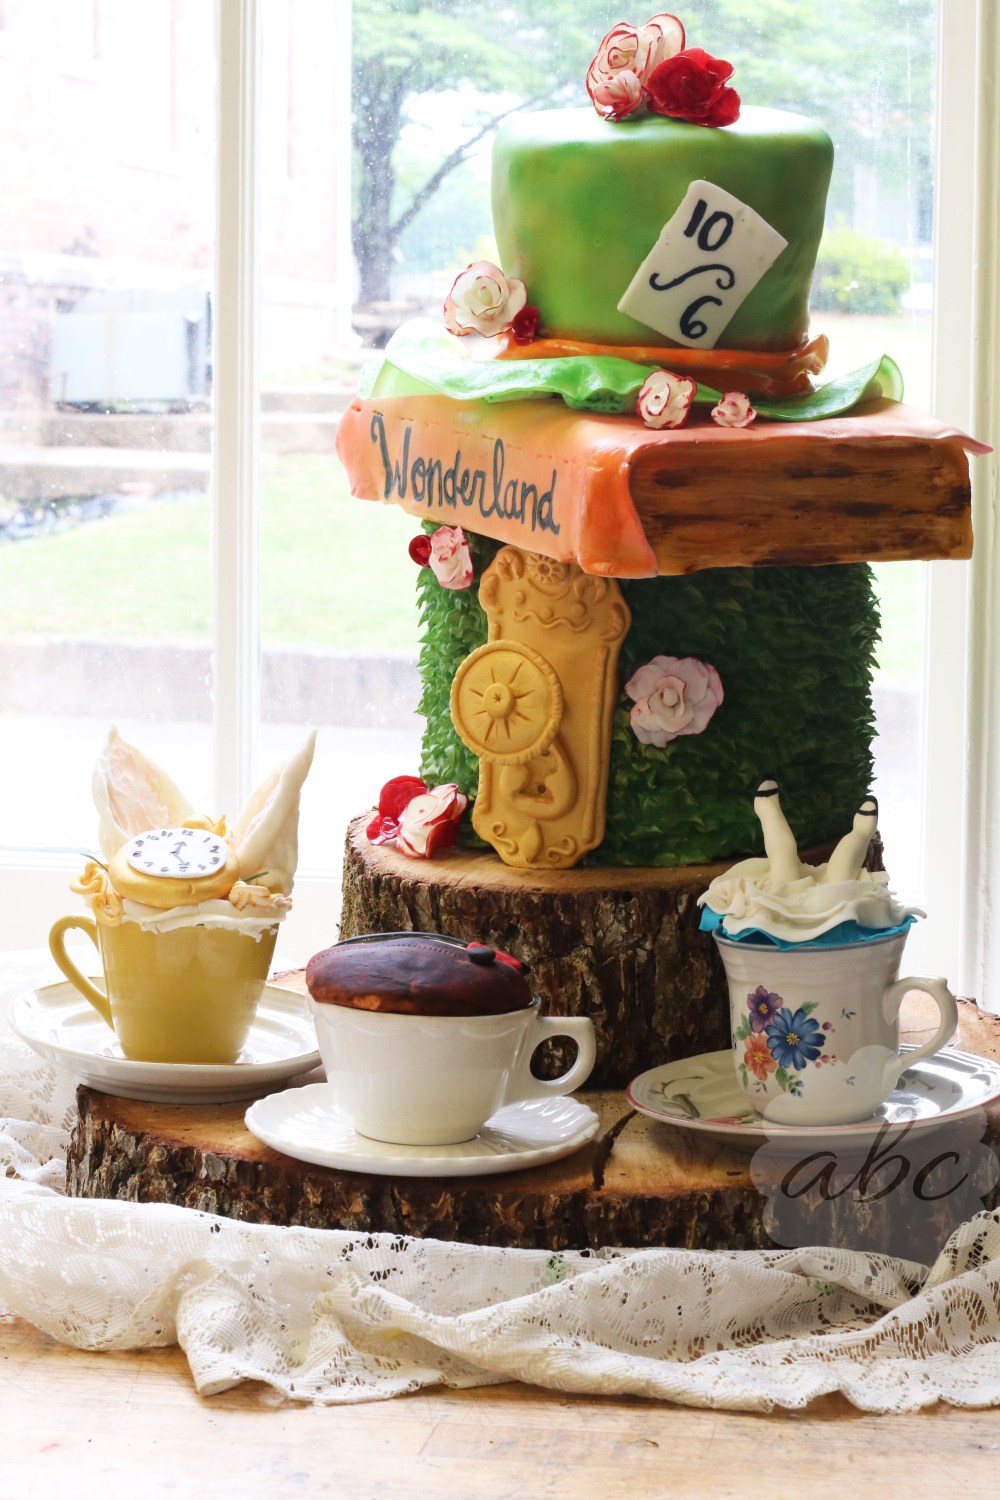
On Friday, I arrived in class as early as possible (7:30 am) so that I could finish before noon when the cakes were officially due. The first thing that I did was remove my bottom, shrub tier from the oversized cake board and fit it onto my wood “cake stand”. I went ahead and positioned the small piece of wood on top of the larger one with my lace fabric underneath because I had no intention of moving it from the wood except to throw it away at the end of class. I secured my doorknob to the bottom tier.

Next, I wrote “Wonderland” on the side of my book tier and placed that on top of my bottom tier. I also did some touch up work regarding the airbrushing on this tier.
With the bottom two layers assembled, I moved on to the top layer. The cake part of my hat was created, but I needed a brim for my hat, so I rolled out some gumpaste and placed it on top of my book tier. I then placed my hat tier on top of the brim and shaped the gum paste brim into a wavy pattern by stuffing some rolled up aluminum foil and plastic wrap under parts of it. The gum paste hardened after about an hour and a half, and then I removed the stuffing and allowed it to hold its shape on its own.
I then created a 10/6 playing card and attached this to my hat along with my red and white roses. These I spread throughout my cake. I used them to cover up a few of my mess ups where I had accidentally smeared or poked the fondant or icing.

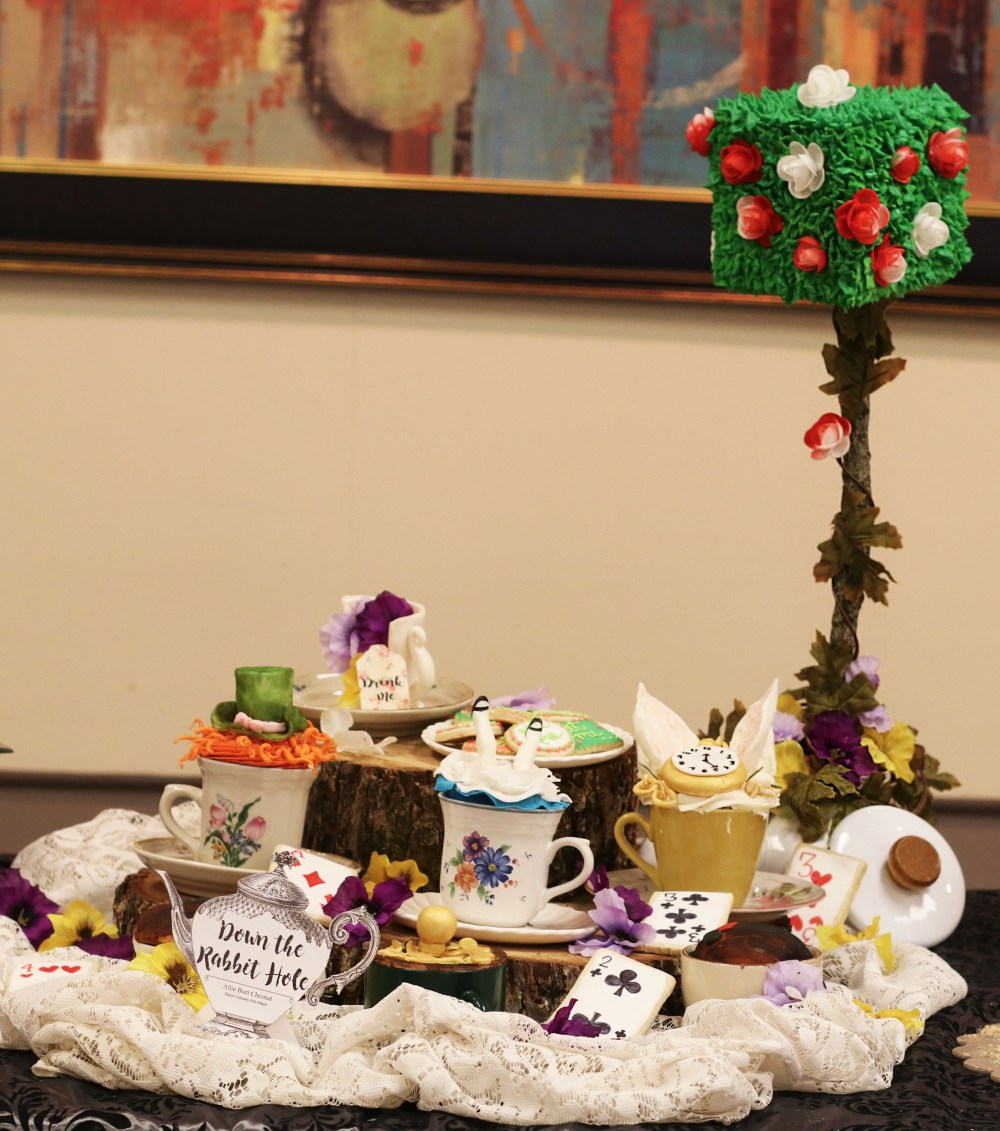
After completing my cake, Chef Mary Helen informed me that she would like it to be presented on the table at the front of the classroom… of course. So I VERRRRYYYYY carefully picked up the entire cake and the small wooden piece and VERRRRYYYYY slowly walked it across the kitchen. I then reset the rest of my cake display up.
I brought out those Alice in Wonderland cupcakes (yes, the SUPER old ones from midterm) and used those as part of my display. I also set up my tree shrub from my Food Styling homecoming display that I had saved.
I am SO extremely proud of my finished cake. Of course, there are some things that could have been perfected. There were many times throughout the process that I wished that I had more time or more resources and there were plenty of times that I did something to the cake and immediately realized that I should have gone about it a different way. BUT all in all, I couldn’t be happier with the outcome.
So here is my FINALLY finished Alice in Wonderland – Down the Rabbit Hole display. This whole semester has finally culminated into this one design, and I think that my vision has rally spoken for itself! What do you think?

Anyway, this is my VERY last Advanced Baking blog entry. Sad, right? I have enjoyed this class so much. It has been an outlet for me to really get hands on and design and create something truly unique to me! I’m a little sad to see it all end, BUT I know there are bigger and brighter things ahead. Like GRADUATION in just two short weeks!
Time really does fly. Whether you are having fun or not. Good thing that I have been having fun! 🙂
Until next time,
ABC.
